Software Freedom Day
Steps
-
Download the Software Freedom Day Logo file from https://wiki.softwarefreedomday.org/Logo
-
Open the file in Inkscape and delete all content other than the squarish logo, delete content by object rather than by group since some of the groups are linked
-
Using
File>Document Properties..., Change the background color to black, and resize the document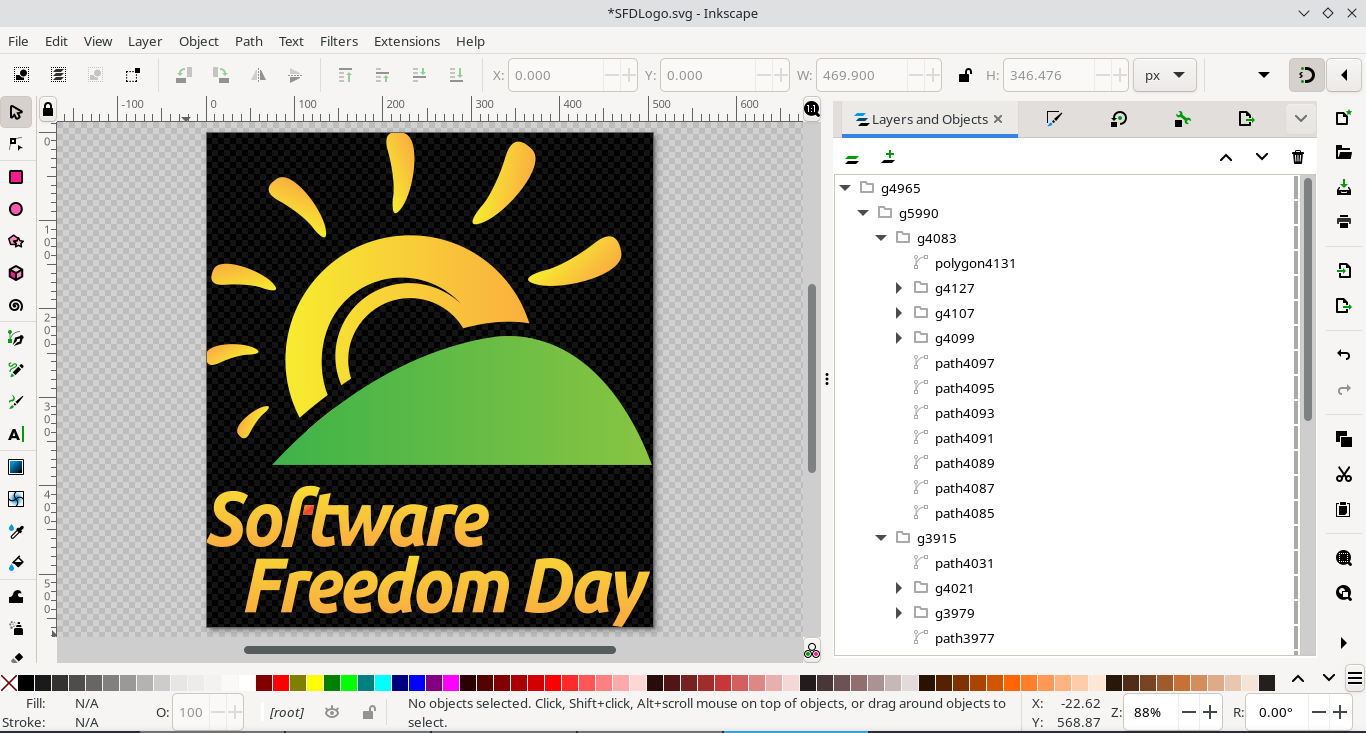
-
Using
Layer>Layers and Objects...Re-arrange the objects so that they are grouped by colors, green, yellow and red. By grouping the same colors together, you will minimize the number of times the embroidery machine needs to change the thread. Label them appropriately. You will likely need to ungroup paths and then group them together appropriately.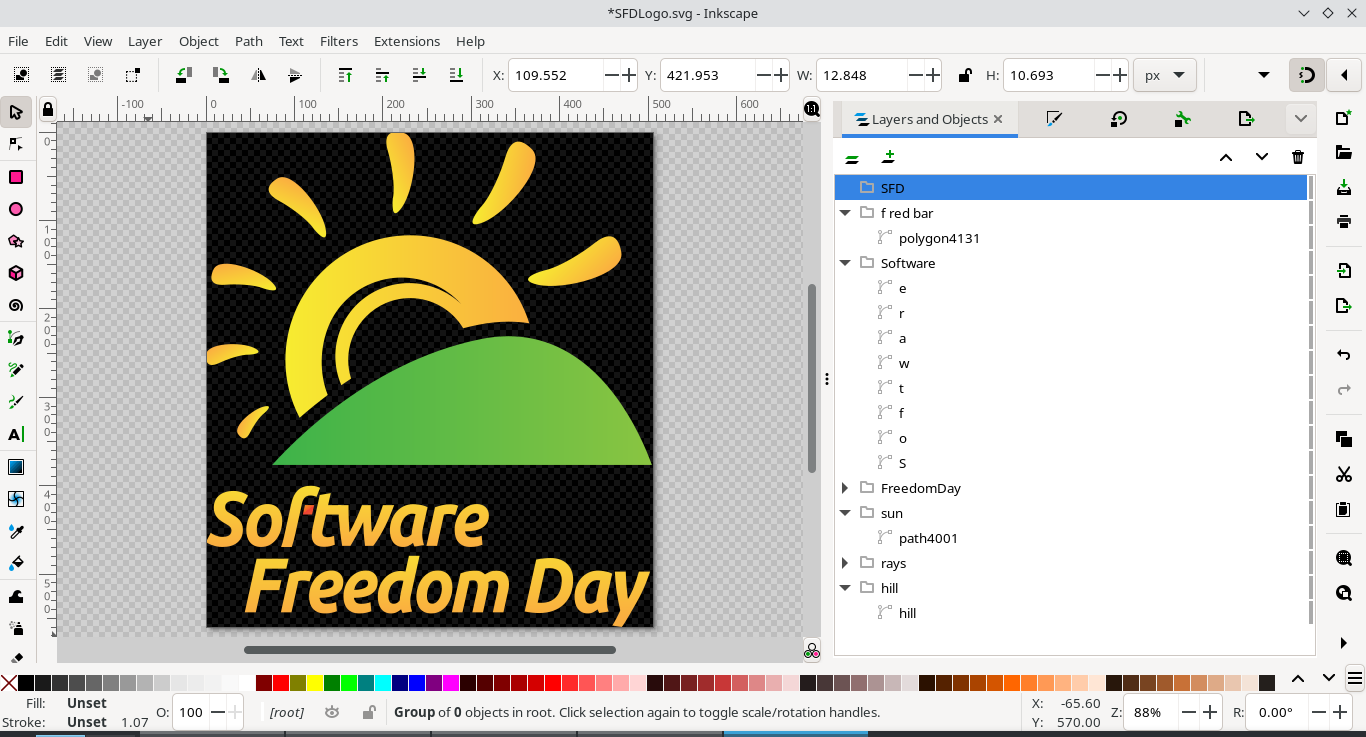
-
Using
Object>Fill and Stroke...give all yellow objects a uniform stroke of RGB (249,213,35), and no fill. The green hill should have a uniform fill of RGB (57,181,54), and no stroke. The red part of the ‘f’ should have a uniform stroke of RGB (241,90,36) and no fill.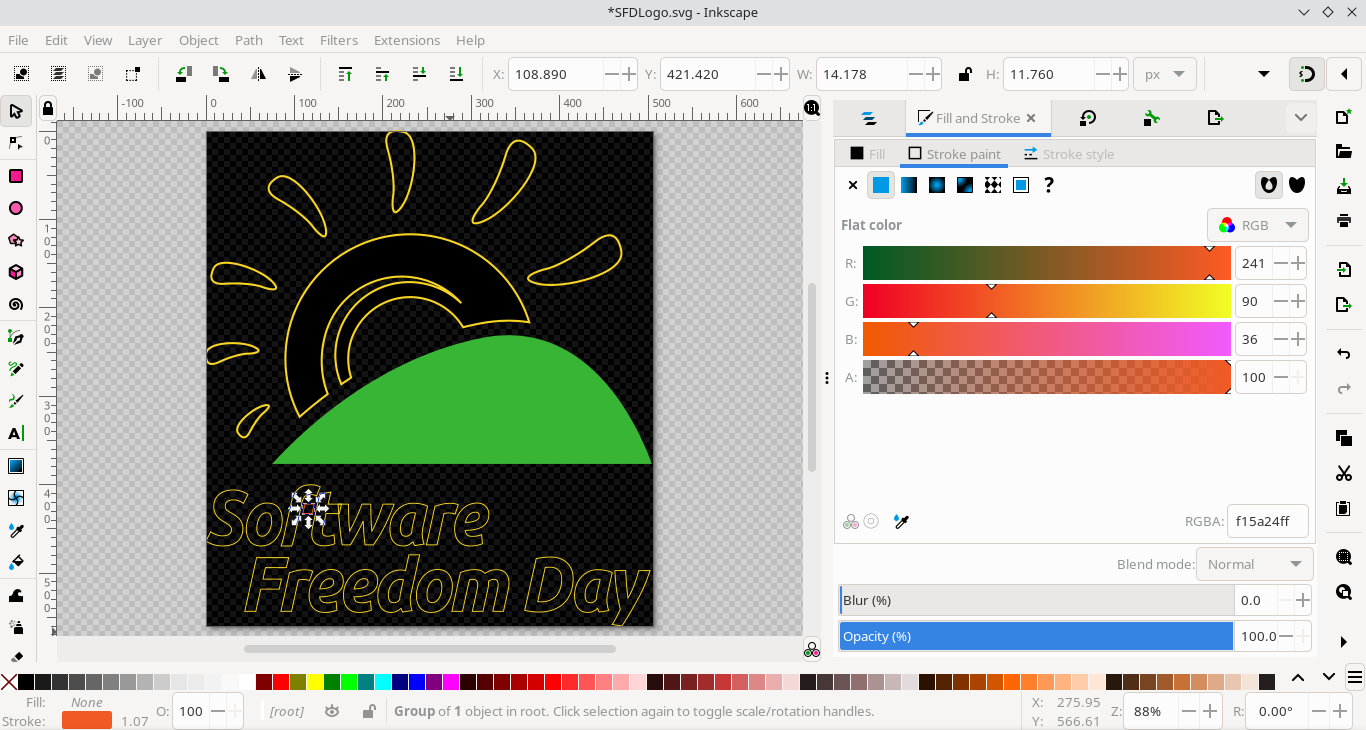
-
Select the green hill, then choose
Extensions>Ink/Stitch>Params..., then give it a contour fill, going from inner to outer. Leave other parameters as default.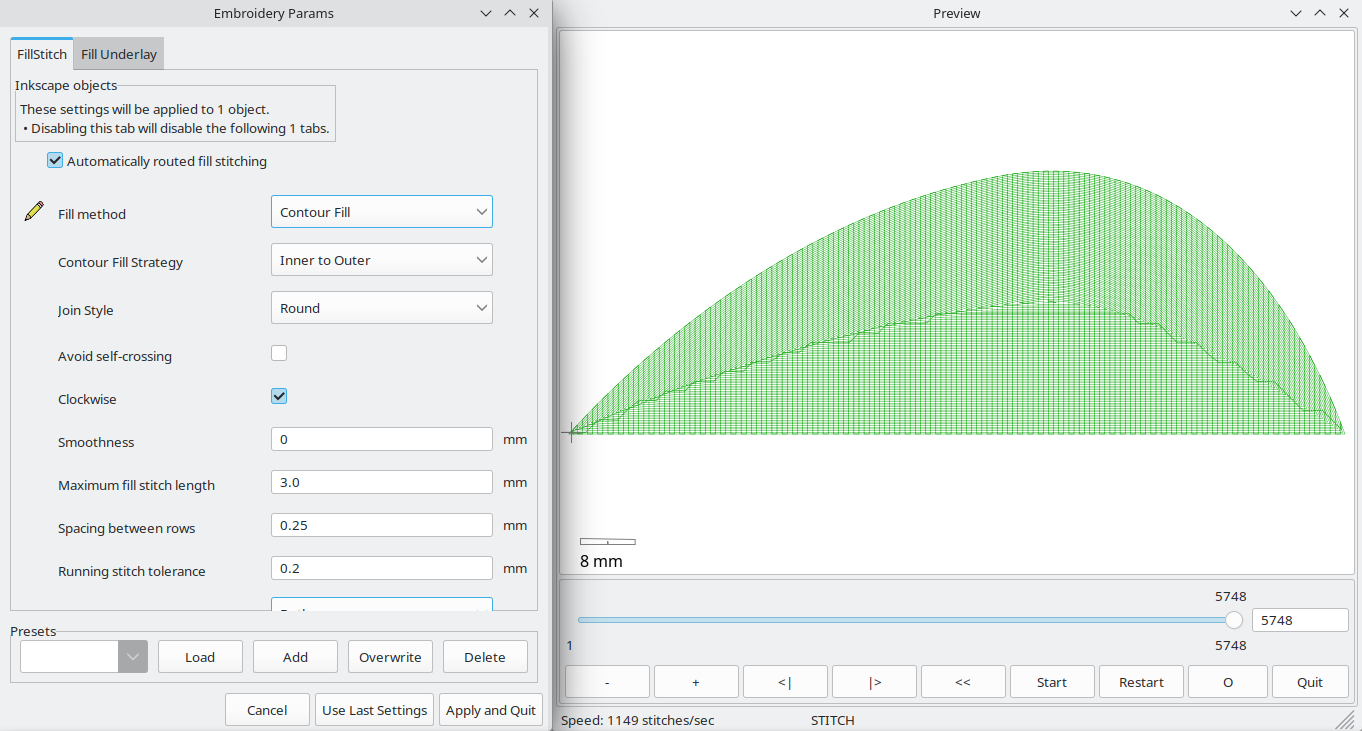
-
Select the red bar, and zoom into it. As it is a polygon, and we want to use a satin stitch, we will need to replace it with paths. Select the
Bezier curves and straght linestool and overlay the top and bottom parts of the polygon with two straight lines both going from left to right. Color these lines with RGB (241,90,36). Then delete the polygon. To ensure a nice stitch finish, we want the beginning and end lock stitches to be hidden. Select theEdit paths by nodes tool, the select all nodes on the two red lines and add chooseInsert new nodes into selected segments. This will add a node on each path midway between the end nodes. Choose these new nodes, and selectBreak path at selected nodes. Then in theLayers>Layers and objects...duplicate these lines, choose the bottom part to be left and delete the rightmost nodes, choose the other part to be right and delete the leftmost nodes. Finally, choose theBezier curves and straight linestool again and add a small horizontal dotted line going from right to left, between the lines forming the left segment. This line will be the start of the stitching, and will have a lock stitch that will be hidden.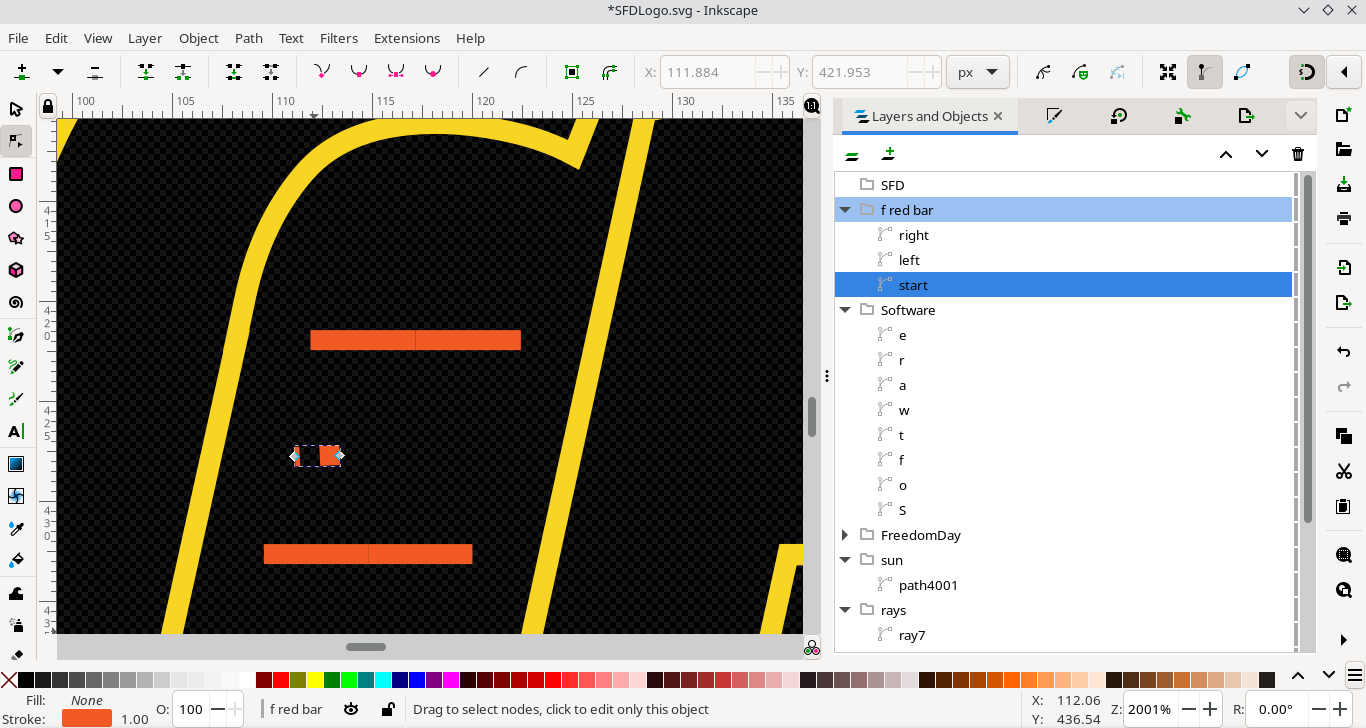
Select the right part of, then go to
Path>Reverse. With the right part still selected, chooseExtensions>Ink/Stitch>Paramsand choose a custom satin stitch with and end lock stitch, but not a beginning lock stitch. Do also add Zig-zag Underlay.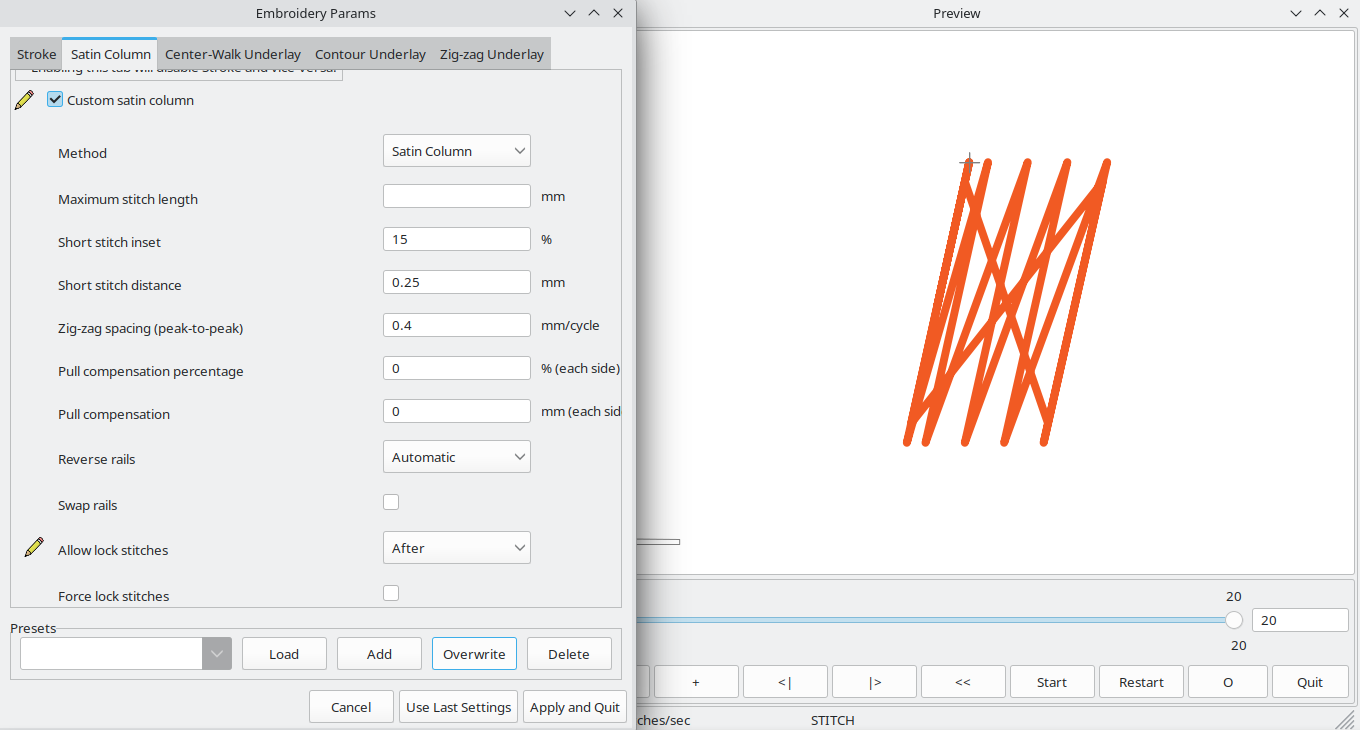
Select the left part, choose
Extensions>Ink/Stitch>Paramsand choose a custom satin stitch with no lock stitches, and add a Zig-Zag Underlay.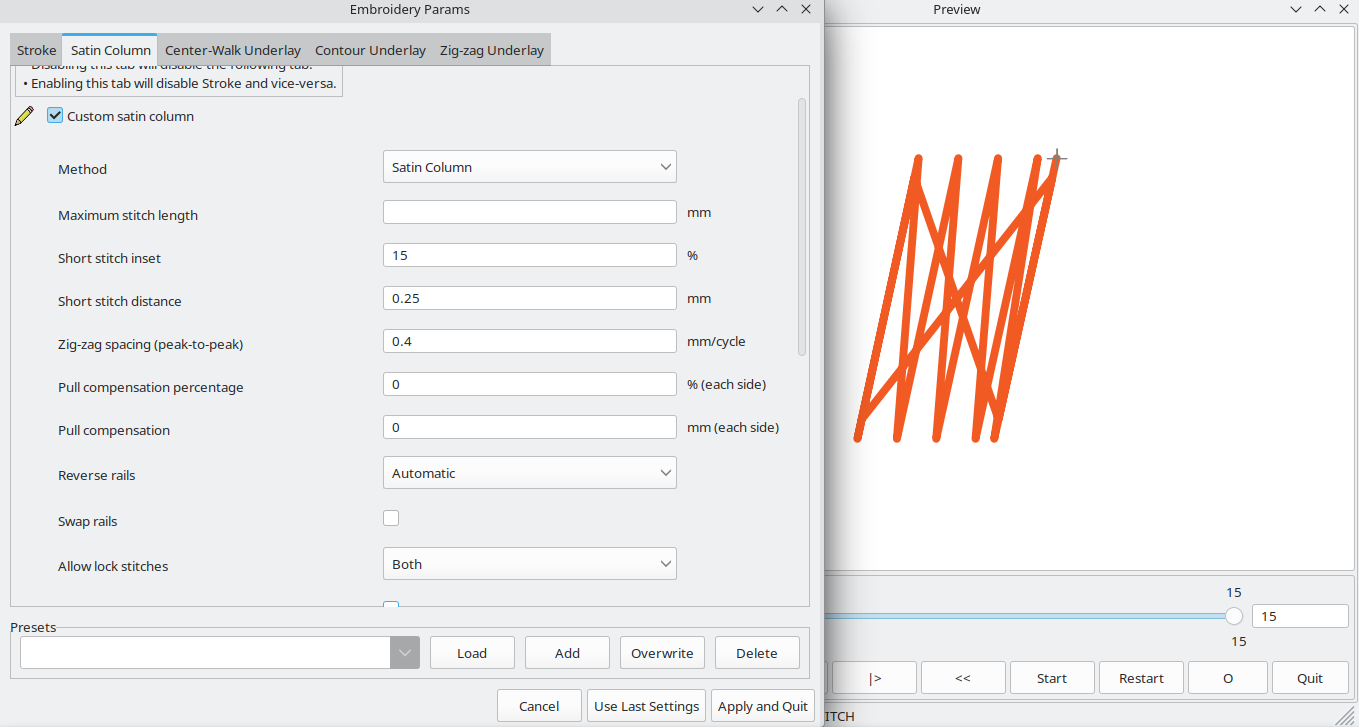
Select the dotted starting line, choose
Extensions>Ink/Stitch>Paramsand ensure there is a starting lock stitch, but no ending lock stitch.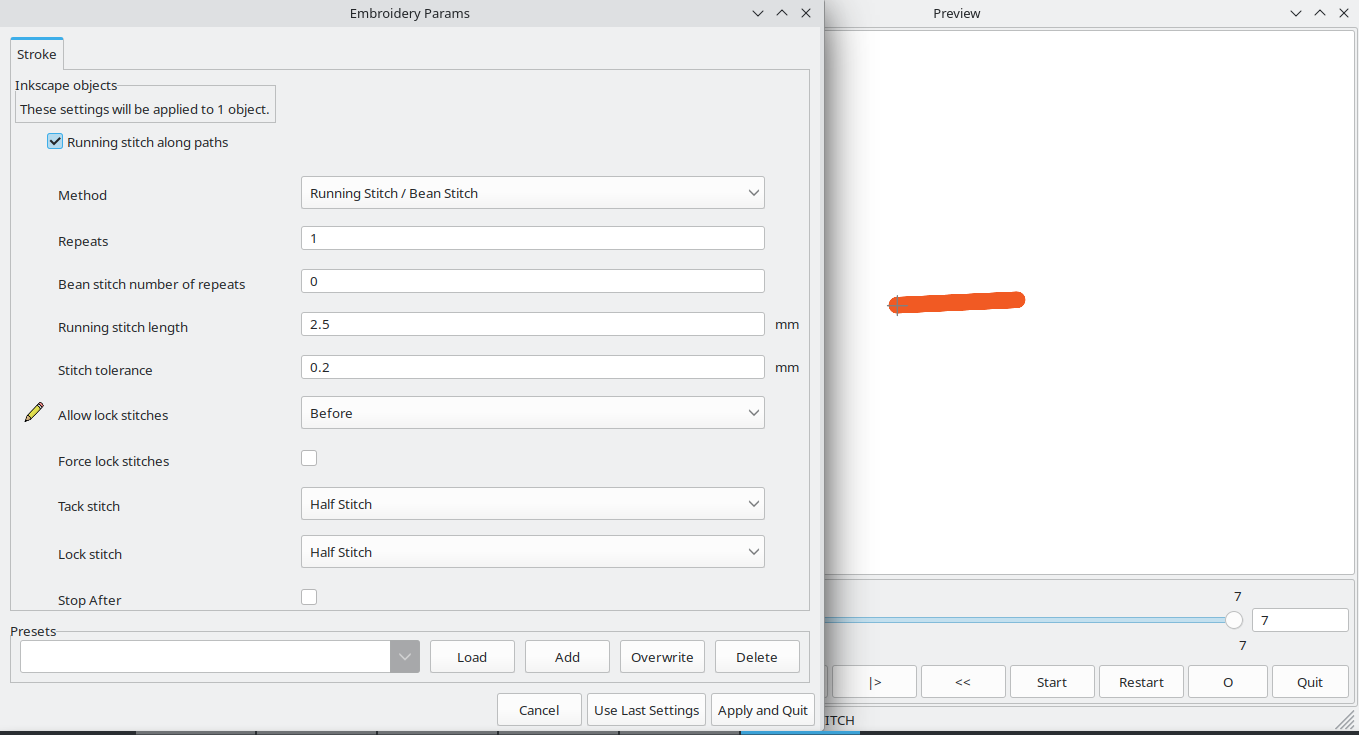
-
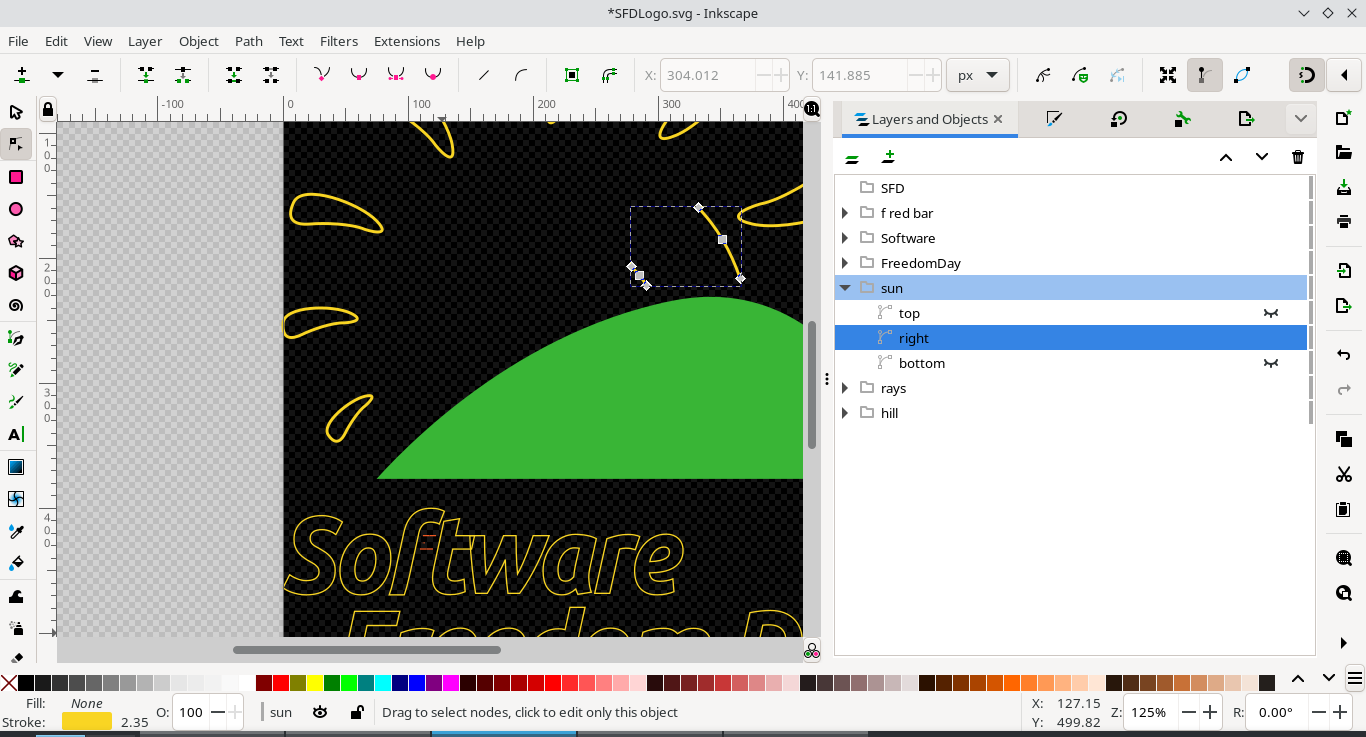
As some machines may not easily create long satin stitches, you can choose to either use a contour stitch for the sun or a satin stitch. For the satin stitch, select the sun. Break it up into three non intersecting but adjacent paths with equal numbers of nodes.

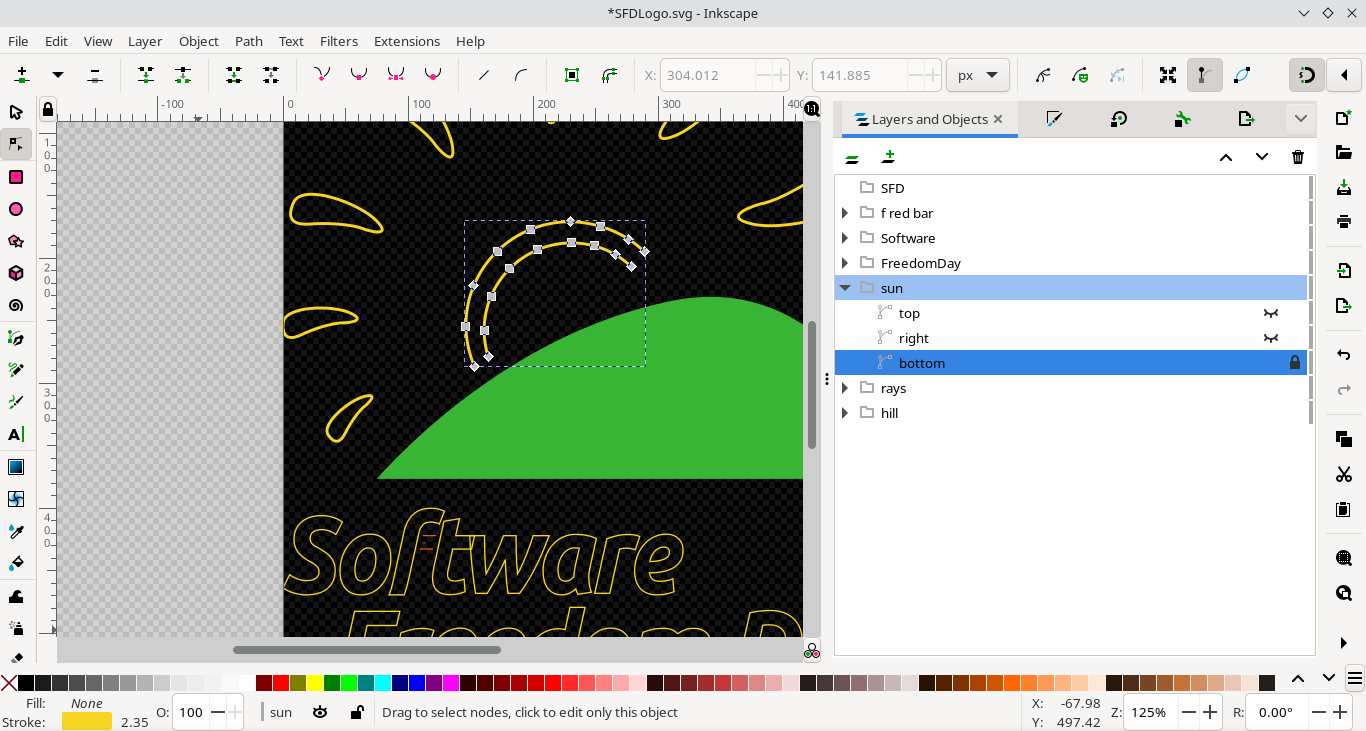
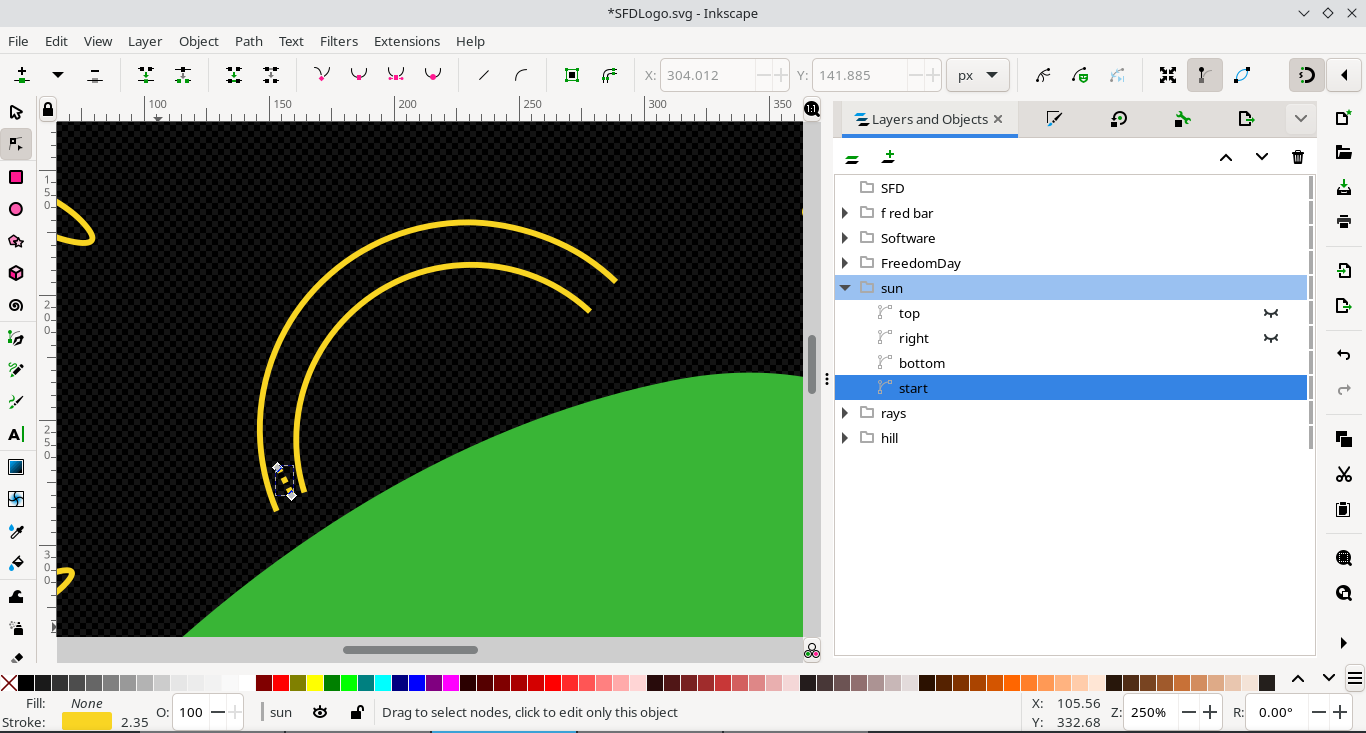
Add a starting segment at the beginning of the bottom part of the sun to allow for a hidden lock stitch
Break off the last part of the top segment, and reverse its direction to allow for a hidden lock stitch
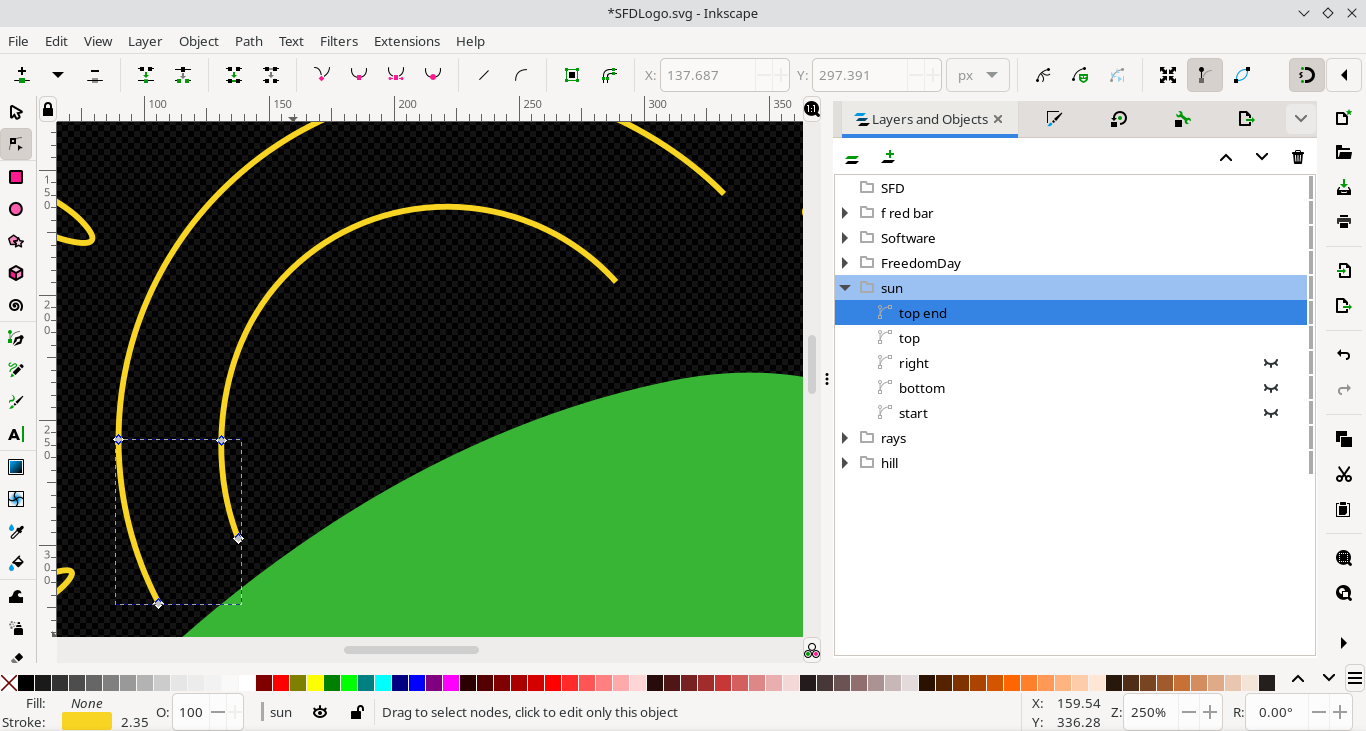
For each of these segments, choose
Extensions>Ink/Stitch>Paramsand ensure they are stitched in the correct direction. For all but the starting segment, ensure the stitch density is uniform and there is a Zig-zag underlay. If the stitch density is not uniform, add additional nodes to make it uniform. For all segments apart from the starting and end segments, ensure there are no lock stitches. For the starting segment ensure there is a beginning lock stitch, and for the ending segment, ensure there is a final lock stitch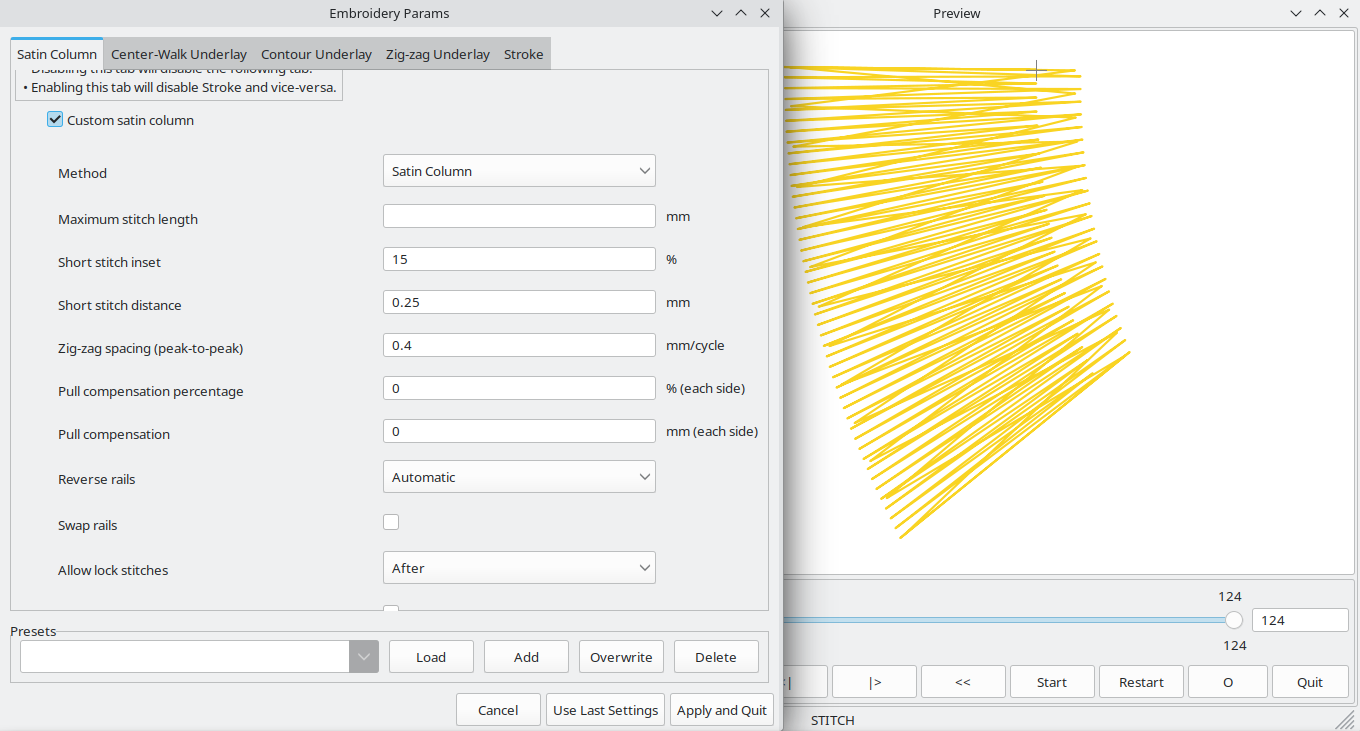
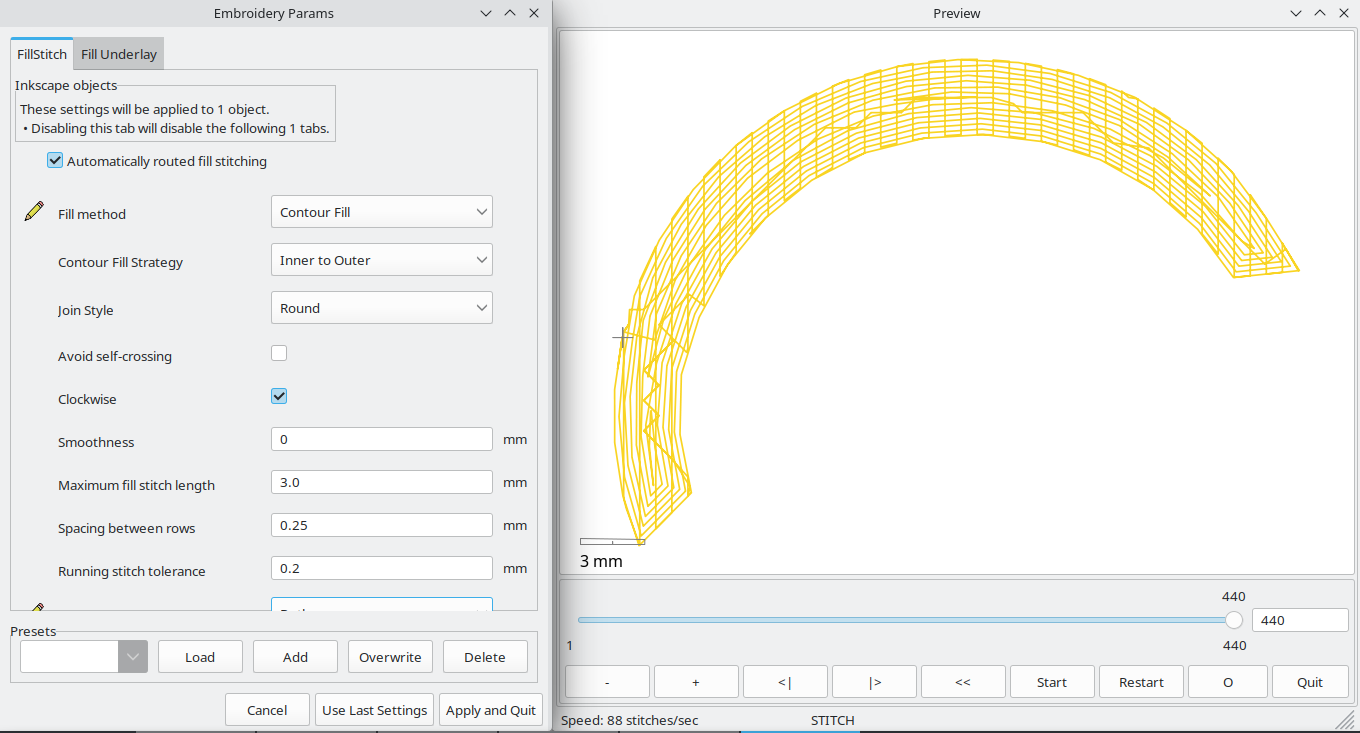
For the filled contour stitch, break the sun into two non intersecting segments, one for the top, and one for the bottom. Using
Object>Fill and Stroke...give the segments a uniform fill of RGB (249,213,35), and no stroke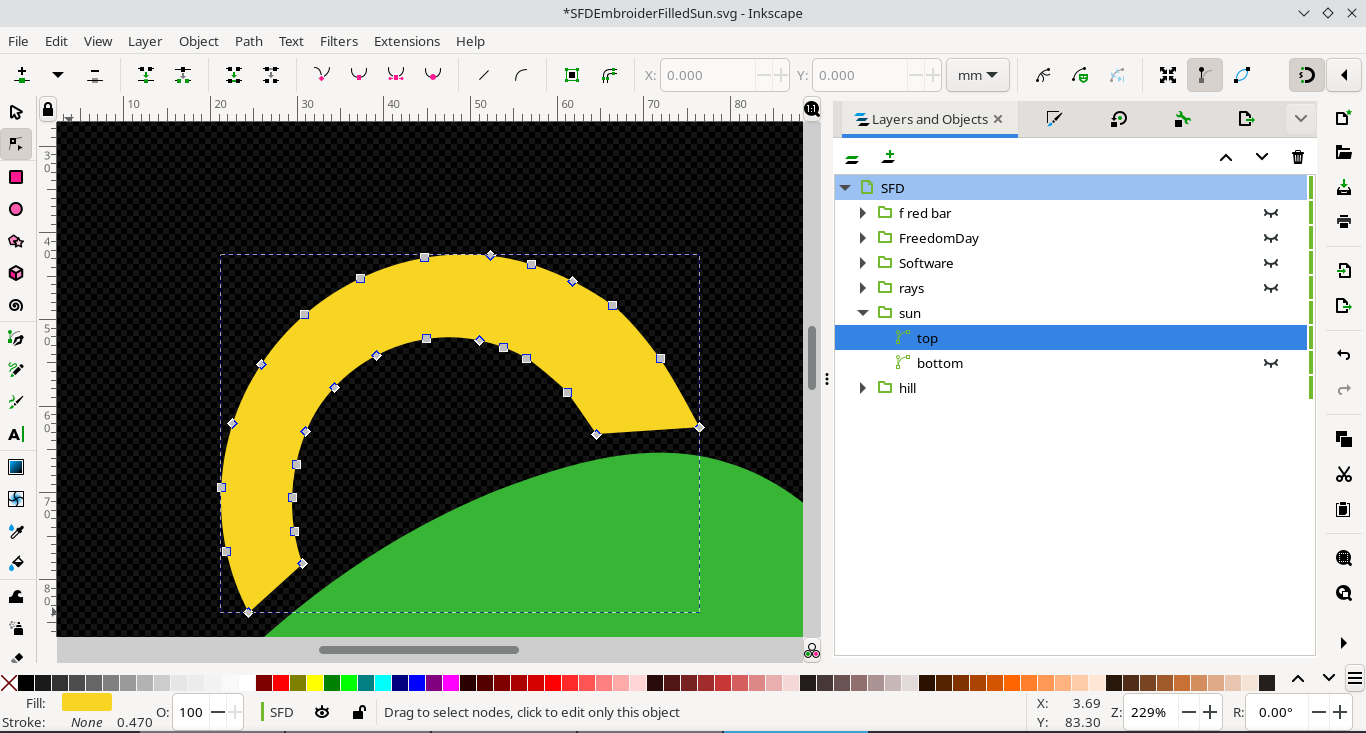
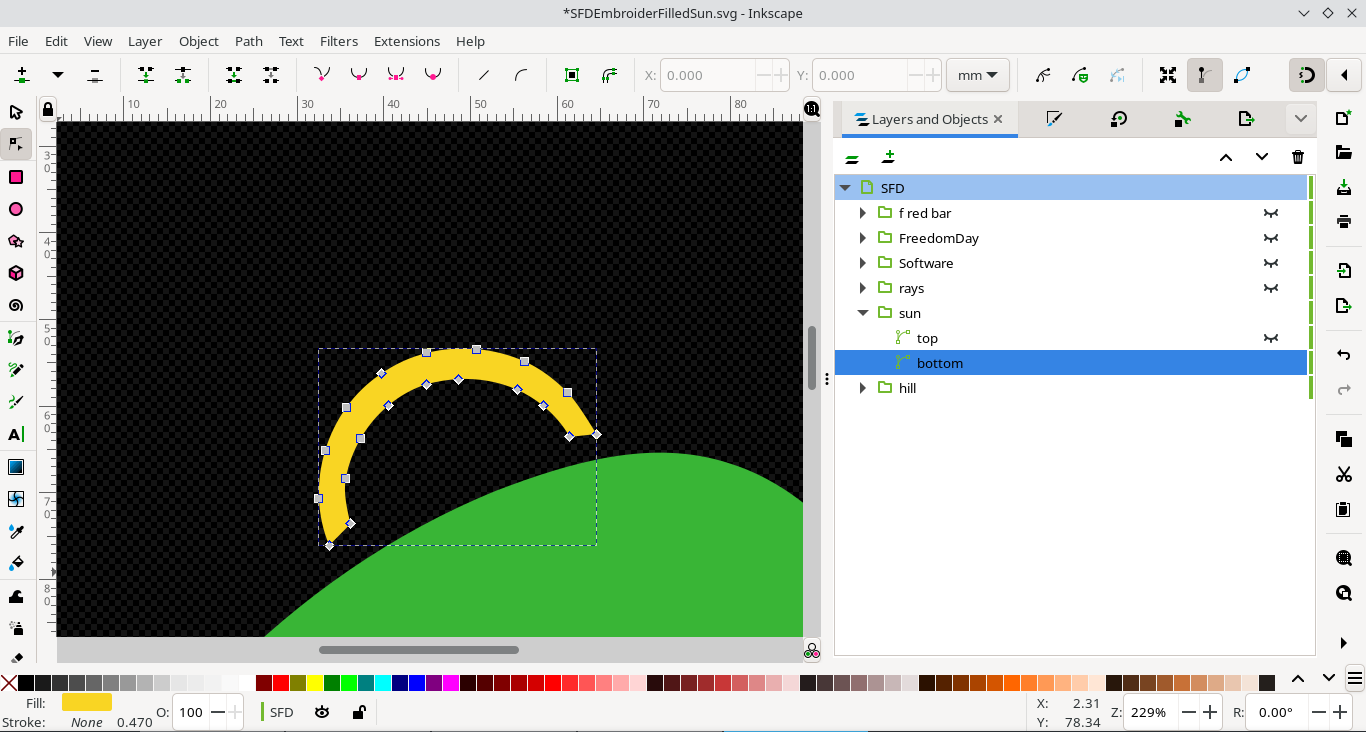
Select the top part of the sun, from the menu choose
Extensions>Ink/Stitch>Params..., then give it a contour fill, going from inner to outer. Leave other parameters as default. Repeat this for the bottom part of the sun.
-
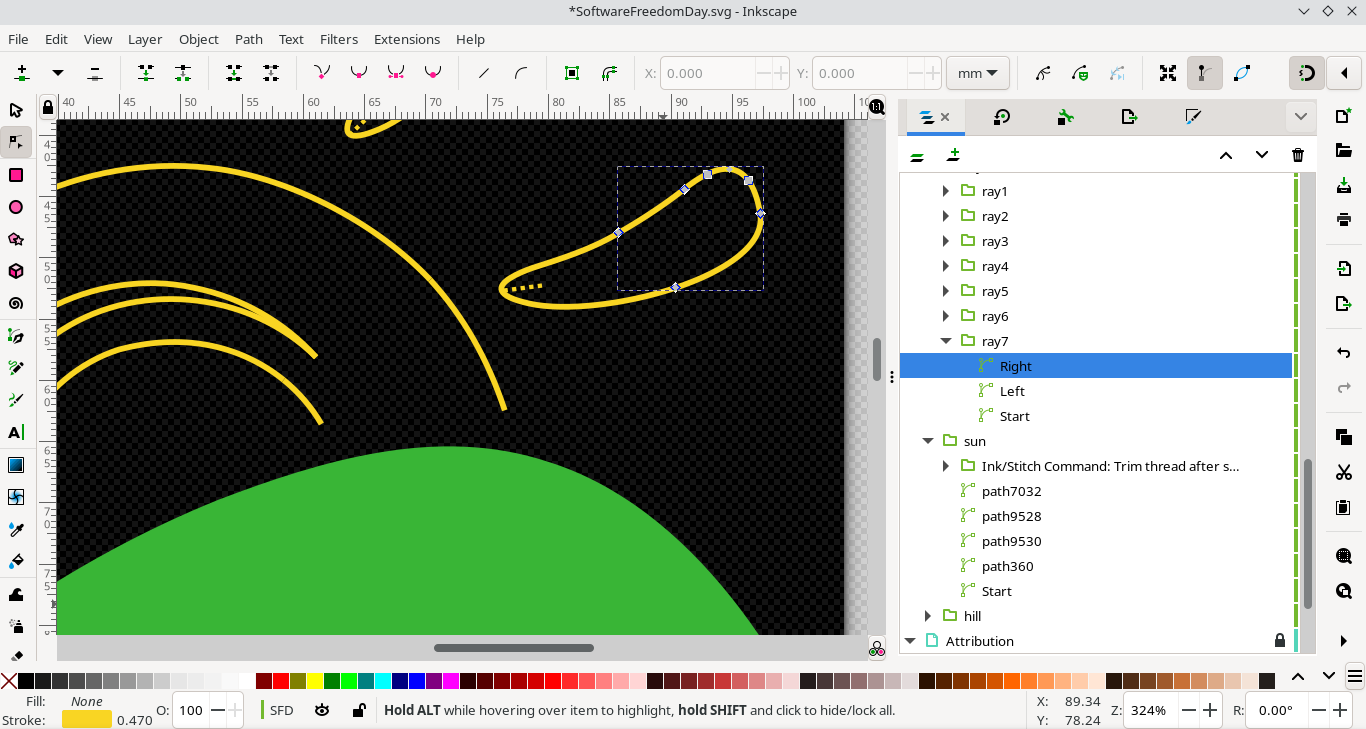
For each of the rays, break up the paths into two lines with an equal number of nodes. Add a starting segment with a beginning lock stitch on the portion of the ray furthermost from the sun. Create a reversed ending segment with only an ending lock stitch on the portion of the ray closest to the sun.
-
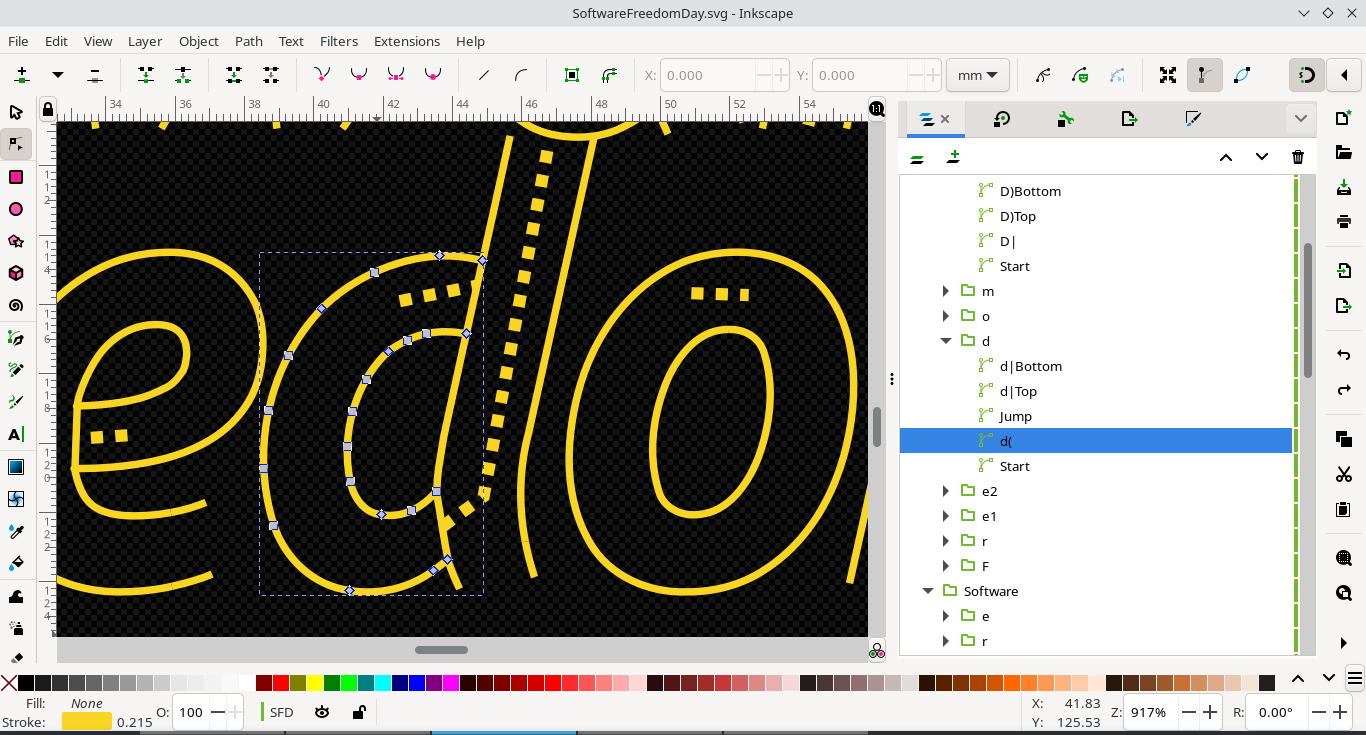
For each of the letters, break up the paths into two lines with an equal number of nodes. Add a starting segment with a beginning lock stitch. Create a reversed ending segment with with only an ending lock stitch.
-
If the embroidery machine used supports automatic stitch trimming, add these for each ray by using
Extensions>Ink/Stitch>Commands>Attach Commands to Selected Objects>Trim thread after sewing this object. -
Add a new layer with the license information
CC BY-SA 3.0 Deed Unported
https://creativecommons.org/licenses/by-sa/3.0/
Modified for embroidery from the originals
https://wiki.softwarefreedomday.org/Logos
Choose
Extensions>Ink/Stitch>Commands>Add Layer Commands...and ignore the layer for stitching but leave it visible. -
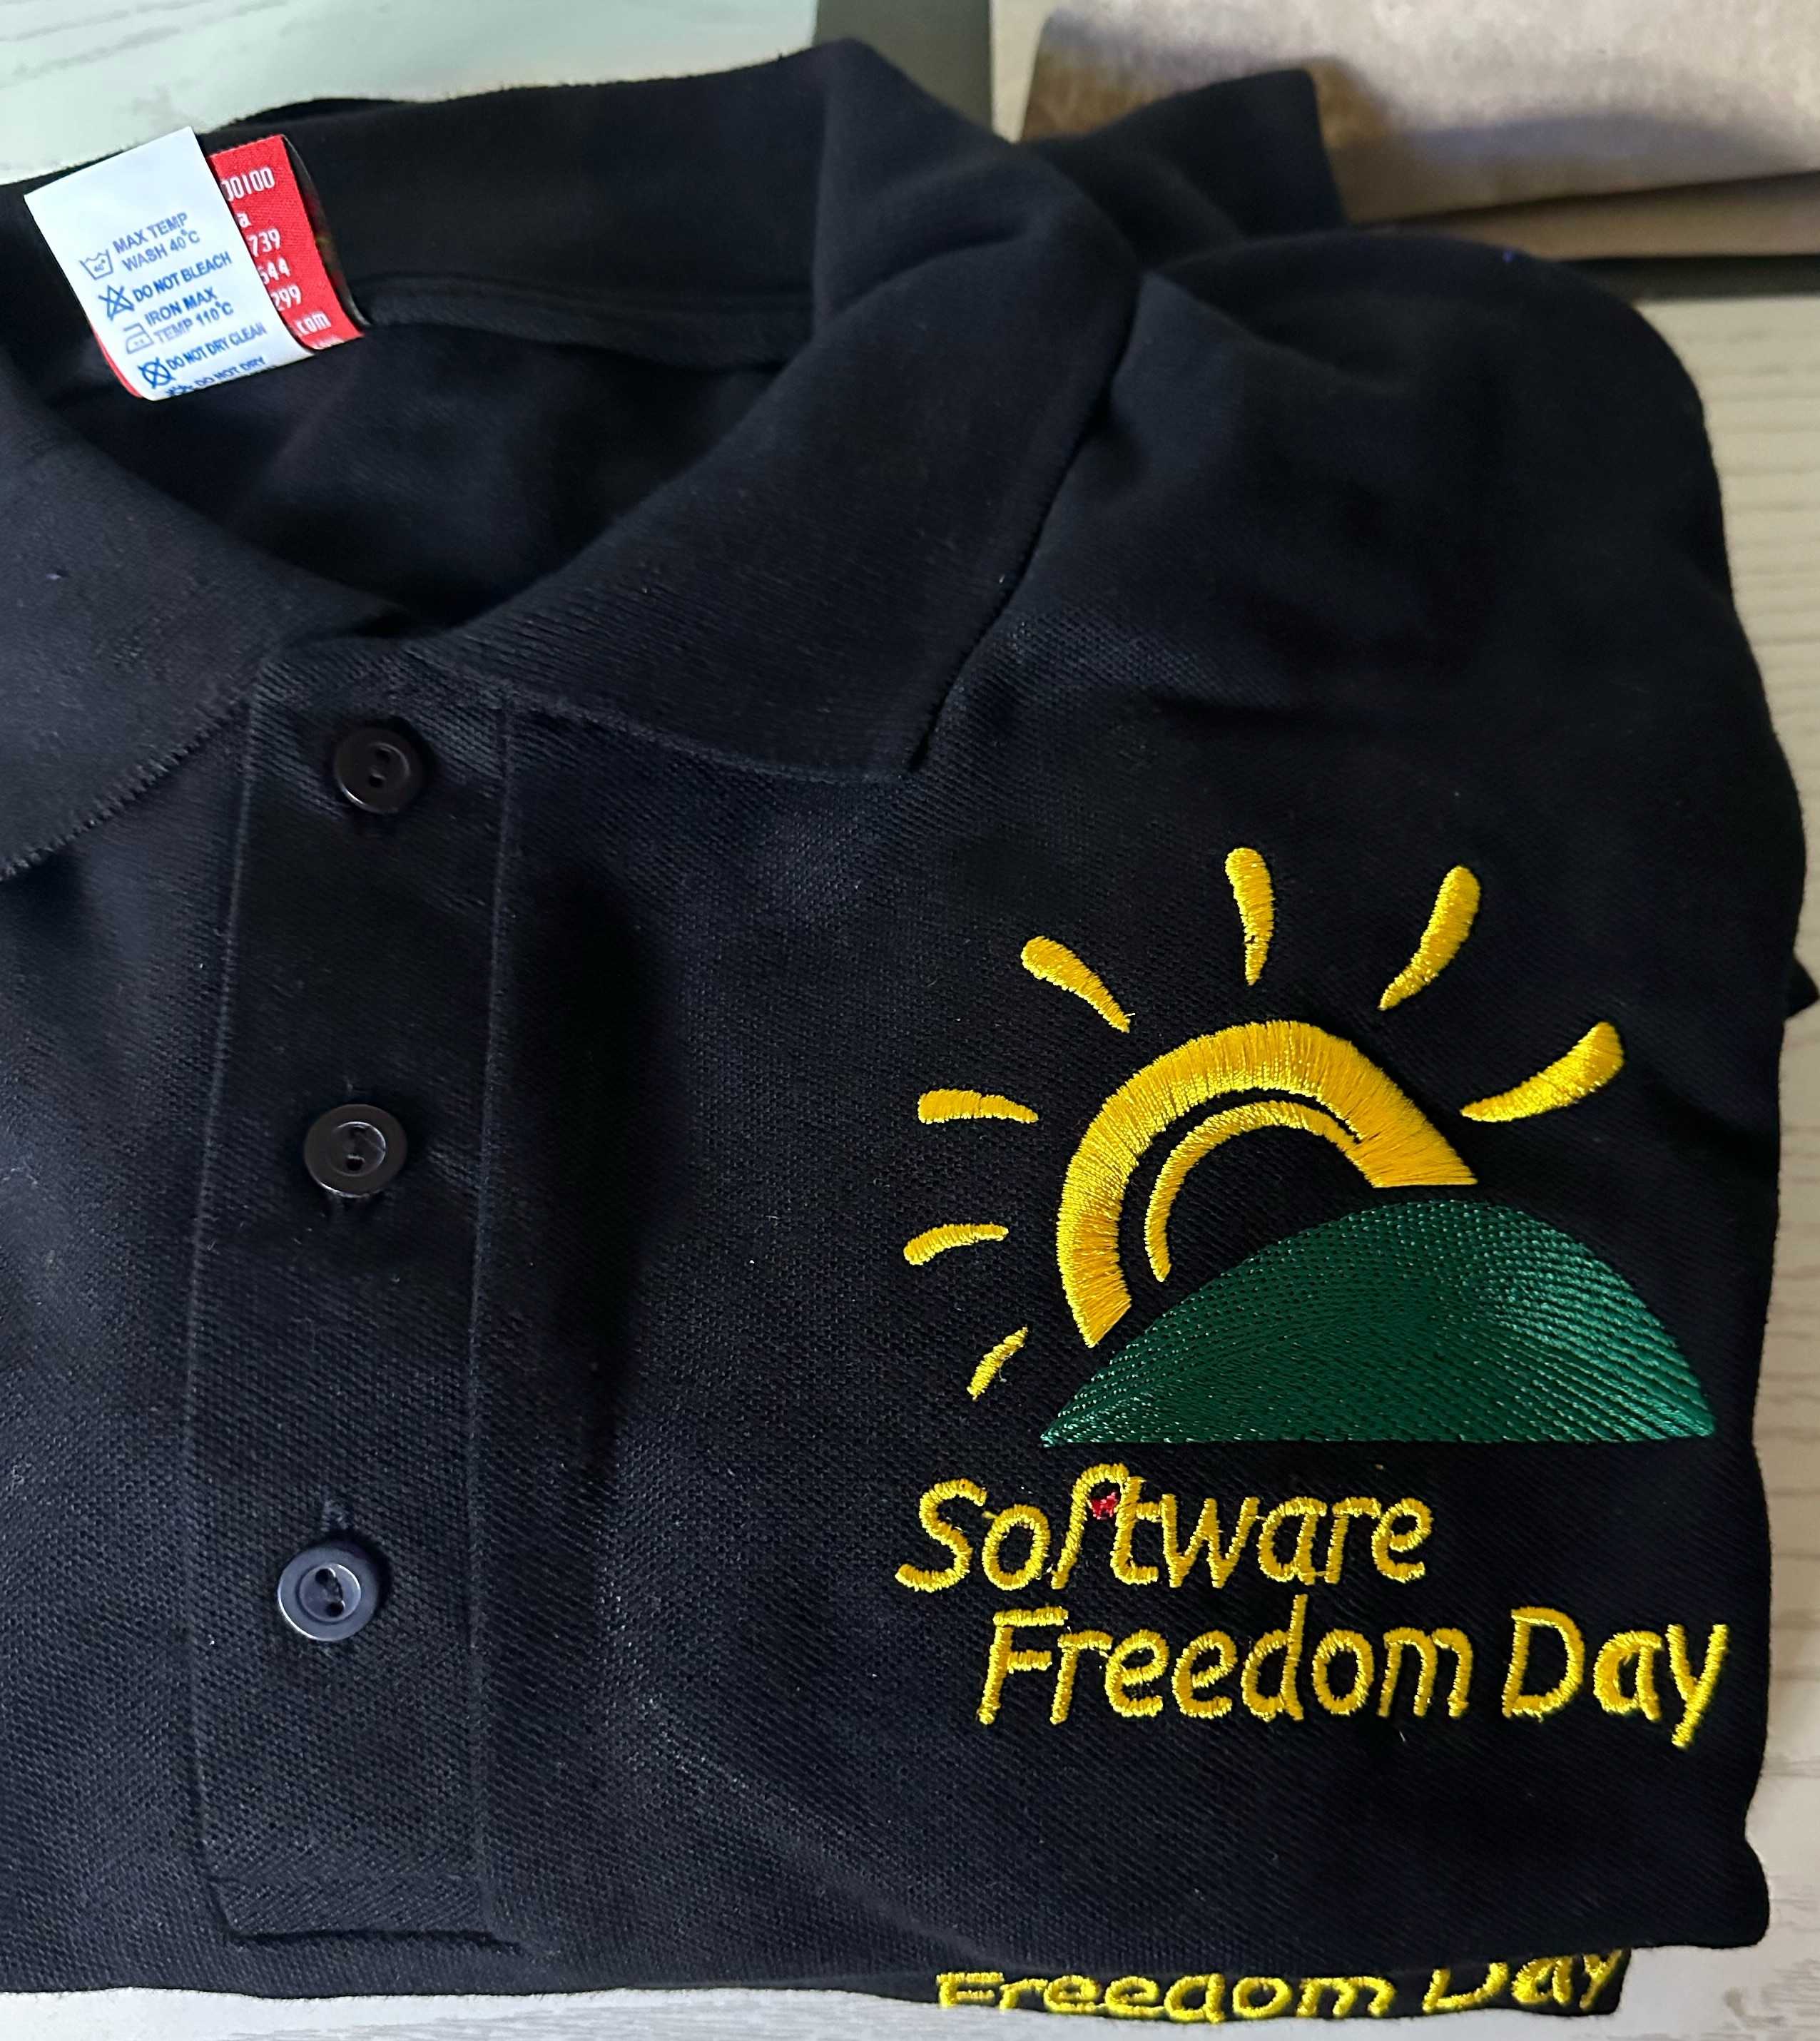
Embroider a sample, adjust it as necessary for the embroidery machine used. Embroider another sample. If it is ok, embroider a final piece, such as a polo shirt.
This tutorial has benefitted from many suggestions by Kaalleen, Claudine Peyrat, Michael Njuguna, Bianchifan, Lexelby and from the Low Tech Linux video tutorials.
Software Freedom Day (modified for Ink/Stitch by Benson Muite)

Using a Satin Stitch for the sun

Using a Filled Contour Stitch for the Sun
