⚠ This page is outdated. For more recent information have a look at the english section.
Visualize
Simulator / Realistic Preview
Select the objects you wish to see in a simulated preview. If you want to watch your whole design being simulated, select everything (Ctrl+A) or nothing.
Then run Extensions > Ink/Stitch > Visualize and Export > Simulator / Realistic Preview and enjoy.
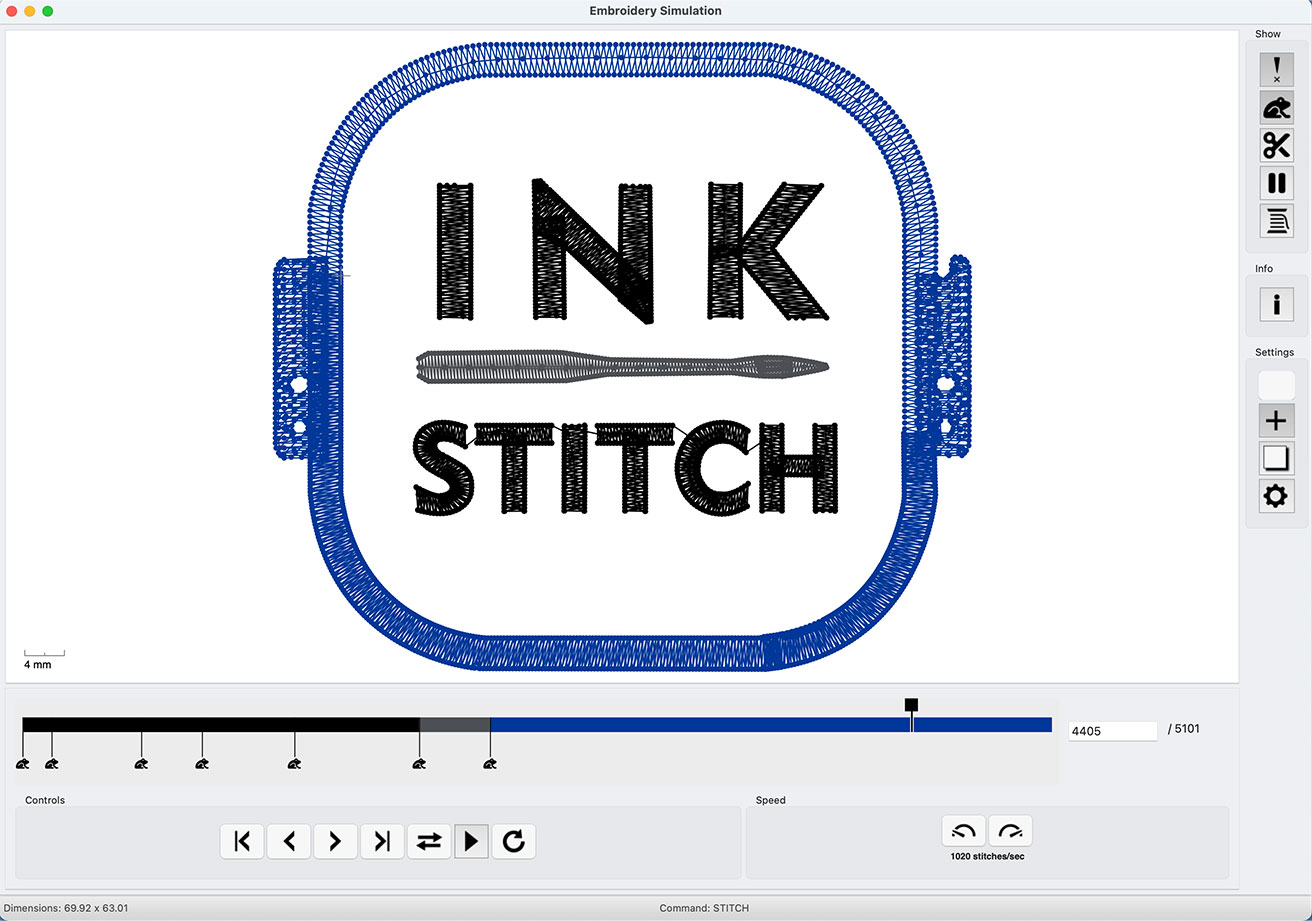
Simulation Shortcut Keys
| Shortcut Keys | Effect |
|---|---|
| start animation | |
| pause animation | |
| forward | |
| backward | |
| speed up | |
| slow down | |
| one frame forward | |
| one frame backward | |
| Jump to previous command | |
| Jump to next command |
It is also possible to zoom and pan the simulation with the mouse.
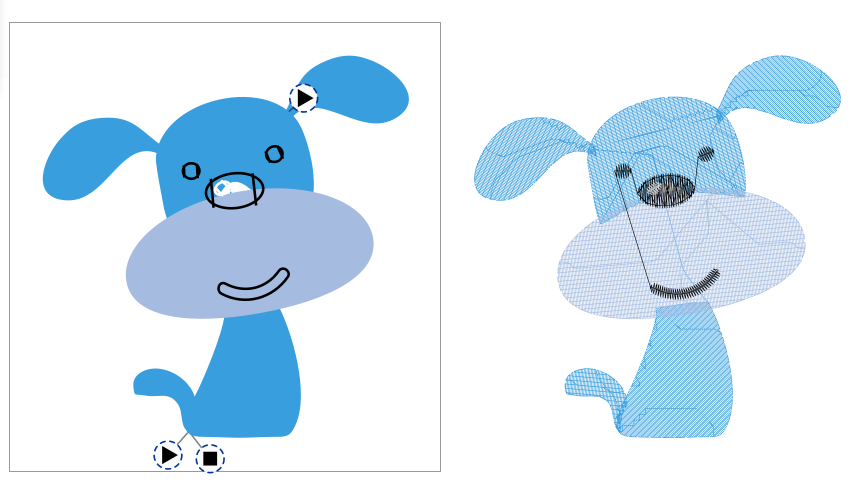
Stitch Plan Preview
Run Extensions > Ink/Stitch > Visualize and Export > Stitch Plan Preview....
Instead of apllying the stitch plan, you can also use the Live preview option. Then you don’t need to undo your changes afterwards.
You have the following display options:
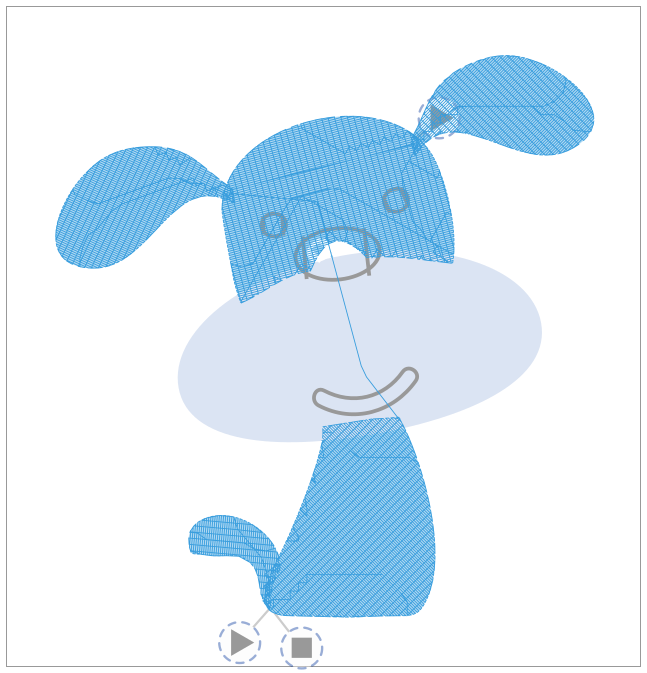
- Move stitch plan beside the canvas Displays the preview on the right side of the canvas. If not enabled, the stitch plan will be placed on top of your design. In that case you may want to update your design visibility to eather hidden or lower opacity.
- Display layer visibility defines the visibility of the original design layer.
- unchanged leave it as is
- hidden hide the original design
- lower opacity display original design with lower opacity
- Needle points displays needle points if enabled
Undo Stitch Plan
Using a stitch plan overlay with hidden or lower density elements helps to get a visual idea of how the design will look in the end. Sometimes it can be helpful to keep the stitch plan as a visual help while working on new elements. But for the export or for changes at existing elements during the workflow you will need the original elements back. Delete the stitch plan, unhide original elements or reset the opacity to normal isn’t a lot of fun. This extension is meant to help with this workflow.
Run Extensions > Ink/Stitch > Visualize and Export > Undo Stitch Plan Preview
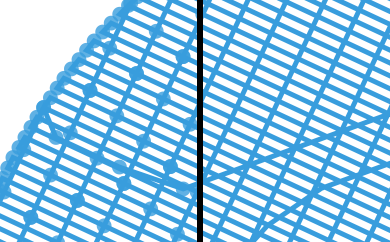
Density Map
- Select objects if you want the density map only for some objects, otherwise run without any selection
- Run
Extensions > Ink/Stitch > Visualize and Export > Density Map - Set color ranges and apply
- Inspect (zoom in)
- Undo with
Ctrl + Z
This will display red, yellow and green dots on top of your elements so you can identify areas of high density easily.
Print PDF
Information about the print pdf preview are collected in an other section: more info about the pdf export