Licorne obtenue en arrangement automatique de points droits
Running stitch Unicorn
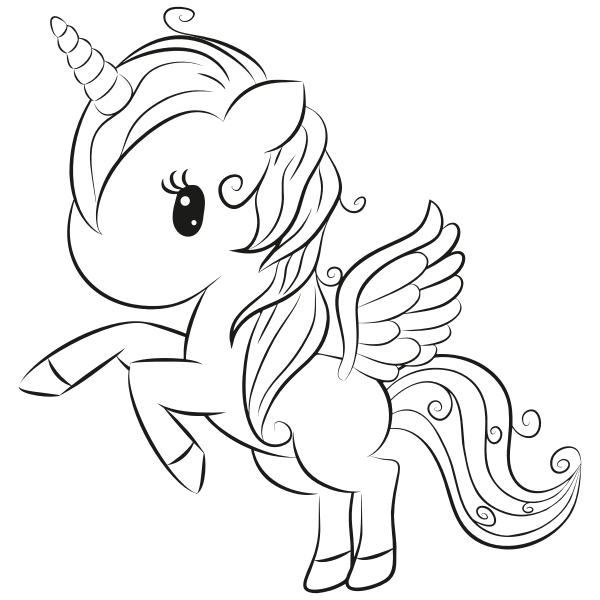
We start with this image , downloaded as a png from https://freesvg.org/1539642047 :
This is the result :
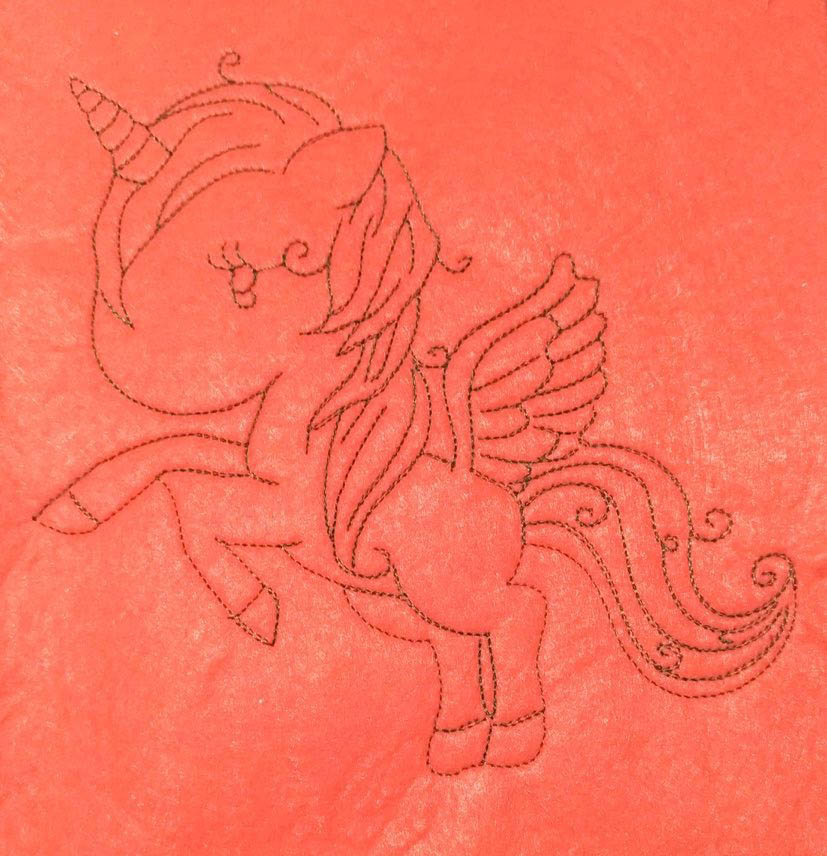
with very few effort….
The svg file contains all the steps
-
Image Layer: starting image
-
Step 1 Layer :Vectorize with
Path/ Trace bitmap
These parameters were applied
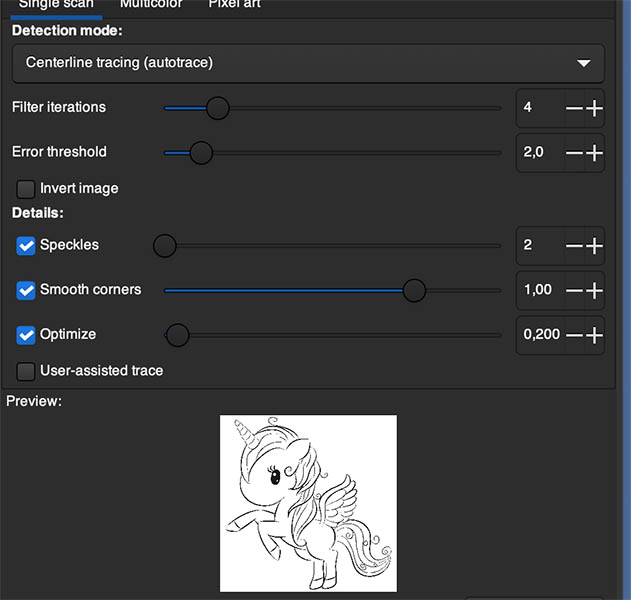
Very important: chose “centerline tracing” as detection mode
- Step 2 Layer : improving the path
Path/ Split PathExtensions > Ink/Stitch > Troubleshoot > Cleanup documentto remove the very short paths ( 20px was chosen)
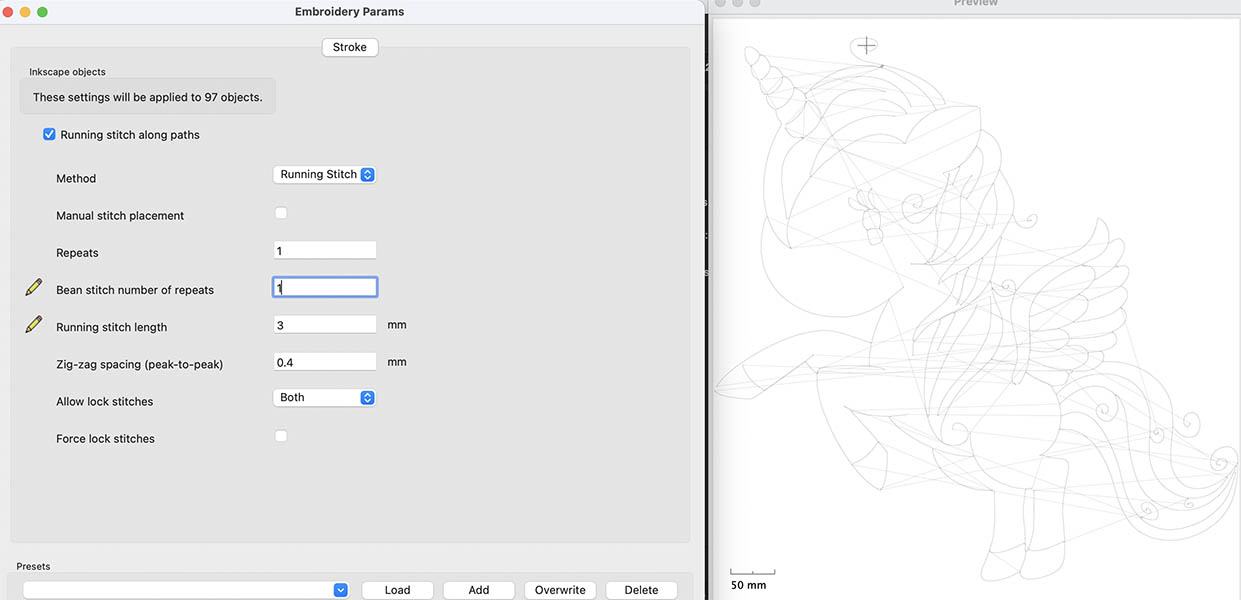
- Step 3 Layer: Embroidery parameters
- Select all paths,and set stroke style to any dashed
Extensions > Ink/Stitch > Params.
Chose running stitch length, and bean stitch number of repeats.
You will see a lot of thread jumps.
-
Step 4 Layer
Extensions > Ink/Stitch > Tools: Stroke > Auto-route Running Stitchenabling only “Add nodes at intersection”.Underpaths are added and now
Extensions > Ink/Stitch > Visualise and Export> Simulator to check that only two jumps are left between eye and body.

Remark: The starting image is very high quality. When it is not as good, before using the Auto-Route extension, you may wish to use these Ellenn Wasbo’s extensions (https://inkscape.org/cs/~EllenWasbo/resources/)
- remove duplicate nodes
- remove duplicate lines
that are even more useful that their name suggest.
You may also benefit from simpliflying the paths.
