Stitching the Inkscape 1.4 Splash Screen Logo
Prepare the applique fabric
Fabric The design as it is digitized is not well suited for knit or stretchy fabric as it has some very small satin columns.
-
When you want to use a cutting machine for the applique, you’ll have a very easy time when you can simply iron it on. Therefore you may want to attach a iron-on adhesive to it.
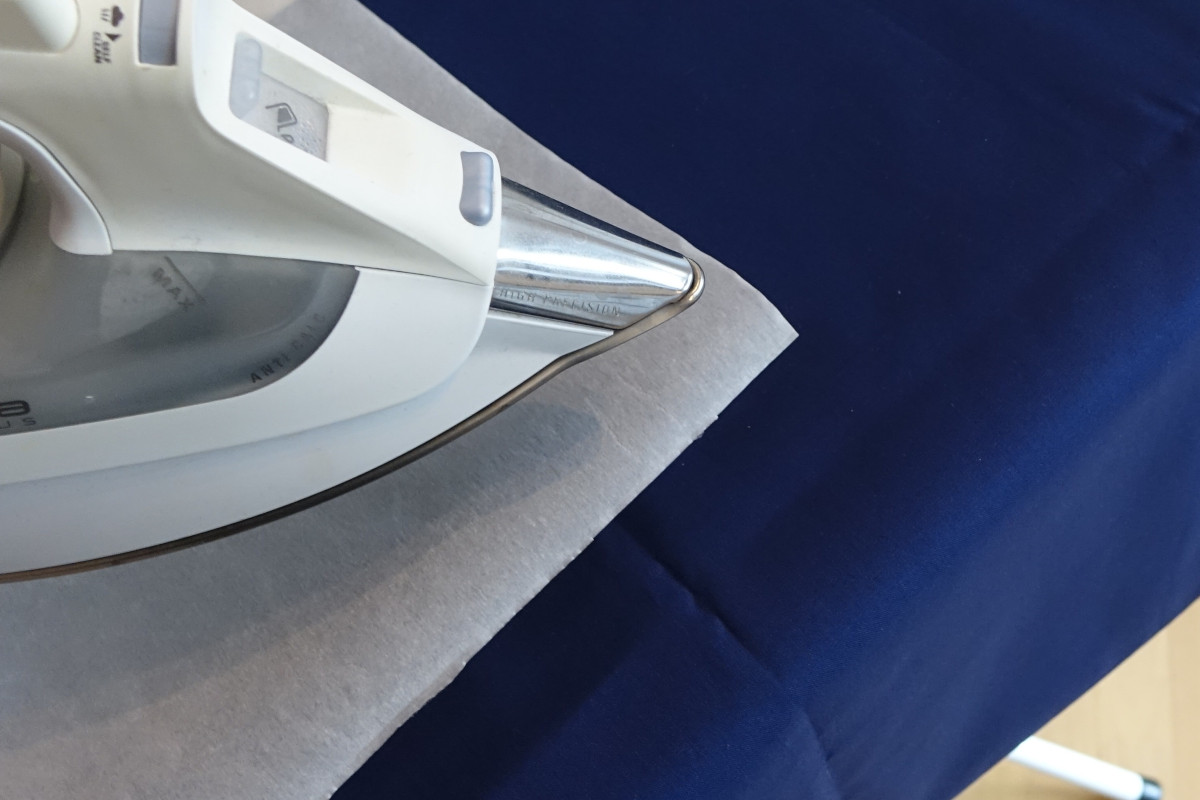
- Download SVG (cut) and send it to your cutting machine
-
Cut the shape
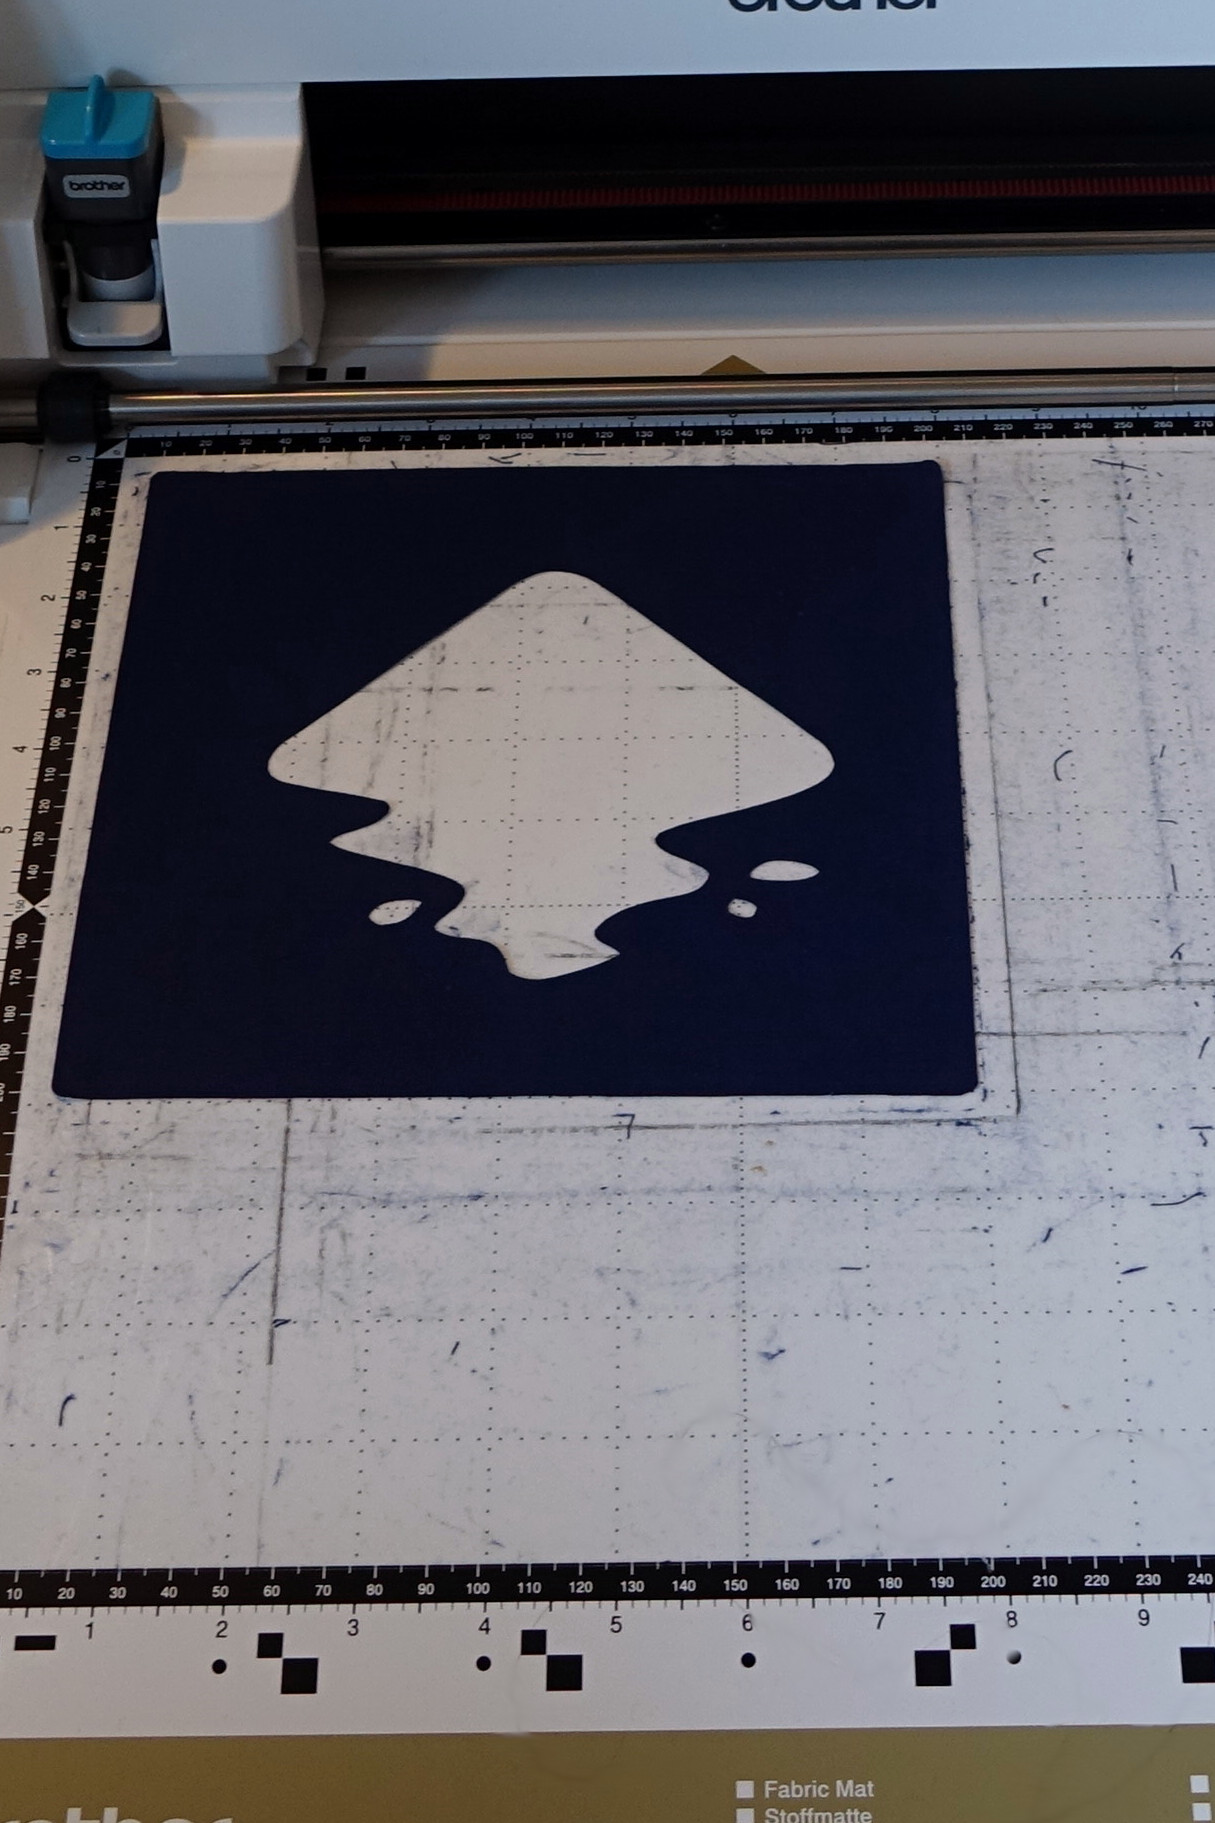
-
Remove the backing paper. I find it easier to cut with the paper still on, as there is less pulling at the fabric when you remove it from the mat. But if you want to be nice to the blade of your cutting machine, remove it beforehand.
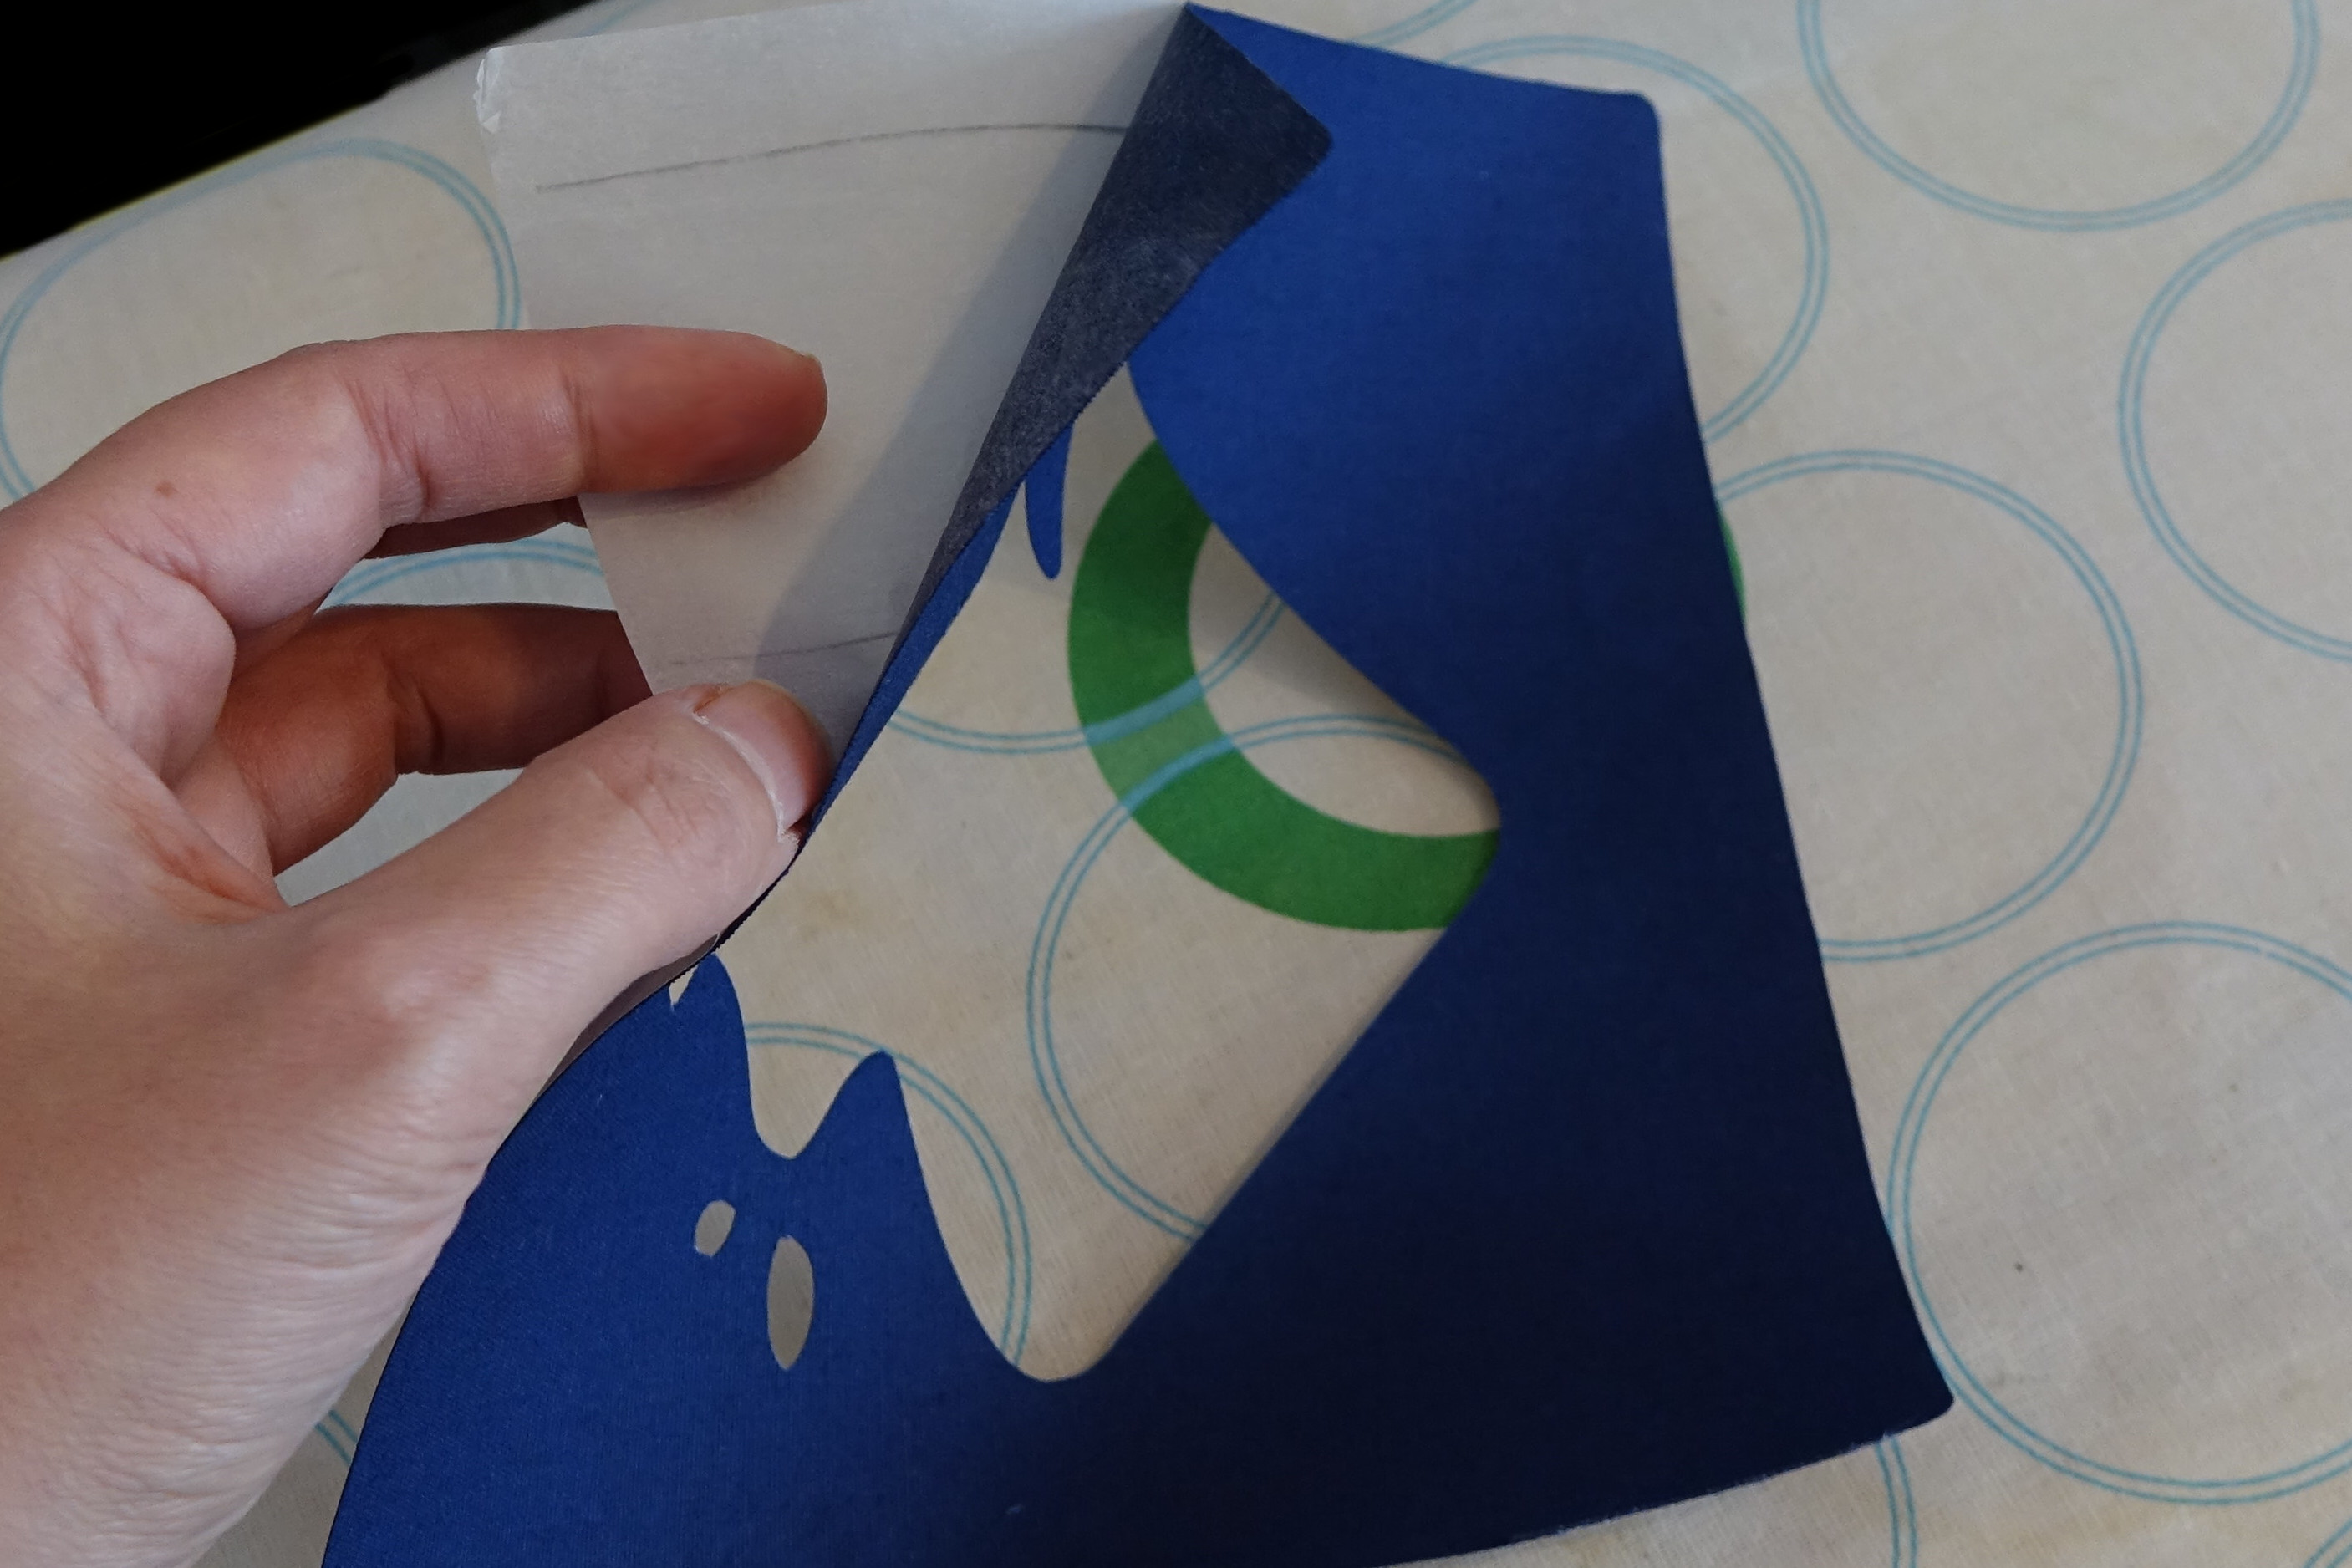
Iron-on the applique
- Download SVG (embroidery) - Original design by Inkonic
- Convert to your specific embroidery file format and load it to your machine
-
Stitch the first color. This is the placement line for your applique
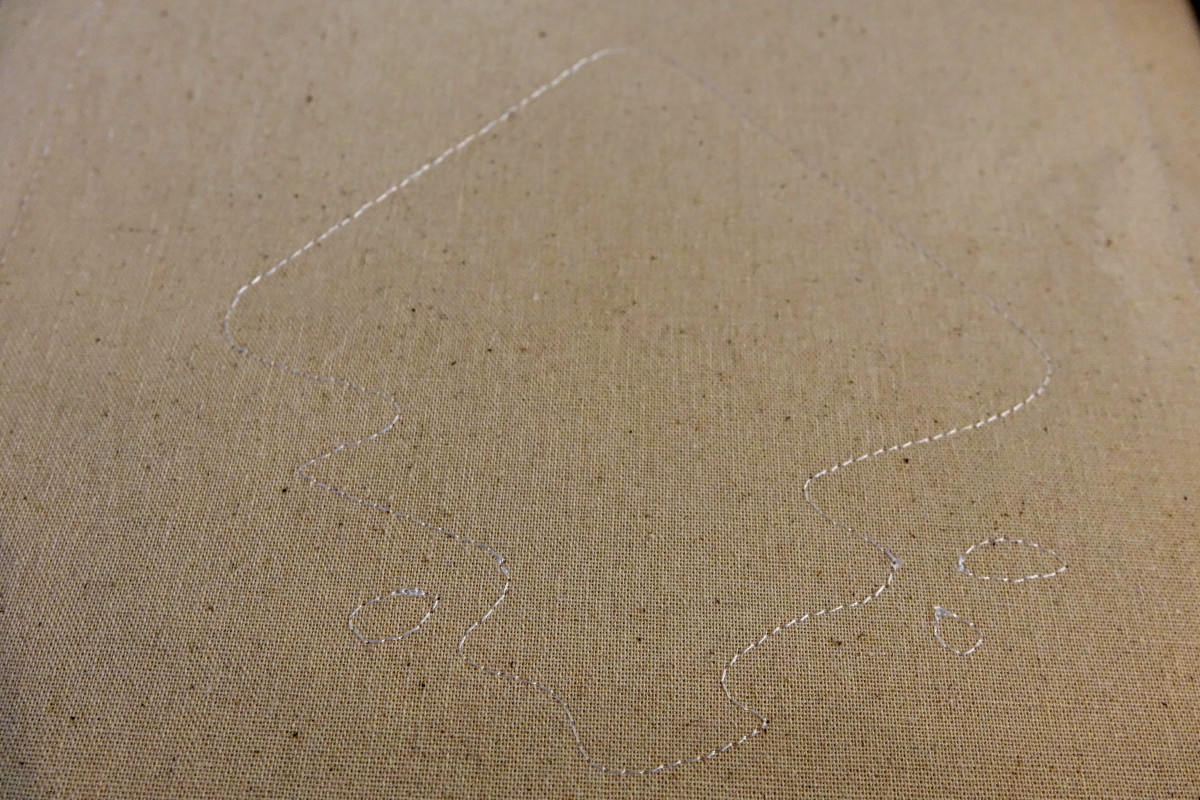
-
Place the fabric
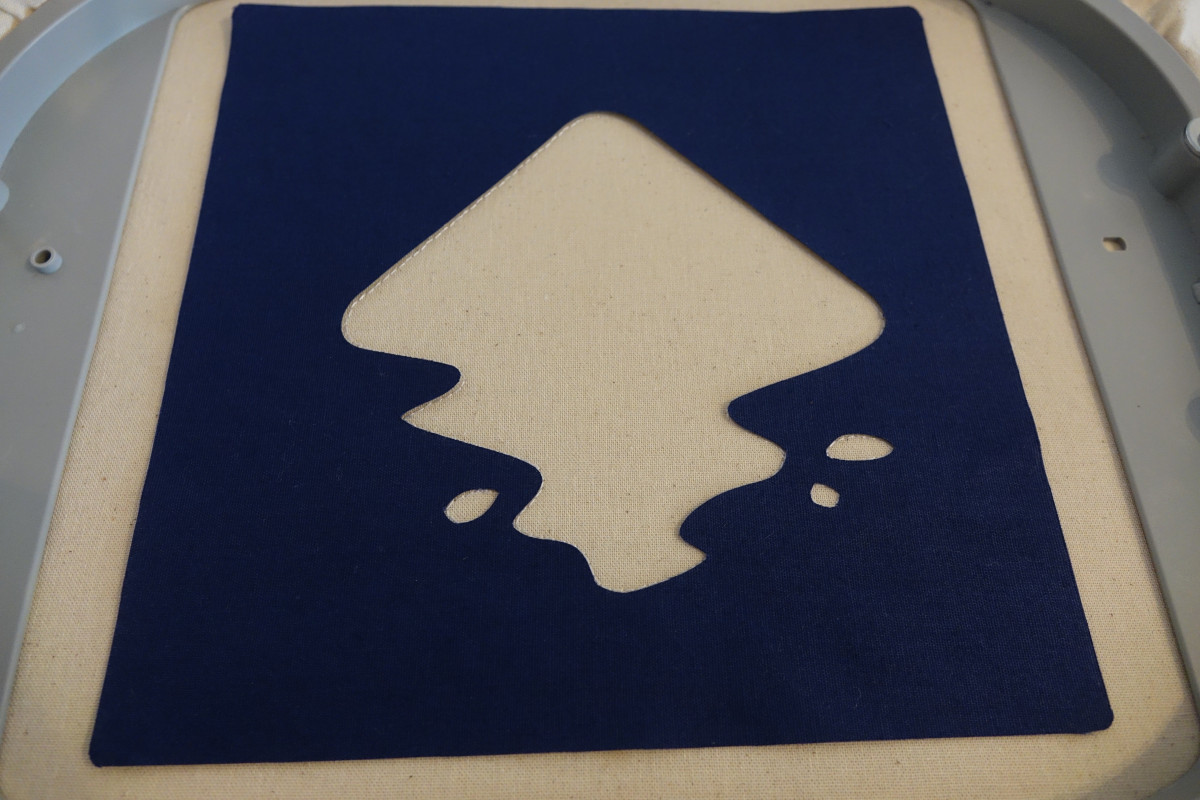
-
Lay a wet cloth on top and iron it onto the bag
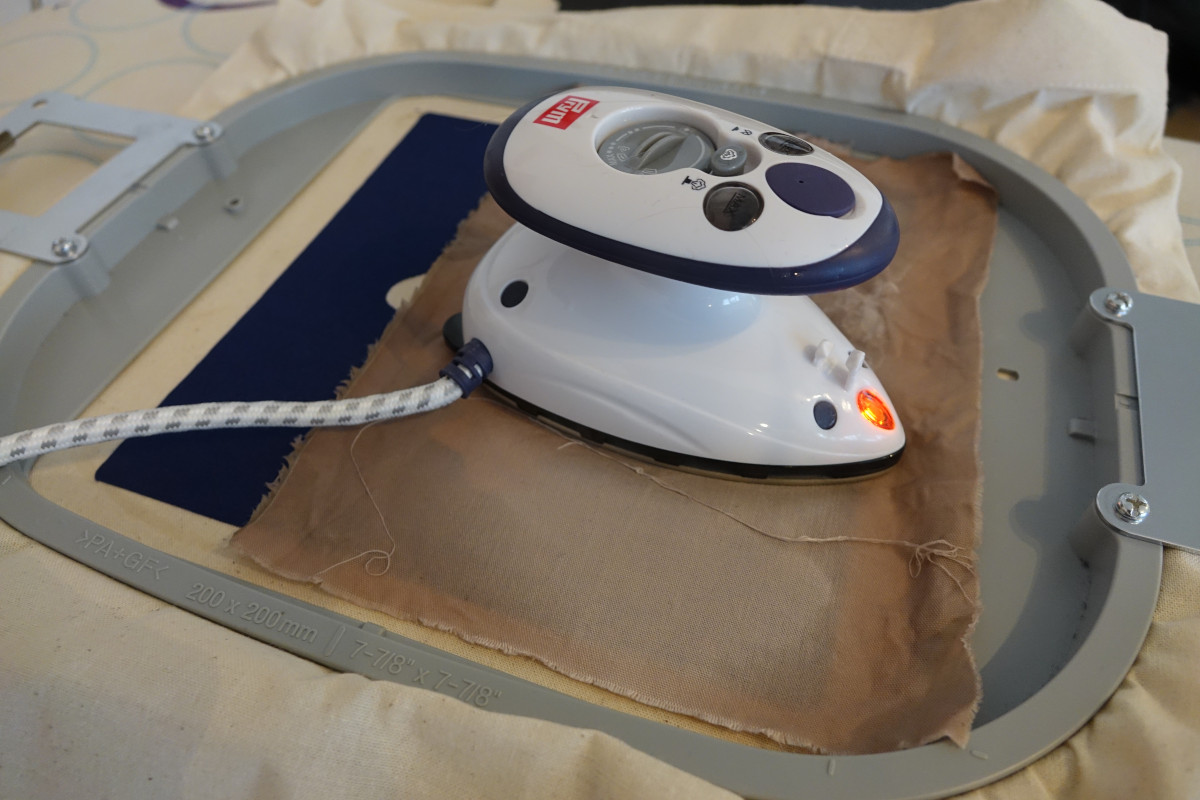
Stitch out the design
-
First white
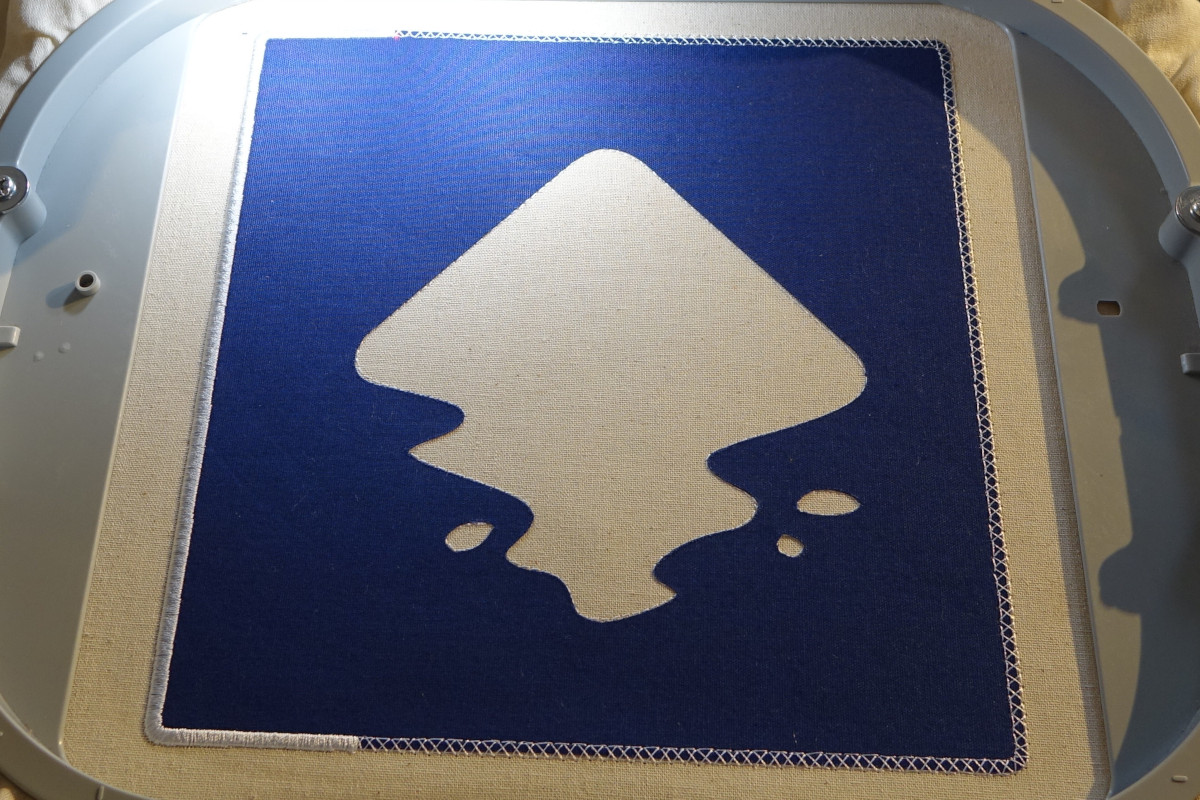
-
Then beige
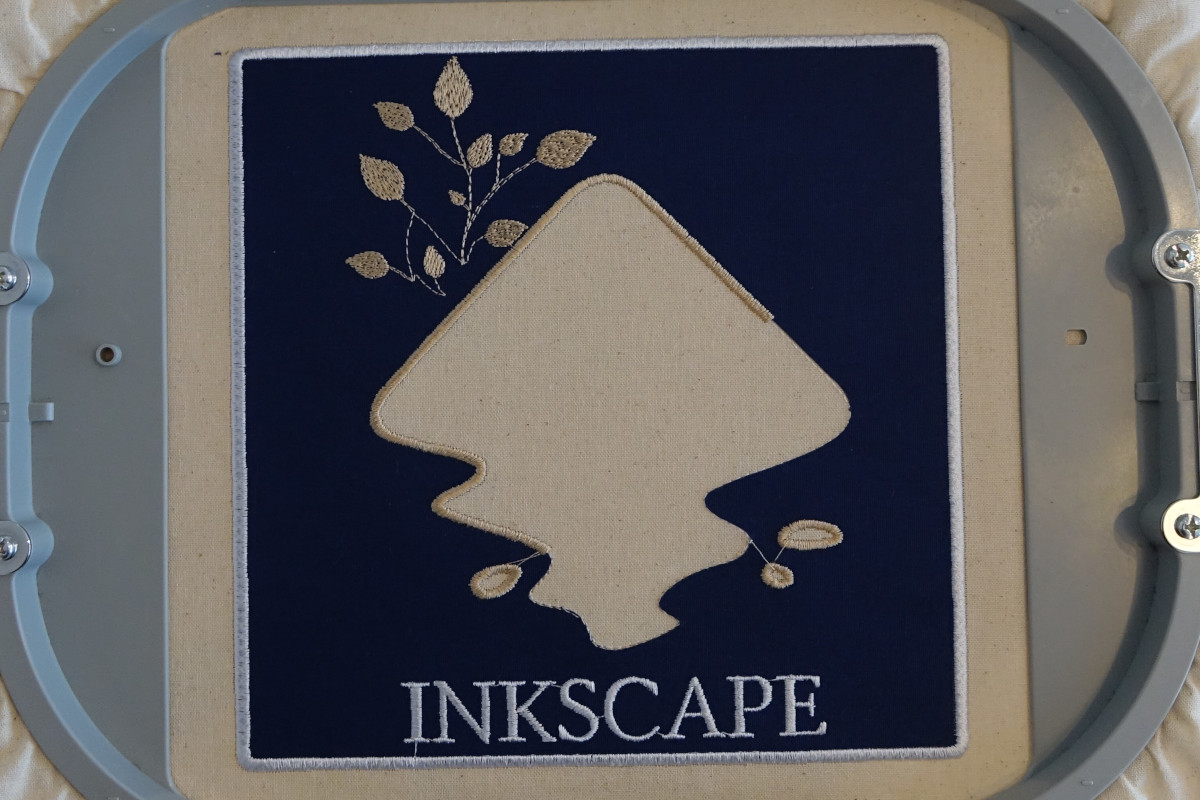
-
Blue

-
Beige again
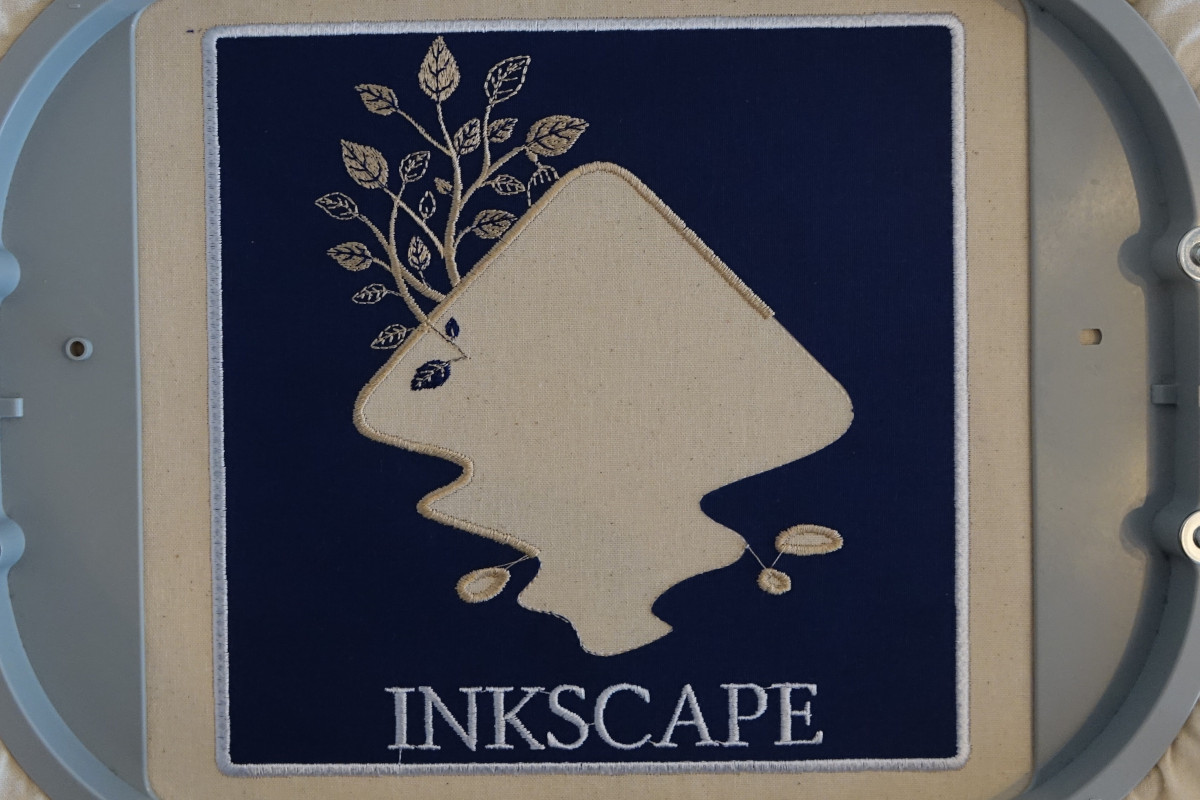
- Blue again
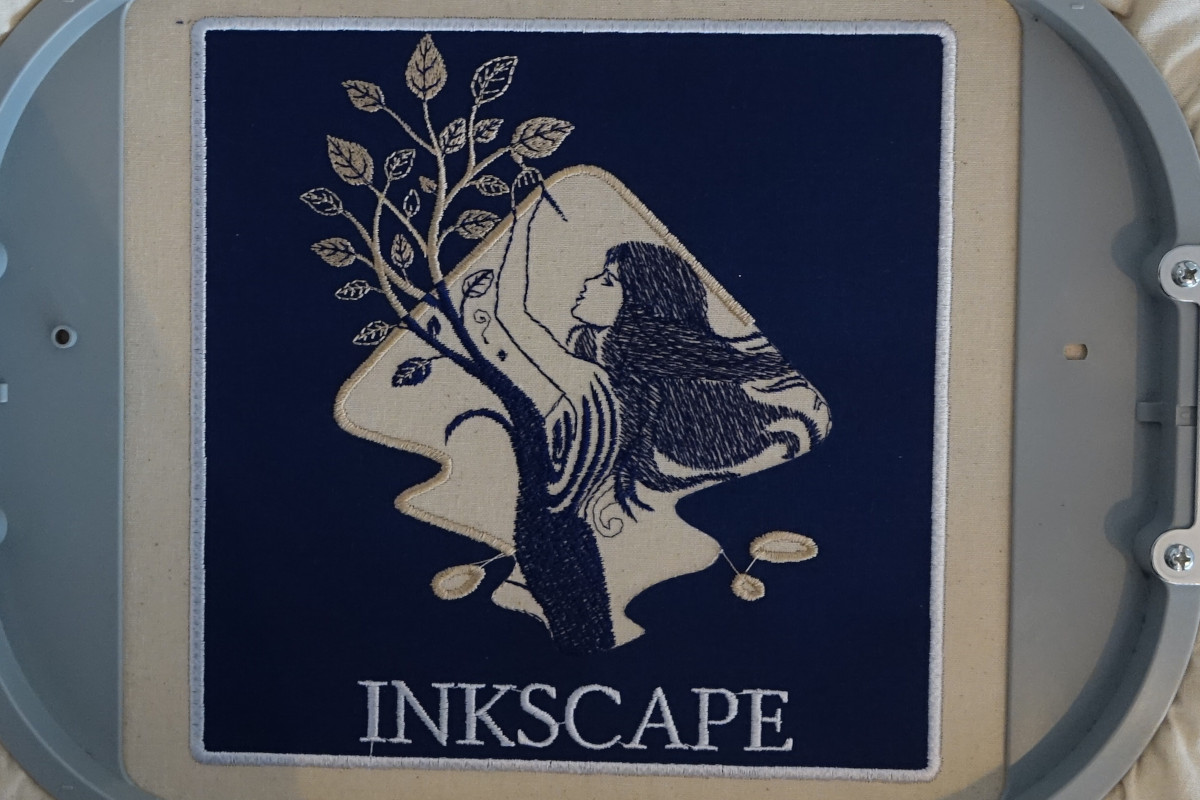
-
And finish up with beige
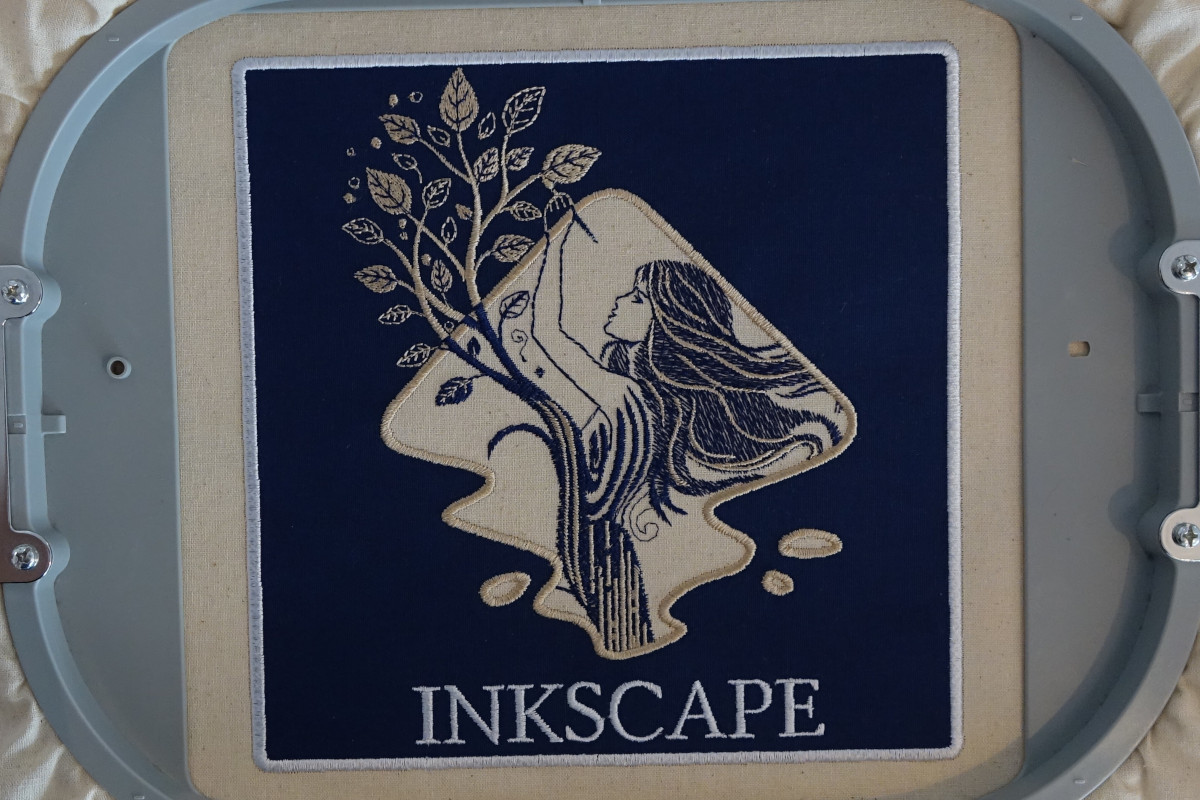
- Cut jump stitches if your machine hasn’t already
Finished bag
