Circular Fill Monogram
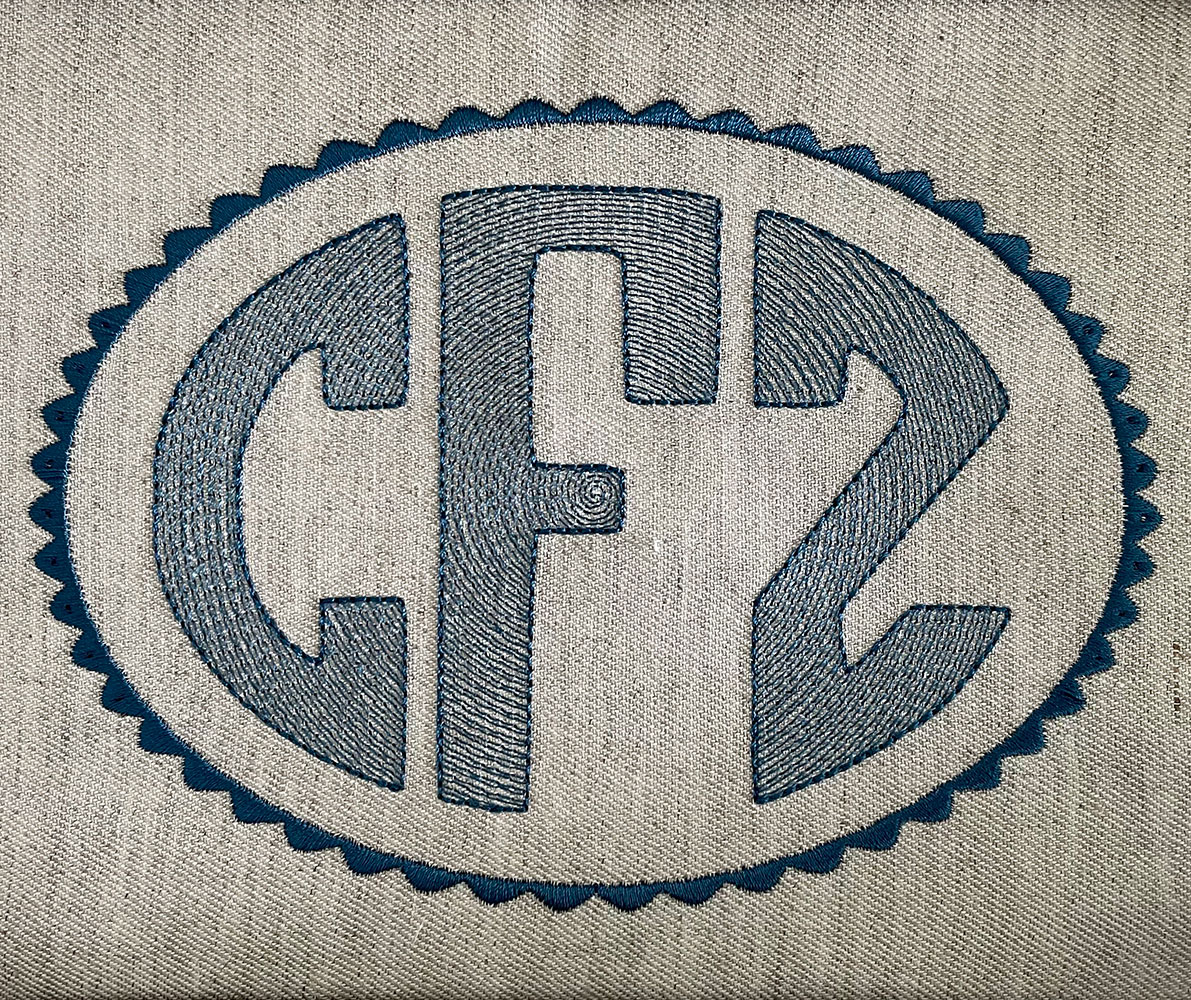
This tutorial is not using Ink/Stich Lettering
This method does not allow for small letters (aiming to 5cm hight is good)
To create the starting paths you may either use one of the monogram fonts already installed on your computer, for example this one, or use one of the websites allowing you to create monogram such as that one
This was the starting point
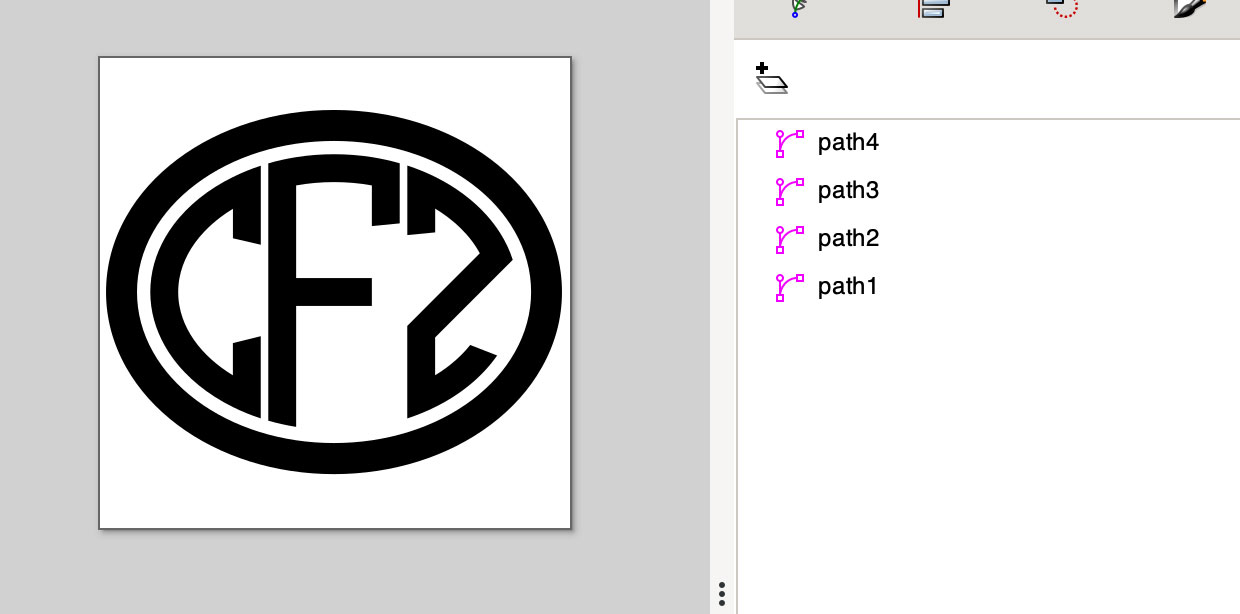
Circular Fill Letters
If you used a system font, don’t forget to convert the text into an object
Now you only need to:
- Select the 3 paths that correspond to the 3 letters (they should be fill, no stroke)
Extensions > Ink/Stitch > Params- Chose Circular Fill as method
- disable underpath
- from the underlay tab, disable underlay
- and chose your favorite parameters

Each letter is filled with circles centered on the letter own center.
To get all circles from all letters to share the same center, use target position:
- Select all 3 letters and lower their opacity
Extensions > Ink/Stitch > Commands > Add command to selected objects- Chose “Target position” and Apply
- On the canvas, move the 3 command symbols till their markers are overimposed.
- Run Simulation and enjoy the result
Satin Border
The 4th path is also a fill , to turn it into a satin column :
Extensions > Ink/Stitch > Tools:Stroke > Fill to Stroke- Uncheck everything and Apply
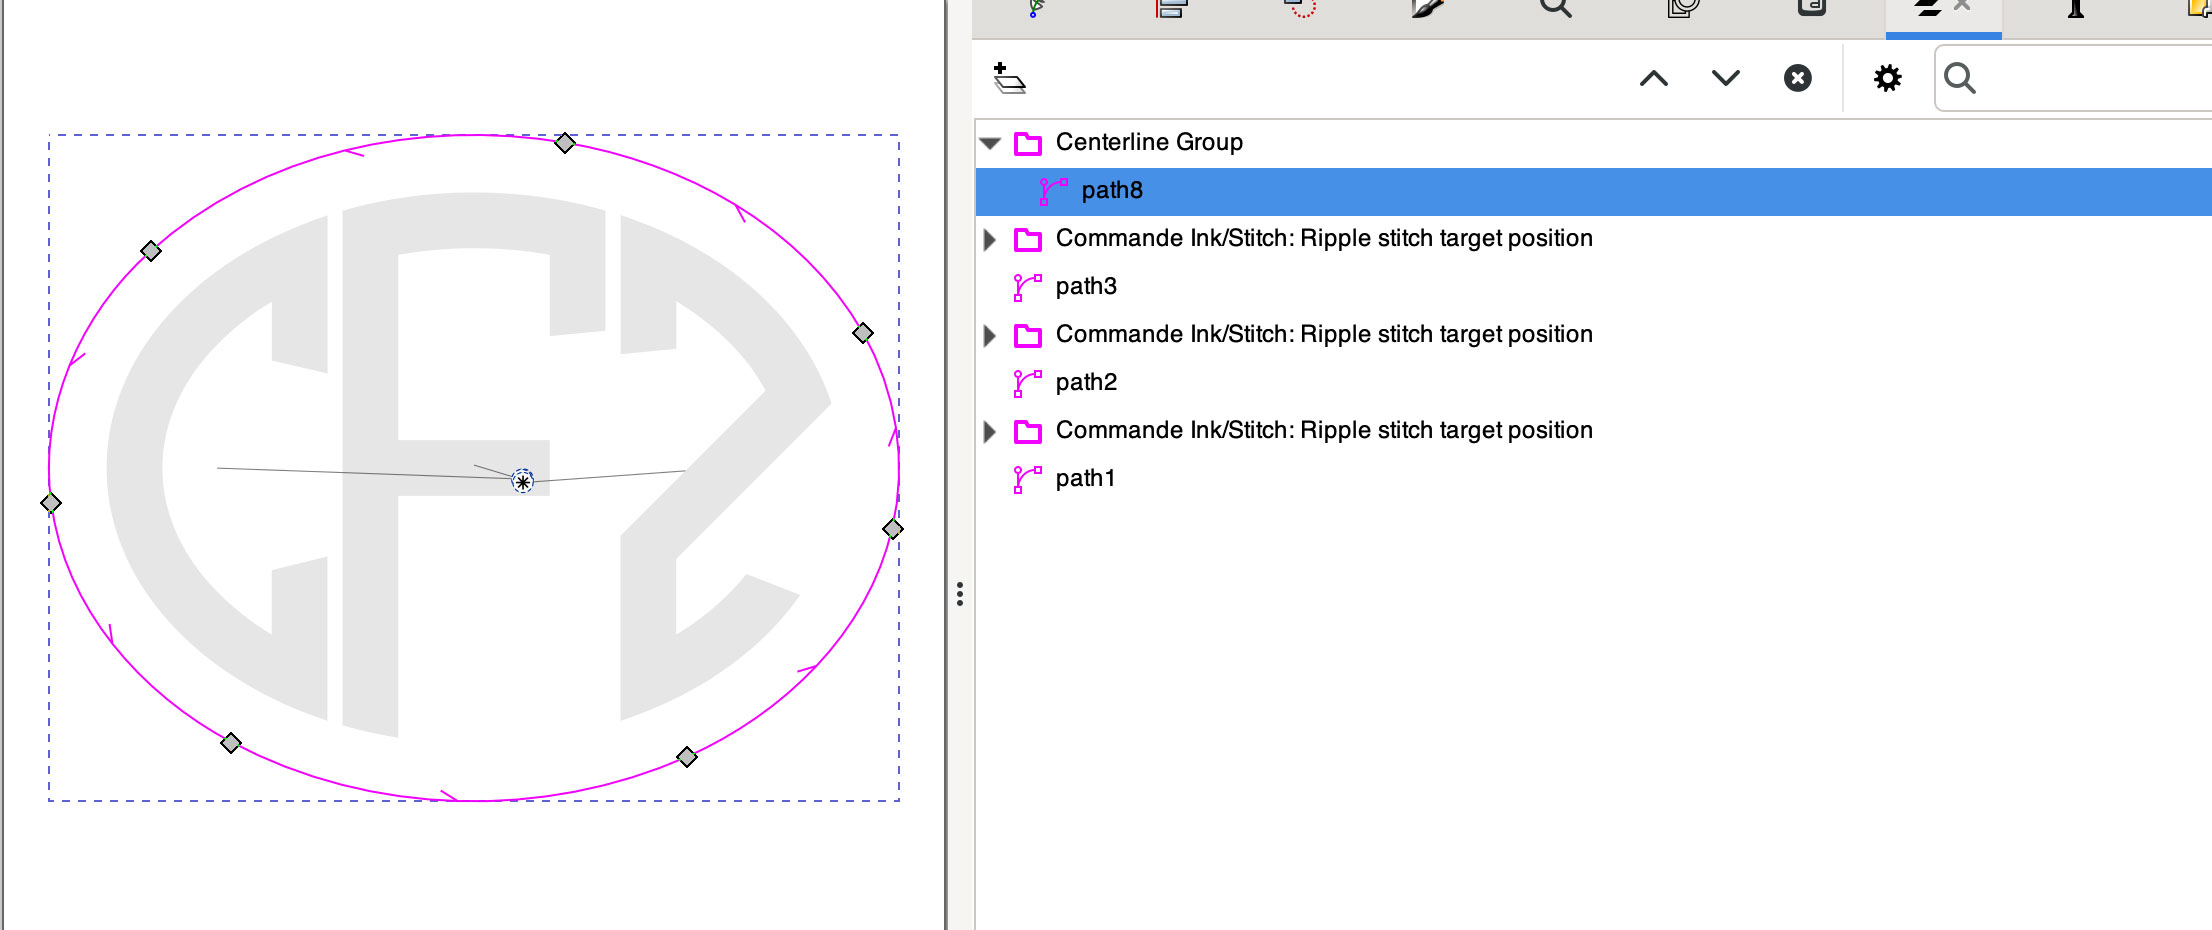
Select the newly created path
-
Path> Simplify -
Extensions > Ink/Stitch > Tools: Satin > Stroke to Live Path Effect Satin
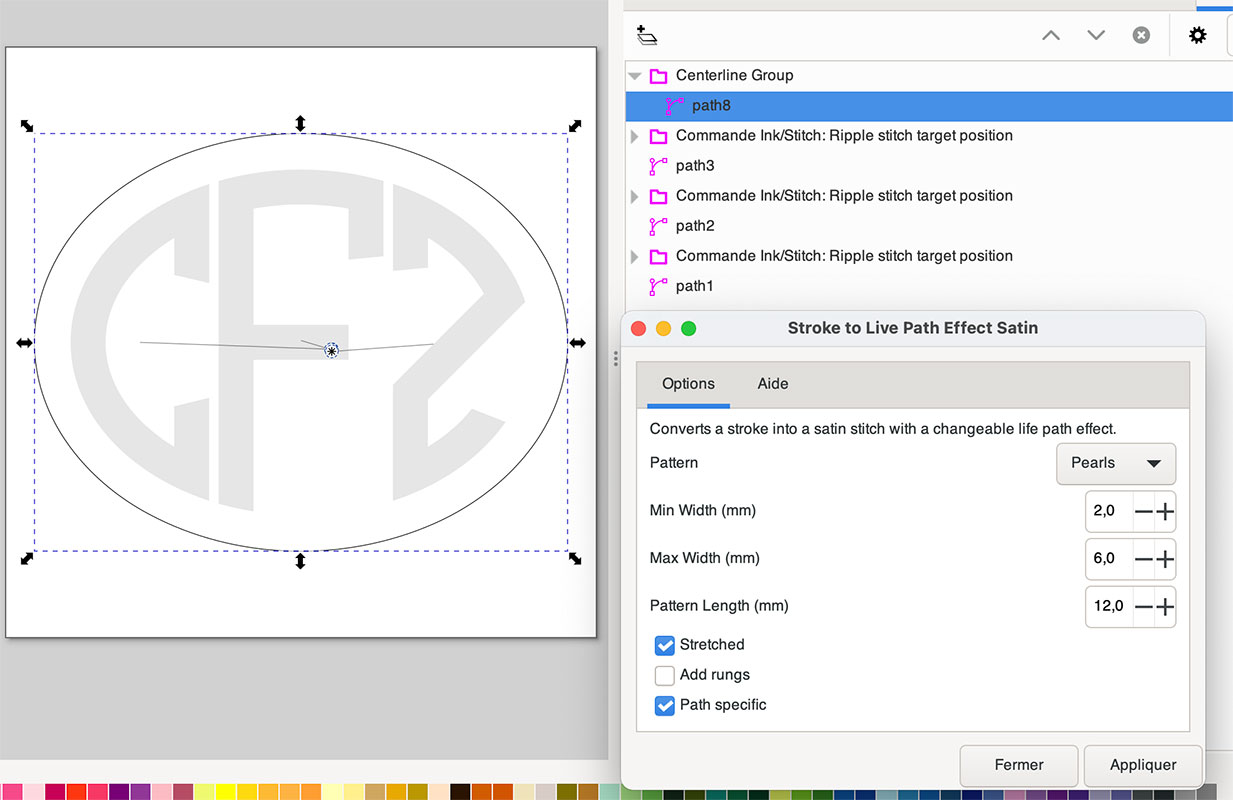
- Apply
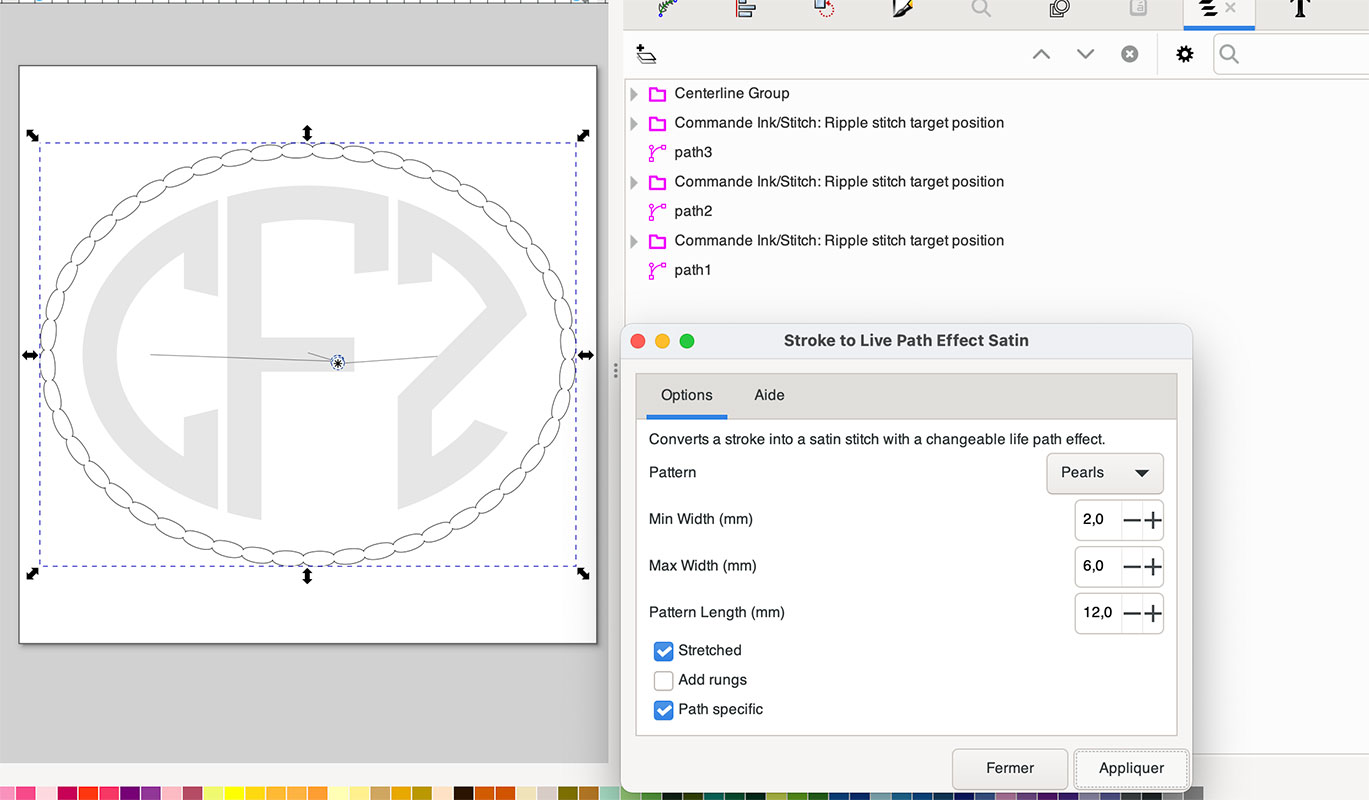
- Close Stroke to Live path effect Satin
To modify the satin pattern
with the satin border still selected :
- Path> Path Effect
- Click on “Modify on canvas” in Pattern source
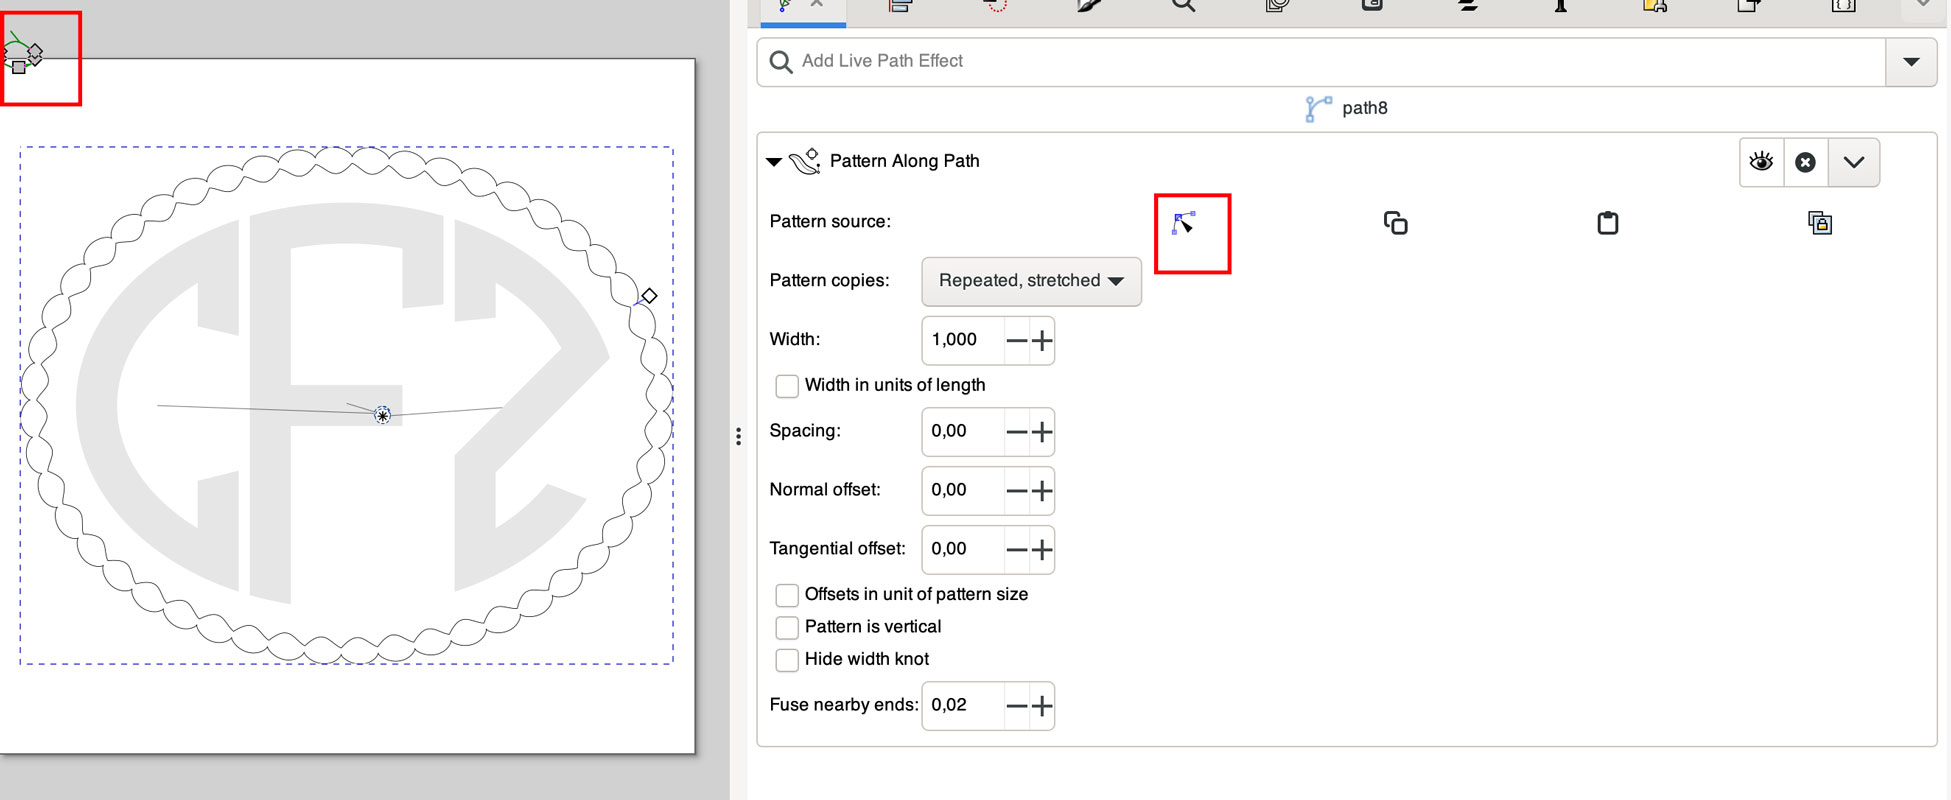
- Modify the pattern: here one rail was flattend and width was increased.
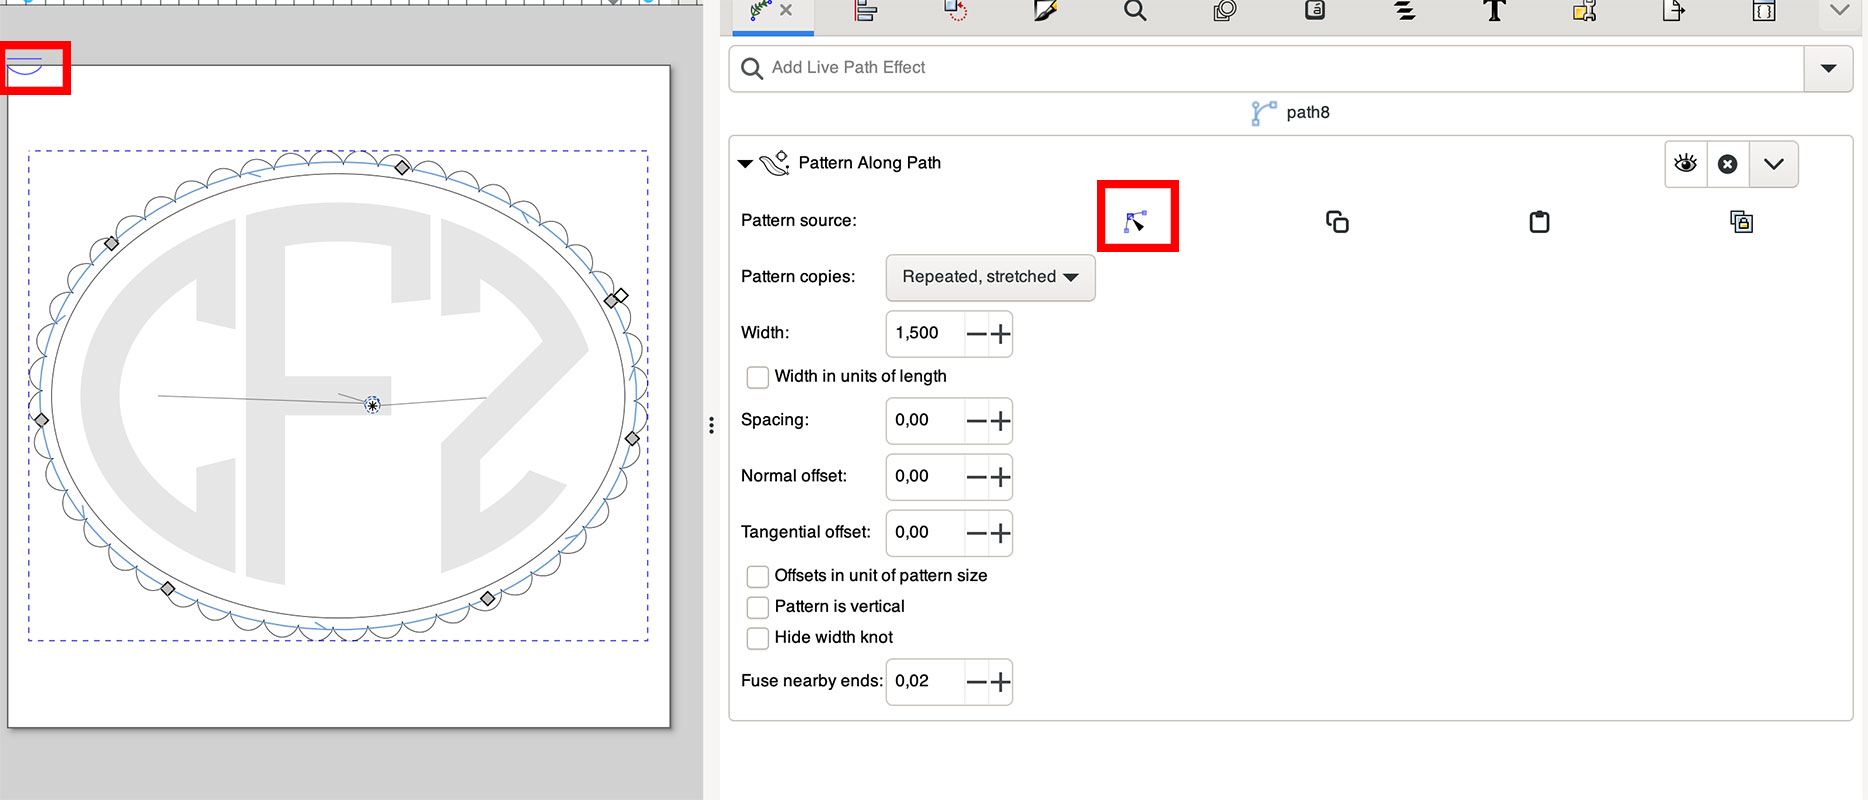
Modification’s effect is immediatly seen on the canvas.
Embroidery is ready. You may keep the live path effect Satin for further modifications.