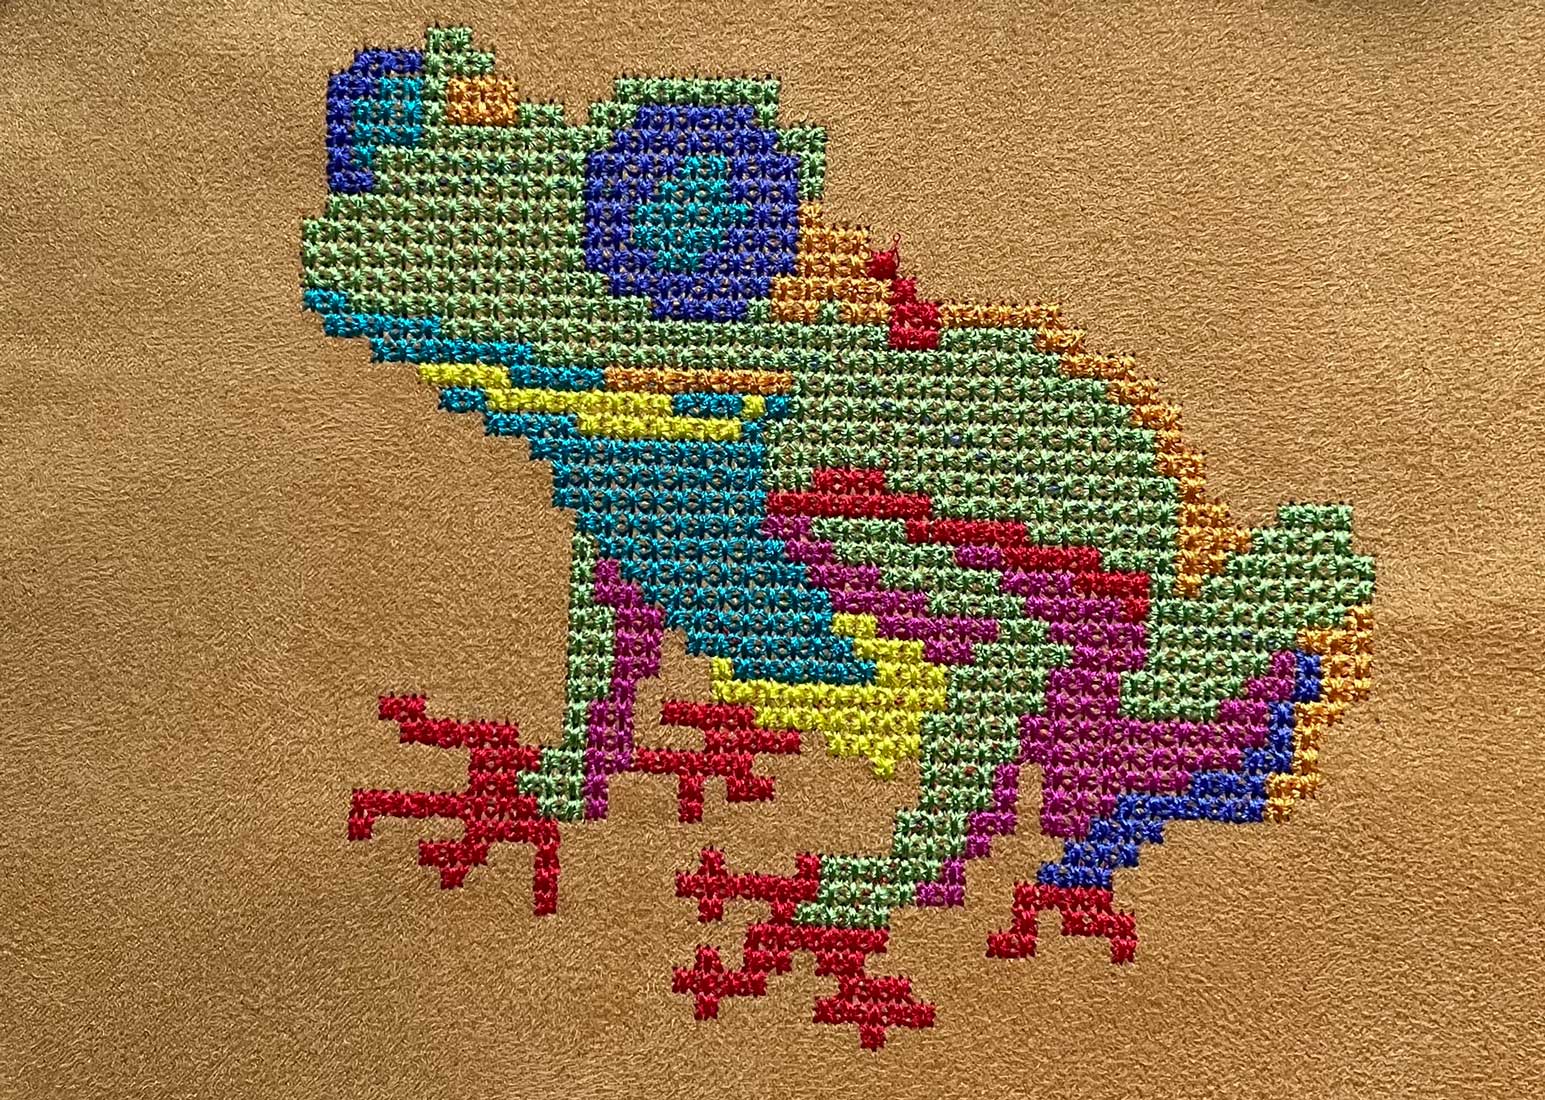
Point de Croix
Ceci fera partie d'une prochaine version d'Ink/Stitch. Ce n'est pas encore intégré dans la version courante.
De quoi s’agit-il
Le point de croix imite les techniques traditionnelles de broderie à la main.
Il se caractérise par de petites croix régulières, ce qui donne à l’image brodée un aspect plat et géométrique.
Comment le créer
- Dessinez une forme fermée avec une couleur de remplissage.
- Ouvrez la boîte de dialogue des paramètres.
- Sélectionnez « Point de croix » comme méthode de remplissage.
Grilles et paramètre de couverture
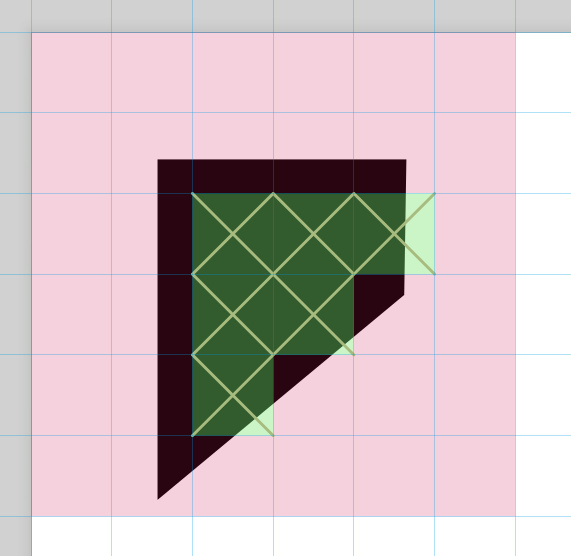
Il est important de comprendre le paramètre de couverture du point de croix.
Ce paramètre définit le pourcentage de recouvrement nécessaire pour chaque point de croix avec la zone de remplissage. Autrement dit, il détermine si un point de croix est réalisé ou non à un endroit précis.
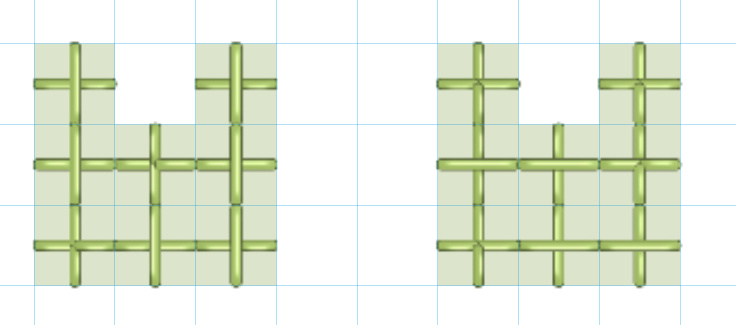
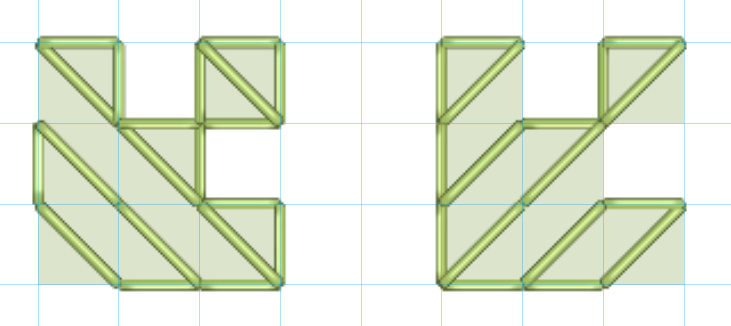
Les points de croix sont alignés sur une grille à la taille de la cellule. Par défaut, la grille est alignée sur le coin supérieur gauche de la zone de travail.
Ink/Stitch vérifie le pourcentage de chaque case de la grille recouverte par le remplissage.
Si le recouvrement dépasse la valeur définie par l’option « couverture» (50 % par défaut), un point de croix est réalisé.
Dans l’exemple suivant, seuls les parties vertes sont recouvertes à plus de 50 % par le remplissage et reçoivent donc un point de croix.
Lorsque le remplissage est déplacé sur la zone de travail, davantage de points sont ajoutés.
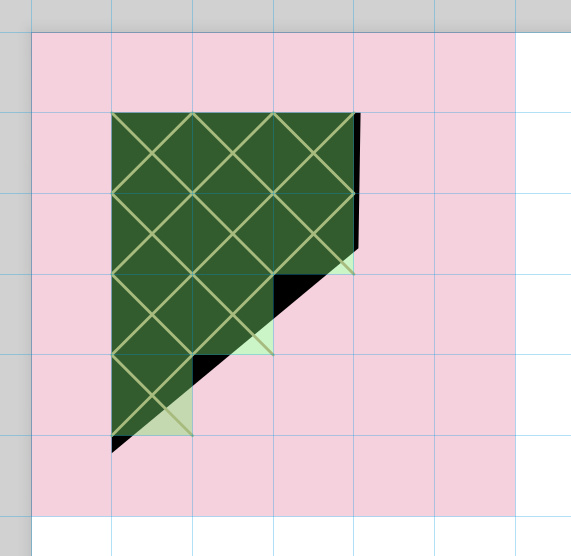
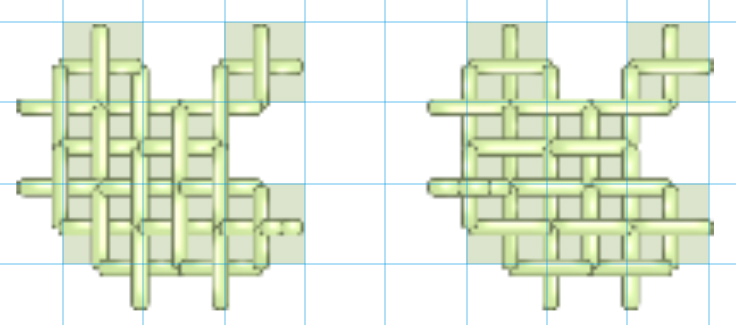
Lorsque l’option « Aligner la grille avec le canevas » est désactivée, l’élément peut être déplacé sur la toile sans que cela ne modifie le résultat du point de croix.
Mais en conséquence les zones de point de croix adjacentes peuvent être désalignées.
Méthode de point de croix
Ink/Stitch permet l’utilisation de plusieurs méthodes de point de croix.
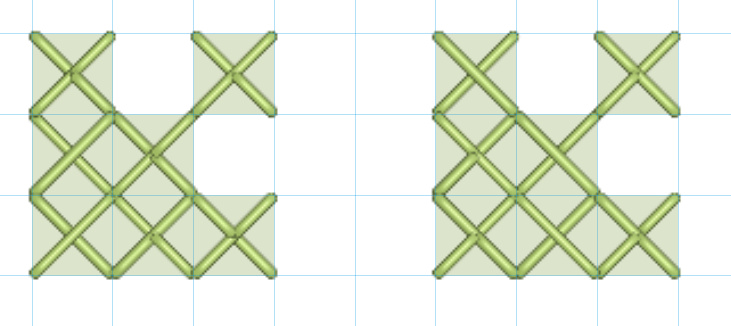
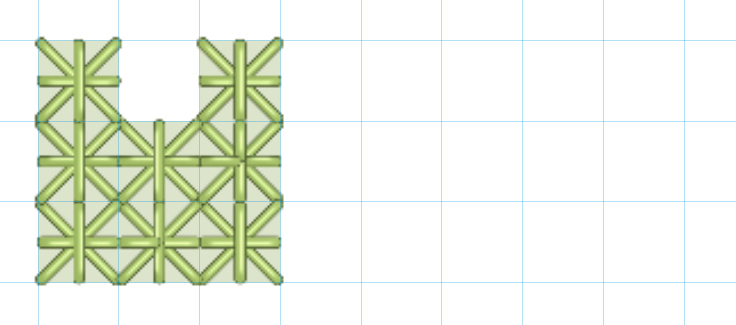
- Point de Croix et Point de Croix Retourné
C’est la méthode la plus courante. Deux diagonales forment une croix.
Lorsque deux croix sont reliées uniquement en diagonale, ajoutez une petite valeur d’expansion au remplissage sous-jacent pour assurer une broderie combinée sans saut.
- Demi-Croix et Demi_Croix Retournée
Les demi-croix ne constituent qu’un demi-point de croix (une diagonale). Les chemins de dessous suivent le contour de la forme.
- Point de Croix Horizontal Dense et Point de Croix Horizontal Dense Retourné
Le remplissage en Croix Horizontales est plus dense.
La couverture est de 50% dans cet example.
- **Double Croix et Double Croix retournée **
Une Combinaison de Point de Croix et de Point de Croix Horizontal, avec la croix horizontale en dessous.
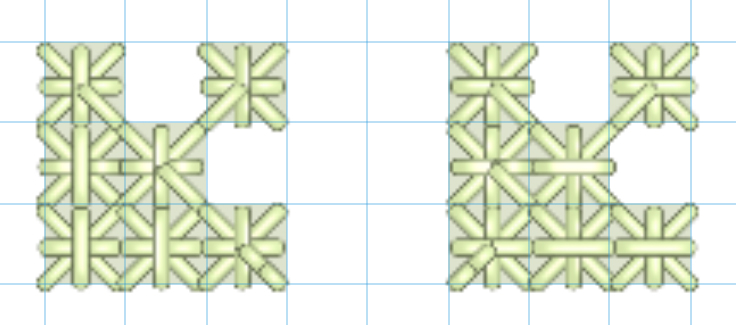
- Smyrna cross and upright Smyrna cross
Une Combinaison de Point de Croix et de Point de Croix Horizontal, avec la croix horizontale sur le dessus.
Assistant Point de Croix
Ink/Stitch inclut une extension qui vous permet d’effectuer toutes les tâches spécifiques au point de croix en une seule opération.
-
Création d’une grille pour l’alignement des points de croix (et aide visuelle pendant la broderie)
-
Application des paramètres de point de croix aux éléments sélectionnés
-
Pixellisation du contour des éléments sélectionnés pour visualiser et ajuster facilement la position des points
L’extension calcule et affiche également la longueur des points en fonction des dimensions de la grille; dans le paramétrage, la longueur maximale du point devrait être supérieure à cette valeur.
Définir les points de départ et de fin
Par défaut, le remplissage automatique commence au plus près de l’élément de broderie précédent et se termine au plus près de l’élément suivant.
Pour modifier ce comportement, définissez les points de départ et de fin des objets de remplissage à l’aide des commandes visuelles.
Paramètres
Exécutez Extensions > Ink/Stitch > Paramétres pour ajuster les paramètres selon vos besoins.
| Paramètres | Description | |
|---|---|---|
| Autoremplissage avec des points de broderie | ☑ | Doit être activé pour que ces paramètres prennent effet. |
| Méthode de remplissage | Point de Croix | Point de Croix doit être sélectionné. |
| Dimension des cellules | Défini les dimensions de la grille de point de croix | |
| Méthode de Point de Croix | Choisir la méthode (voir ci-dessus pour des informations détaillées) | |
| Aligner la grille avec le canevas | Cela garantit un bon alignement des zones de point de croix adjacentes, mais cela signifie également que le résultat peut changer lorsque l’élément est déplacé hors de la grille. Désactivez cette option pour garantir que cet élément soit brodé de la même manière, quelle que soit sa position sur le canevas. | |
| Décalage de la grille | Translate la grille de point de croix selon des valeurs données X et Y séparées par un espace. Une valeur unique induit une translation identique sur les axes horizontaux et verticaux | |
| Couverture du remplissage | Pourcentage de superposition avec le remplissage nécessaire à la création d’une croix | |
| Élargir | 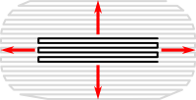 |
dilate la forme avant le point de remplissage pour compenser les écarts entre les formes en raison de l’étirement du tissu. Il est recommandé d’utiliser au moins une petite valeur d’expansion (par exemple 0,2) sur les éléments de point de croix. |
| Longueur maximum du point droit | Pour un aspect de point de croix, indiquez ici une valeur plus grande que la longueur des diagonales des cellules de la grille. Pour de très grandes croix, choisir une valeur plus petite pour eviter de trop longs points | |
| Nombre de répétitions du point triple | Détermine combien de fois chaque point doit être répété. ◦ Une valeur de 0 ne produit aucune répétition◦ Une valeur de 1 répète chaque point trois fois (avant, arrière, avant).◦ Une valeur de 2 répète le point 5 fois. |
|
| Longueur minimum du point | Est prioritaire par rapport à la valeur de la longueur minimum de point définie dans les préférences. Les points plus courts seront supprimés. | |
| Longueur minimum de saut | Est prioritaire par rapport à la valeur de la longueur minimum de saut définie dans les préférences. Si la distance à l’objet suivant est inférieure, il n’y aura pas de points d’arrêt, sauf si les points d’arrêts sont forcés. | |
| Autoriser les points d’arrêts | ☑ | Ajoute un point d’arrêt à la ou les positions choisies. |
| Forcer les points d’arrêts | ☑ | Force un point d’arrêt après l’objet indépendamment de la valeur de “Saut de fil” dans les Préférences d’Ink/Stitch. |
| Point d’arrêt initial | Sélectionnez le type du point d’ancrage. | |
| Point d’arrêt final | Sélectionnez le type du point d’arrêt. | |
| Arrêter après | ☑ | Faire faire une pause à la machine après avoir brodé cet objet. Si une position d’arrêt a été définie, elle est rejointe par un saut avant la pause. |
| Couper après | ☑ | Couper le fil après avoir brodé cet objet. |