Mandala
 |
 |
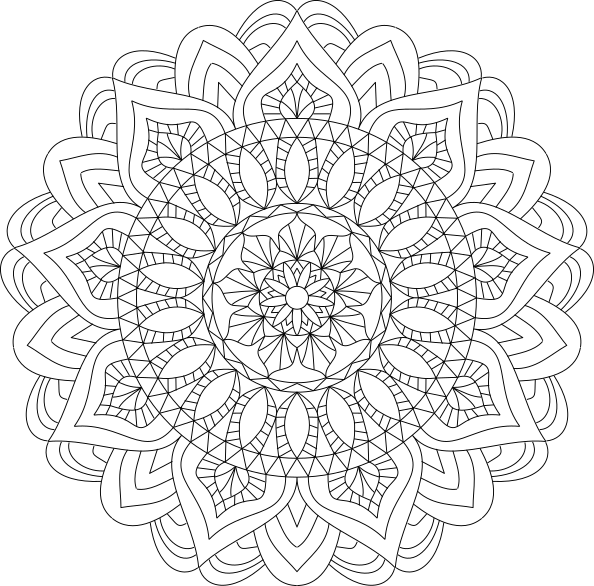
Inkscape allows for quick and simple mandala construction. If one constructs mandalas with very few isolated objects, then Ink/Stitch redwork tool let you convert them to embroidery designs with no or very few jumps or trims.
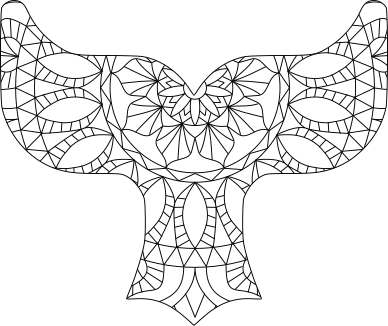
You may chose to embroider a whole mandala, or use one to create a fun fill.
The Inkscape tools that allow for an easy mandala construction are the two path effects “Mirror Symmetry” and “Rotate Copies”
If you prefer video tutorials, or need more help for each step Gus Visser has a nice detailed one on the same topic.
Mandala Creation
First steps , simple mandala
Let’s start with a rather basic mandala. As every mandala, it is full of symmetries.
 |
 |
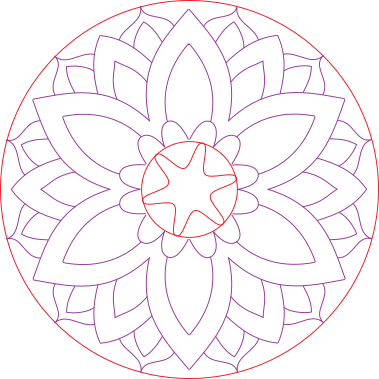 |
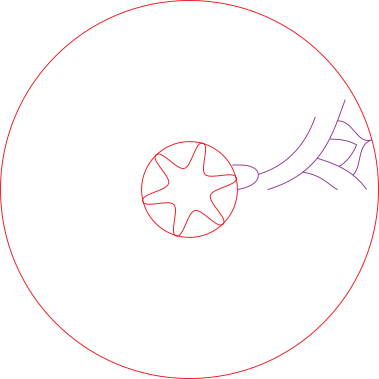
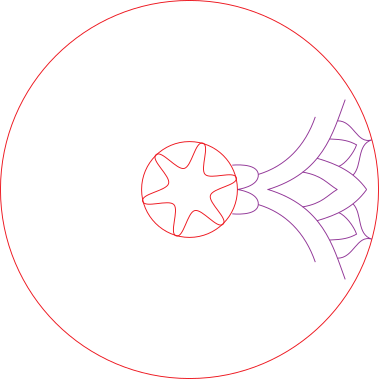
In this mandala, we have :
- in red : two circles and a star that already spread on the whole surface and don’t need any path effect.
- in violet : un group of paths with the two path effects “Mirror Symmetry” and “Rotate copies”, with number of copies set to 6.
This is my way to do it:
- Create a new inkscape document, in document properties make it square (mine is 200mm wide and tall)
- Create at least 3 guide lines. I set all to go through the center of the page [(100,100) for me] with angle 0° and 90° for horizontal and vertical guide, and the third one with angle 30° (mirror +rotate will create 12 copies of each path and 360/12=30)
-
Activate magnetism, only choosing the guide and nodes option.
-
I first create the objects that need no path affect, and then use “Align and Distribute” to center them both horizontally and vertically with respect to the page.
- Then i create a first path in the triangle between the horizontal and the 30° guide
- Group this path with itself.
- We will add the path effects to the group and all new paths added to the group will also have 12 copies.
Add Mirror Symmetry path effect
Chose Horizontal page center mode and leave the other params default values.
Add Rotate copies path effect
- Chose normal mode
- 6 copies
- starting angle 0°
- rotation angle 60°
- leave other default values
- check “distribute evenly”
- With the path effect selected, select the node tool to show the rotation handle, and move the center of the rotation exactly to the center of the page.
Mandala construction
It is now time to add paths in the group. I like to start with objects with both end points on the 0° and 30° guideline. If all your settings are right the 12 copies should look like a single path (less than .5mm holes are fine)
Download simple mandala sample file
Complexifying the mandala
Download less simple mandala sample file
Just add more paths ….
But if you want to add paths such as the green paths in the above sample, that is paths that are either on one of the guidelines or that cross one of them, then you don’t want them to carry the mirror effect. Create a new group with only the rotate copies effect and put them inside.
Complexifying even more
You don’t need to have the same number of copies everywhere. Here i switched to 9 copies for the external part of the mandala. I create 2 new groups for that
Download complex mandala sample file
If you wish to see more samples you can also download these samples
Make a redwork out of it
You only have to
- Select everything.
- Extensions > Ink/Stitch > Tools: Stroke > Redwork Chose 0,5 mm for “Connect lines below this distance “ and “minimum path length”.
- Go for a nice promenade, or have a coffee, or ring someone for a nice talk…. when you come back, you will be able to
- Admire the result. If you get several connected groups it is become some object has no intersection with any other object (being closer than .5mm is like intersecting), you may want to correct that.
Using the mandala for a fill
Do not use the redworked mandala but the groups with the path effects
- Group everything together and let us name this group mandala.
- Group a second time, and name this group mandala_clipped
- In this sample i used a text with the ojuju font. Any text will need to be first transformed into a path (Inkscape > Paths > Object to path)
- Make a copy of the text (the path version of it, that is)
- In the object dialog, put one of the copies above the mandala_clipped group, select both then Inkscape > Objet > Clip > Set Clip
- By selecting the mandala group (not the mandala_clipped group) you can move the mandala to fine tune what part of the mandala actually appears.
- Move the second text copy above the clipped group, select both and Extensions > Ink/Stitch > Tools: Stroke > Redwork
- Chose 0,5 mm for “Connect lines below this distance “ and “minimum path length” , check combine and apply.
- Go for a walk, but a shorter one this time, it should be quicker.
- Of course this time you get three connected groups, one per letter.
Download the sample file for Mandala text
Using an inversed clip
You may also use the text as an inversed clip (Inkscape > Objet > Clip > Set Inversed Clip)
You then get something like this :


