Sashiko

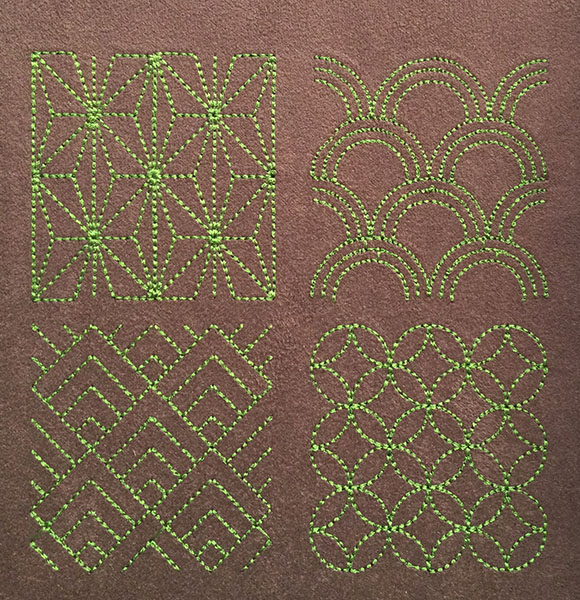
Sashiko Inkscape extension for ink/stitch combined with “Auto-Route Running Stitch” or “Tools: Stroke > Redwork” makes it possible to produce sashiko style embroidery files in a very easy way.
Note that this extension is different for the original Sashiko Inkscape extension, as it never generates two copies of the same path one on top of the other.
First install the Sashiko for ink/stitch extension.
Once this extension is installed, run it:
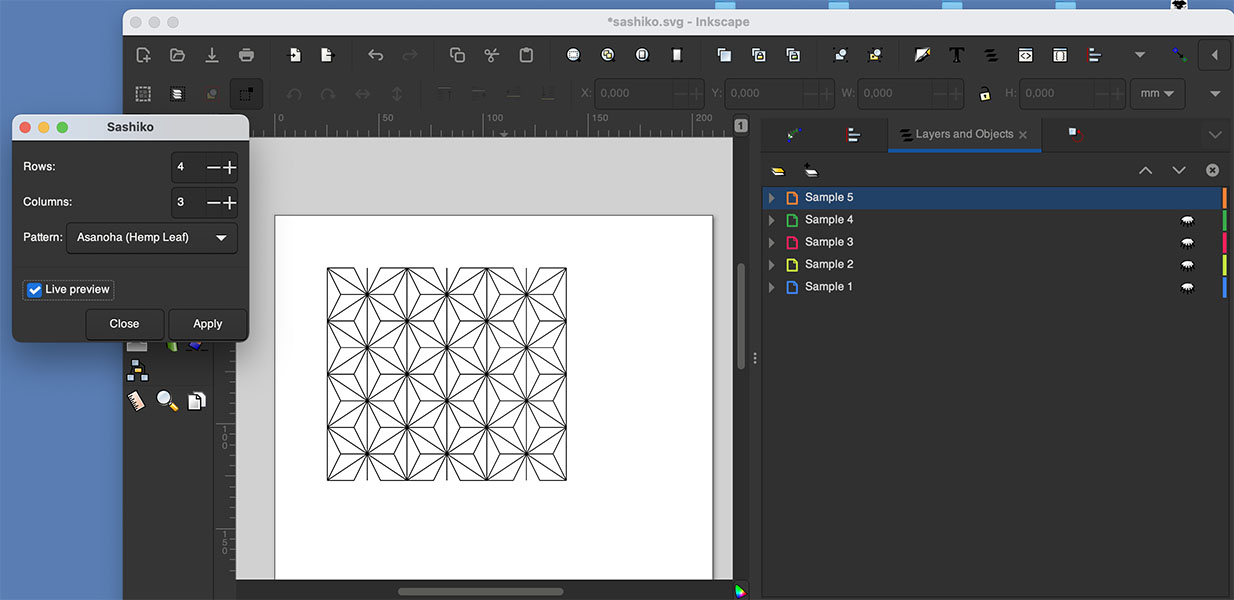
`Extensions > Render > Sashiko’

By enabling “Live preview”, you can easily chose pattern, rows and columns.
Then click ‘Apply’.
You can now close the Sashiko extension dialog window.
If you have chosen a pattern that yields a non conected result (for instance Offset Crosses)
Use now the “Auto-Route Running Stitch” extension :
To change from design to triple stitch embroidery
- Select all the paths that the extension just created (there are many)
- `Extensions > Ink/Stitch > Params’
- Set the length of the running stitch (2 mm for the embroidered sample)
- Choose the bean stitch number of repeats (1 for the embroidered sample)
Extensions > Ink/Stitch > Tools:Stroke > Auto-Route Running Stitch- Enable “Add node at intersections”
- Disable “Preserve order of running stitch”
- Click Apply
- `Extensions > Ink/Stitch > Params’
Instead of the paths created by the Sashiko extension you now have a group “Auto-Route” that contains a mix of:
- bean stitch paths called “Auto-Route xyz”
- simple running stitch path calles “Auto-Route underpath yzt”
simple running stitch paths hidden under triple stitch path to allow the design to have as few jumps as possible.
If you have chosen a pattern that yields a connected result (for instance Blue Ocean Weaves)
Use now the “Redwork” extension :
Chose your parameters (0.5mm for the first two parameters is usually a good choice).
If you chose to combine and no bean stitches repeat then you will get a single path that travel everything twice. If you chose to combine and have a non null bean stitches repeat value, you will get an alternate sequence of underpath and bean stitch path.
If you do not combine you will get more paths, this should only be done if you want to manipulate the result.
You may wish to also try with other extensions such as :