⚠ This page is outdated. For more recent information have a look at the english original.
Stichmuster
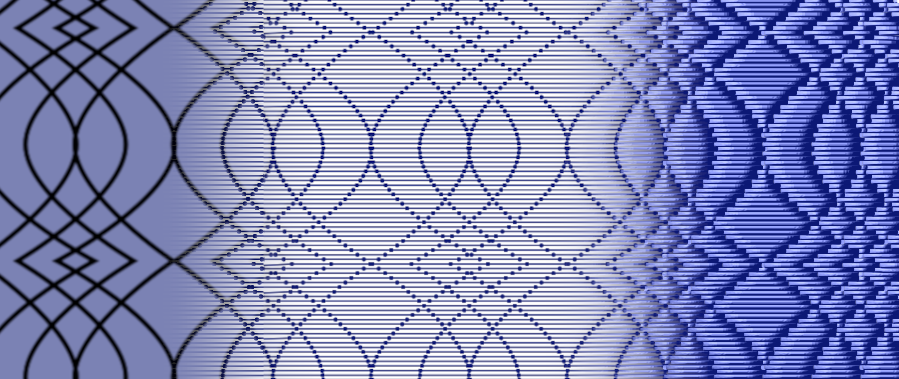
Patterns are created by special stitch positioning.

Generate Patterns
In Ink/Stitch you can generate patterns by either adding stitches or removing stitches from any existing embroidery element.
-
Create embroidery element(s). This can be either a satin column or fill area. Patterns will also work on strokes, but they may not be the best target for patterns.
-
Create pattern path(s). A pattern consists of strokes or fill areas (or both at the same time). Strokes will be used to add stitches, while patterns with a fill will remove stitches from the embroidery element.
-
Select both, the embroidery element and the pattern and hit
Ctrl+Gto group them together. -
Convert to pattern. Select only the pattern and run
Extensions > Ink/Stitch > Edit > Selection to pattern. This will add a start marker to the pattern element to indicate, that it will not be embroidered but will be used as a pattern for all elements in the same group. Elements in subgroups of the very same group will not be affected.
Remove Pattern Marker
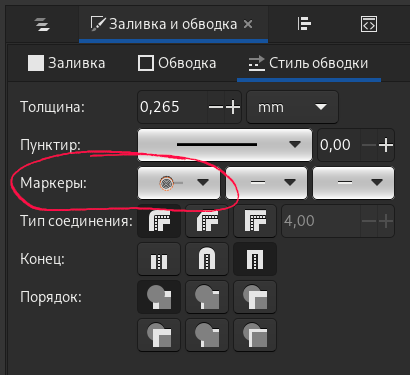
The pattern marker can be removed in the fill and stroke panel (Ctrl+Shift+F). Open the Stroke style tab and set the first dropdown list in “Markers” to the very first (empty) option.
