Basic Use
Try the following steps to learn the basic functionality of Ink/Stitch.
Tip: If you are new to Inkscape, you may want to review the Basic Inkscape Tutorial before you begin.
Step 1 - Draw an Object
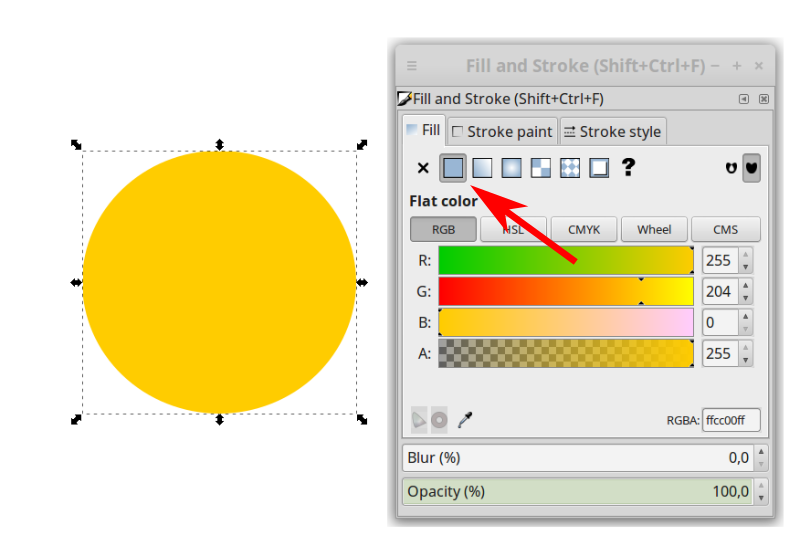
- Create an object, for example a circle, and confirm it has a fill color.
- If you do not know how to create an object or what ‘fill’ means, please review the Basic Inkscape Tutorial
Step 2 - Parametrize SVG Path for Embroidery
- Select the object.
- Open
Extensions > Ink/Stitch > Params. This will launch the extension in another window. - Adjust the values. The simulator updates the preview when you change the settings.
- Close the window without saving.
Note: If you do not see a tab at the top of the Ink/Stitch window named FillStitch, you have either not selected an object that has fill or you have not selected an object that is a path. You will need to convert your object to a path.
Step 3 - Create the embroidery file
- From the Inkscape menu, select
File > Save a copy... - Navigate to the folder where you want to save the file
- Choose the correct file format for your machine
- Select
Save a copy. You can now copy the file to your machine for use.
Tip: Save the file as an SVG so that you can modify it later.
Workflow
If the steps above worked well, continue to the next page about Workflow. It is a deeper look at Ink/Stitch and explains how to perform important tasks for preparing embroidery files, such as ordering objects and managing the stitch sequences.
If you run into trouble, you can contact us through GitHub. We welcome reports about problems because they help us improve the documentation and Ink/Stitch.