Circular Fill
Description
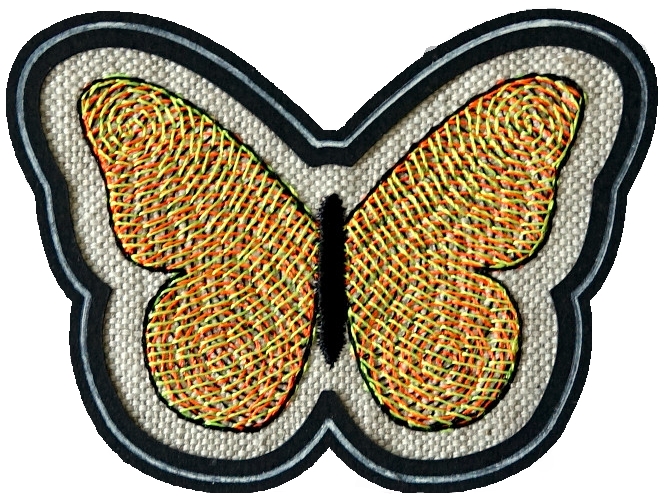
Circular fill fills a shape with an embroidered spiral. The center of the spiral is positioned at the center of the shape. A target point can be used to define a custom spiral center.
Creation
- Create a closed path with a fill color. The shape may have holes.
- Open the params dialog (
Extensions > Ink/Stitch > Params) and selectCircular Fillas the fill method. Set the params as you wish and Apply.
Set spiral center
By default the center of the spiral is the geometrical center of the shape. Note that this is not equal to the center of the bounding box.
To change default behavior select the circular fill shape and attach the Target position command to the shape.
The center of the command symbol will be the new spiral center.
Read how to attach commands to objects.
Set Start and End Point
Set start and end points for autofill objects with Visual commands.
Parameters
Run Extensions > Ink/Stitch > Params to tweak the settings to your needs.
Fill stitching
Enables or disables fill stitches for the selected object(s)
Fill method
Select Circular Fill
Repeats
Defines how many times to stitch along the path
- Odd number: stitches will end at the end of the path
- Even number: stitching will return to the start of the path
Bean stitch number of repeats
Determines the number of times to repeat each stitch.
- A value of
0does not repeat the stitch (normal stitch) - A value of
1repeats each stitch three times (forward, back, forward). - A value of
2repeats the stitch six times. - By entering multiple numbers, it is possible to define a custom repeat pattern. For instance
0 1will create alternating single and triple stitches (≡-≡-≡).
Running stitch tolerance
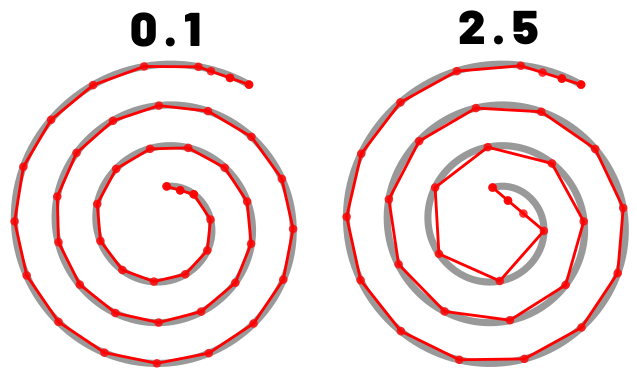
Determines the acceptable distance from the path. A lower tolerance will bring the stitches closer together. A higher tolerance allows for stitches to be farther away from the path. A higher tolerance may mean sharp corners may be rounded.
Randomize stitch length
Allows for randomize stitch length.
Random stitch length jitter
Only available if Randomize stitch length is selected. Determines the variation in the length of each stitch.
Minimum stitch length
Stitches smaller than this value will be removed.
Overwrites the global minimum stitch length setting.
Expand
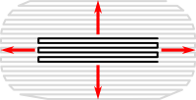
Expand the shape before fill stitching, to compensate for gaps between shapes.
Spacing between rows

Distance between rows of stitches
End row spacing

If set, increases or decreases the row spacing towards the end
Stitch length
Stitch length (in mm) of the underpaths from section to section
For circular fill this is the overall stitch length.
Minimum jump stitch length
Shorter distances to the next object will have no lock stitches.
Overwrites the global minimum jump stitch length setting.
Allow lock stitches
Enables lock stitches in only desired positions
Force lock stitches
If checked, lock stitches are sewn after this element,regardless of the minimum jump stitch length value.
Tack stitch
Determines the type of tack stitch.
Tack stitches are small stitches at the beginning of a stitch. They help to secure the beginning of the thread.
Read more
Lock stitch
Determines the type of lock stitch.
Lock stitches are small stitches at the end of stitch. They help to secure the end of the thread.
Read more
Scale tack stitch / Scale lock stitch
Some lock stitches have a scaling option in either mm or percent.
Custom path
This setting is only available for custom lock stitches.
Enter a custom mm or svg path.
The first node of an svg path will not be emboirdered, but represents the first (tack) or last (lock) stitch of the element.
Read more
Trim After
Determines if the thread is trimmed after sewing this object.
Stop After
Determines if the machine is stopped after sewing this object. Before stopping it will jump to the stop position (frame out) if defined.
Underlay
Underlay in Circular Fill is the same as for Auto Fill and uses the fill angle which can be defined in the underlay params.
Sample Files Including Circular Fill Stitches
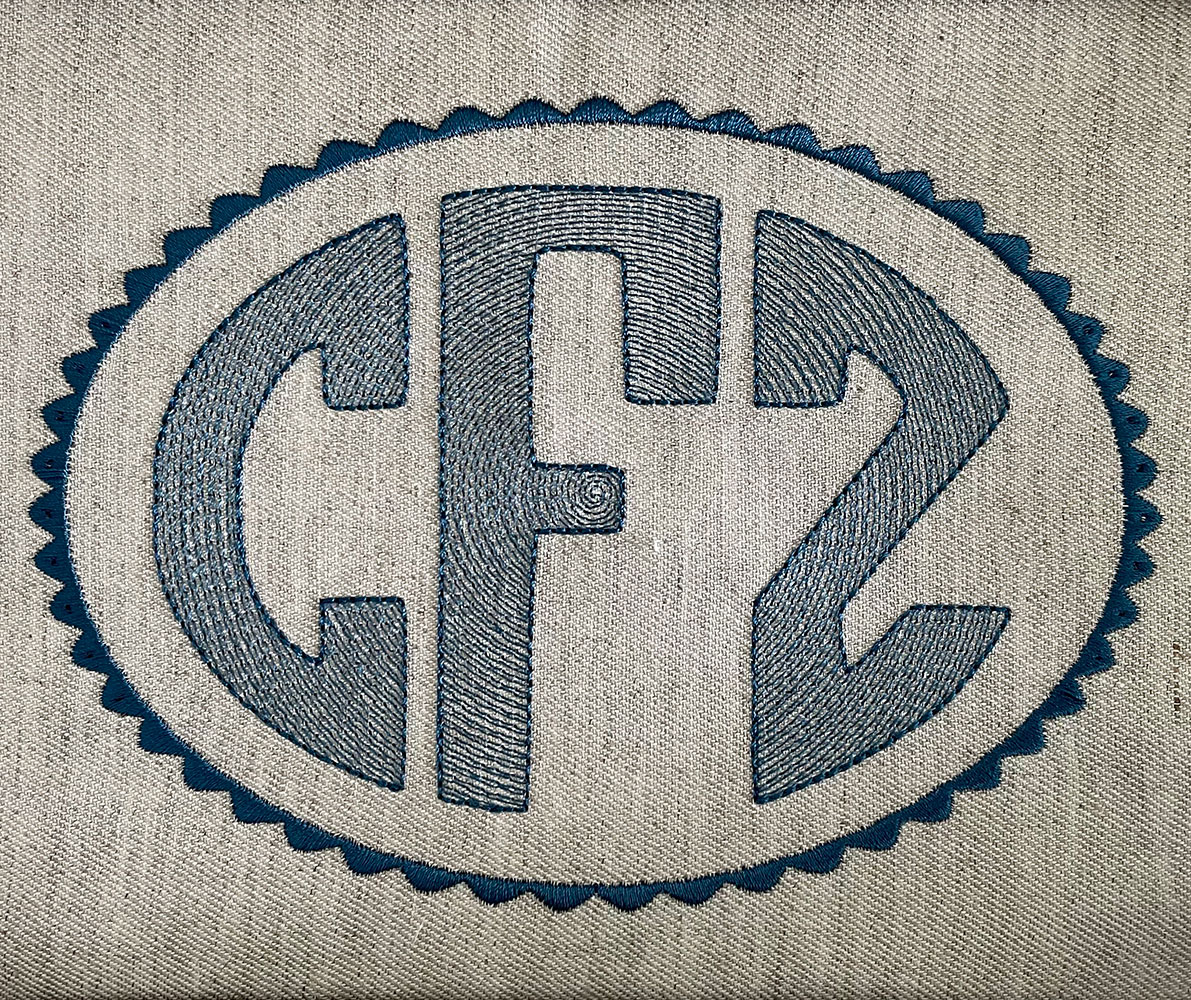
Circular Fill Monogram
Circular Fill Monogram
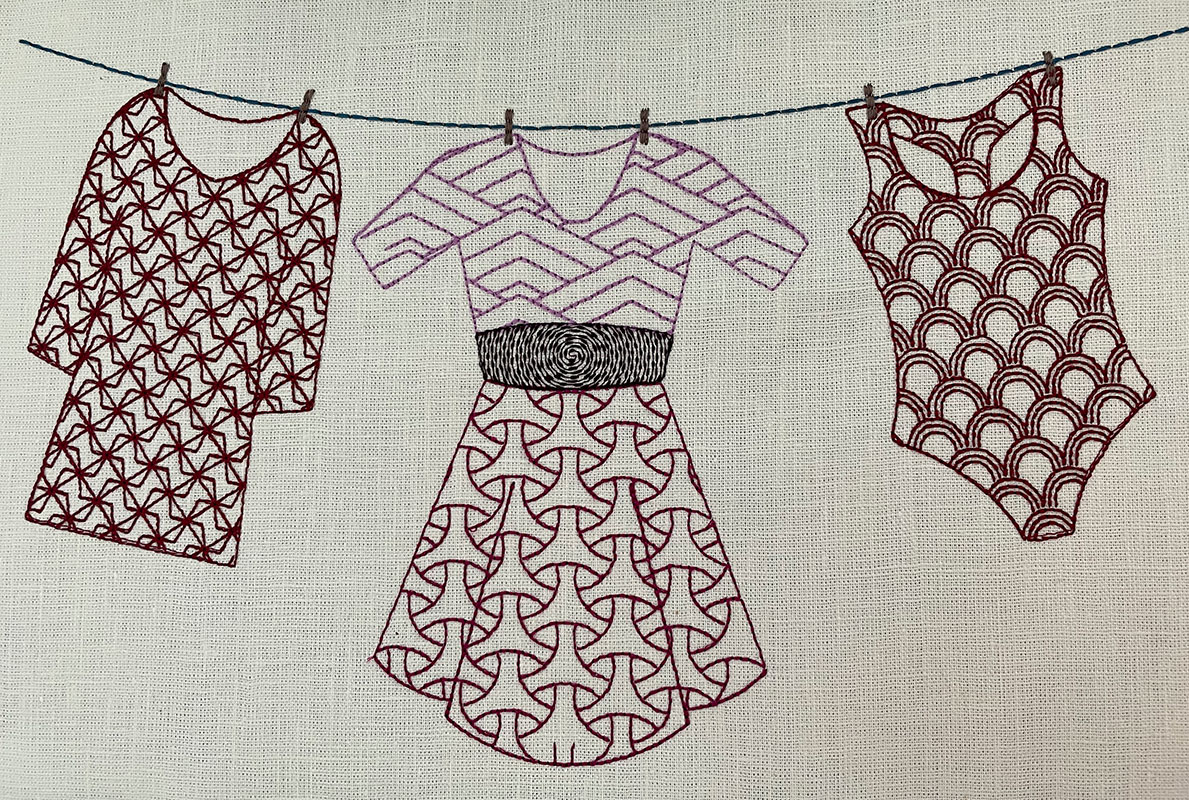
Cookie Cutter Tiling
Using Tiling LPE, clipping path and autorouting to achieve Pattern Fill
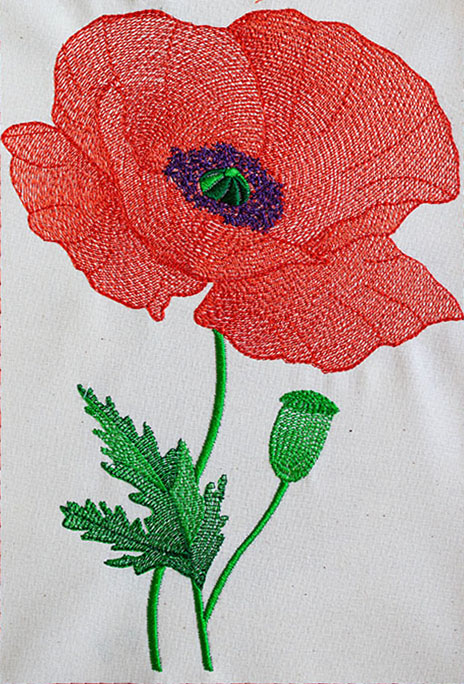
Poppy in circular, meander and contour fills
Sample file : Poppy in circular, meander and contour fills
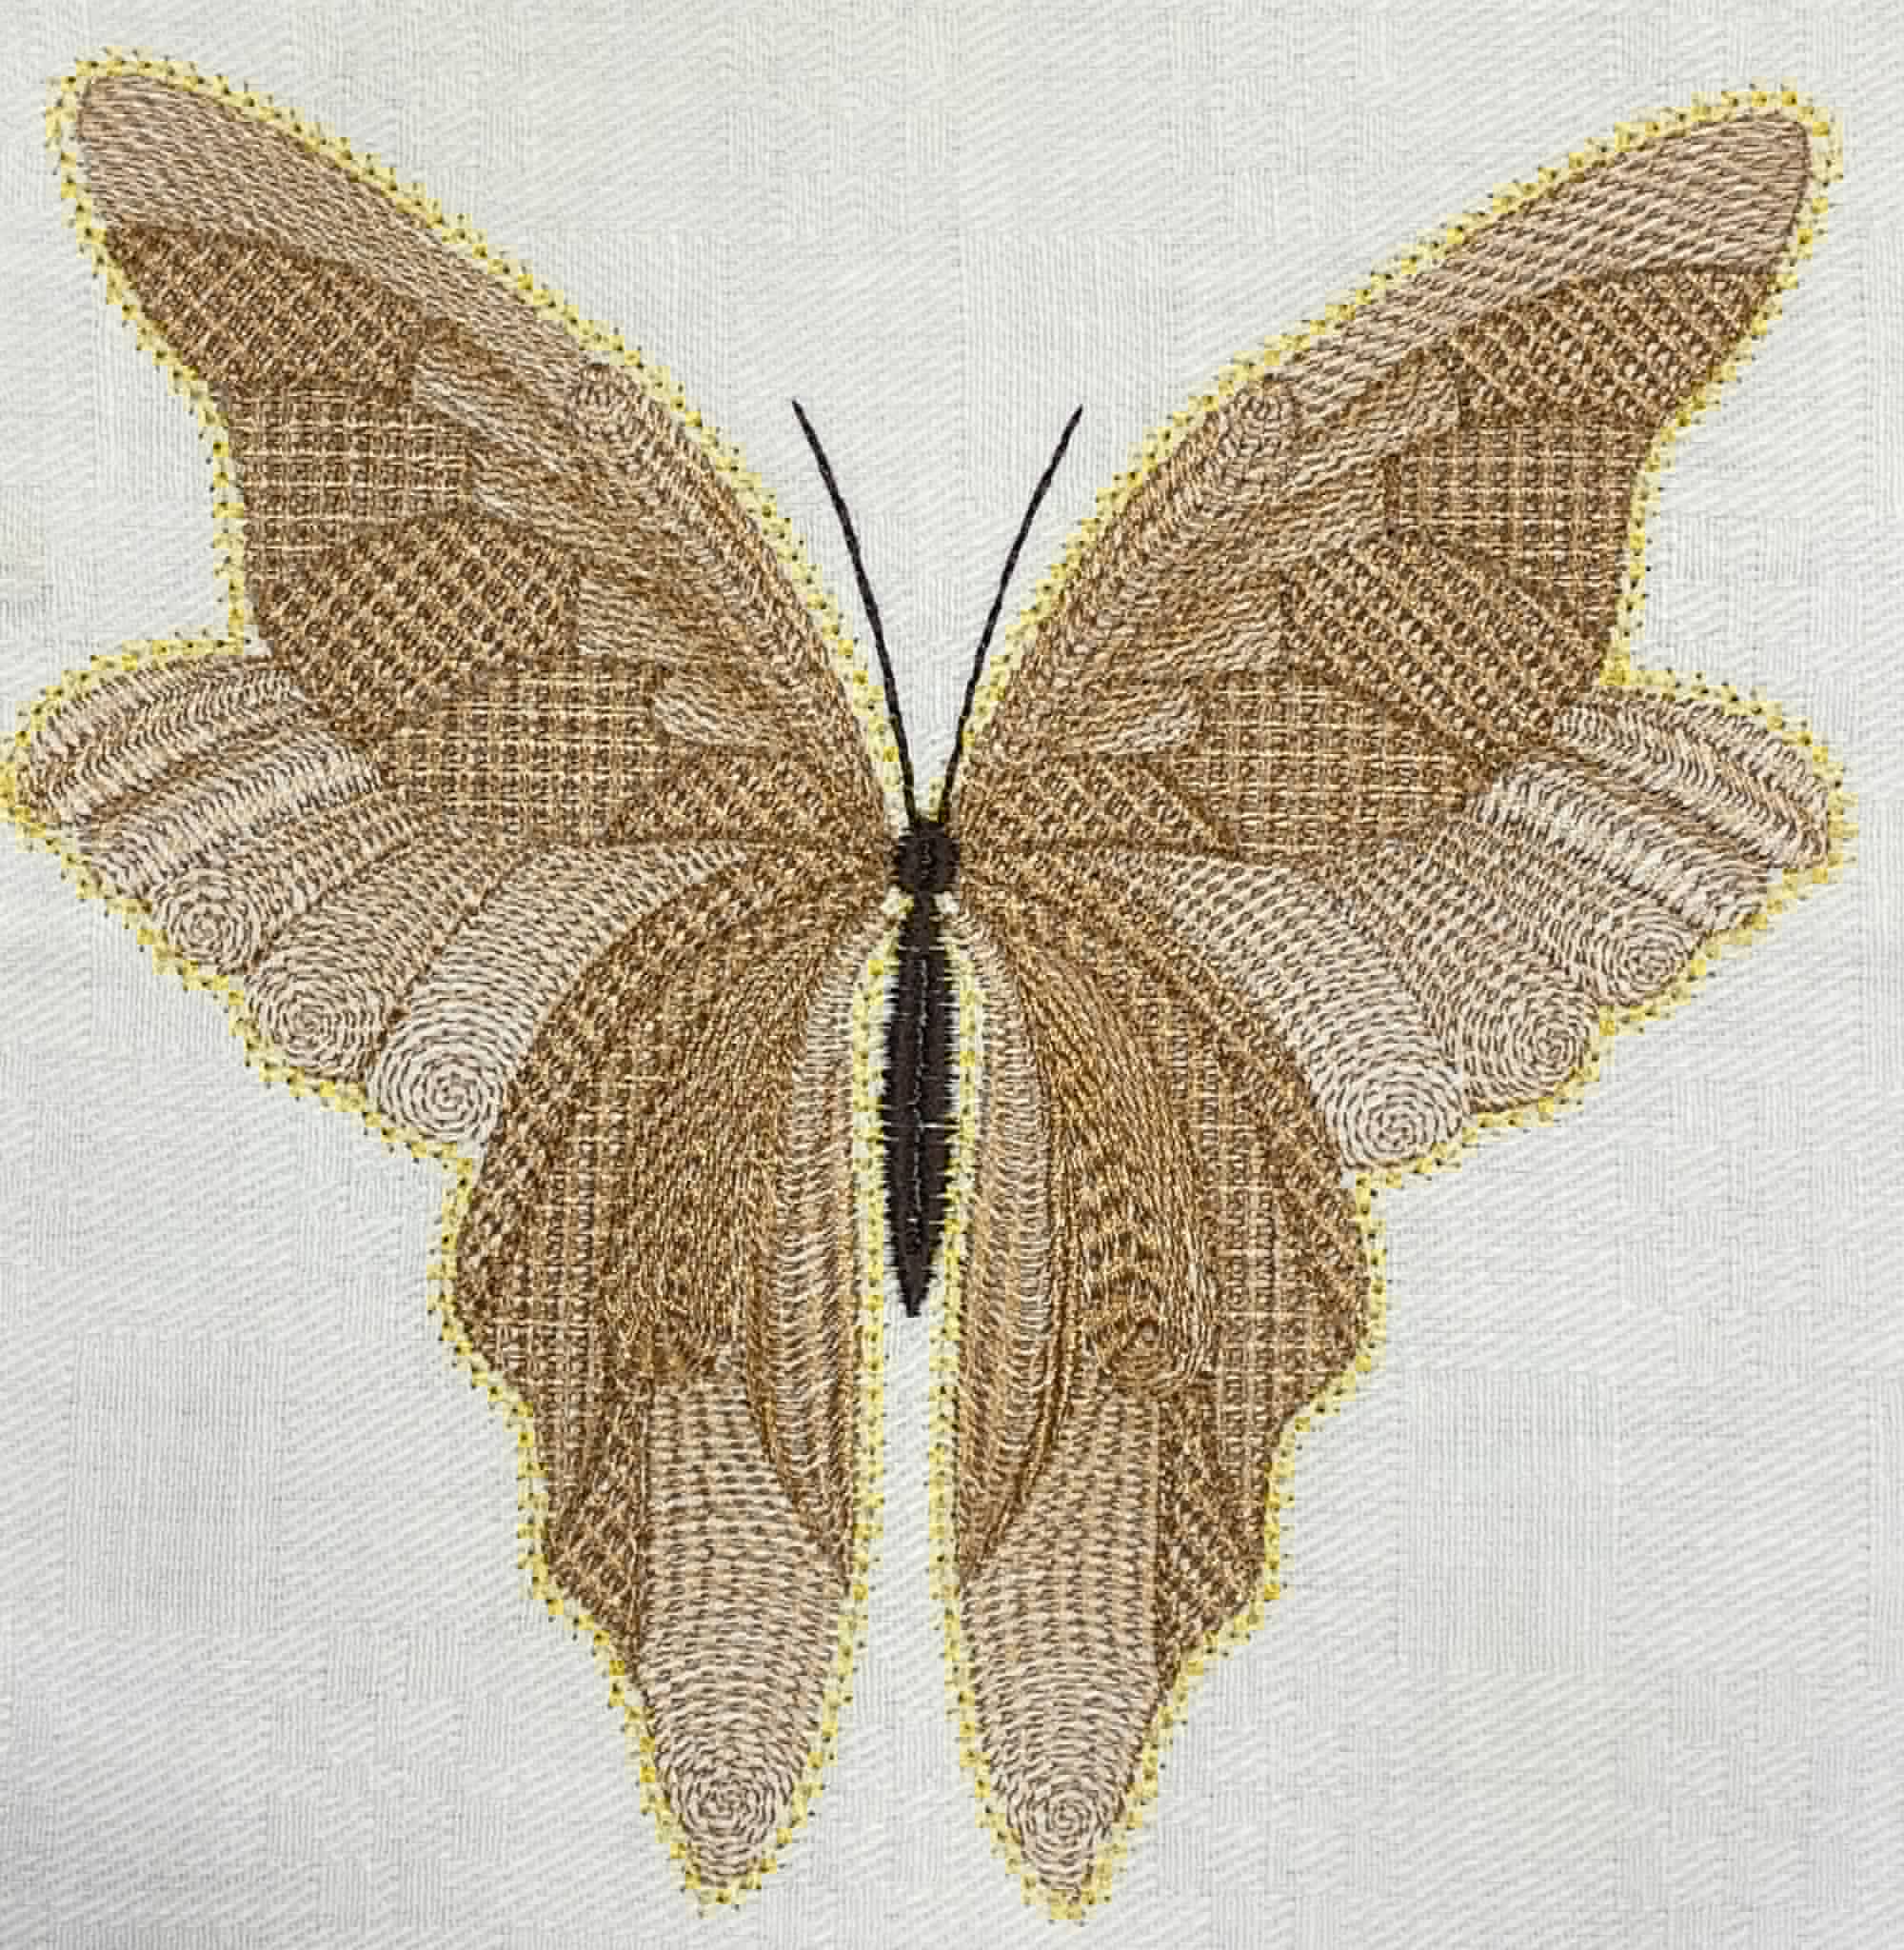
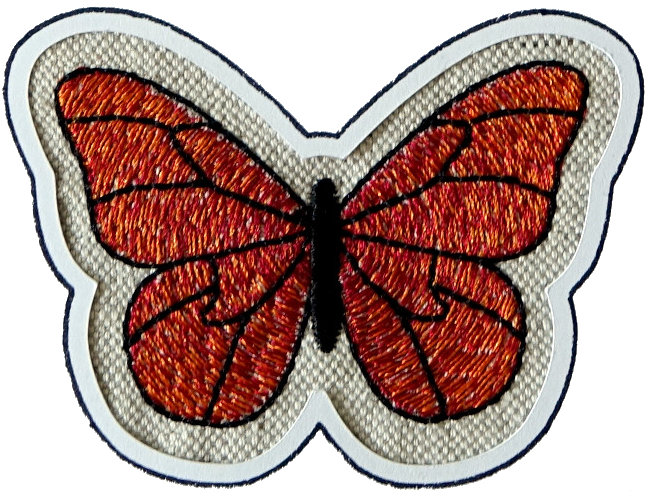
Ripple Stitches and Circular Fills Butterfly
Btterfly sample file : ripple stitches and circular fills