Tools: Stroke
Autoroute Running Stitch
This tool will replace your set of running stitches with a new set of running stitches in logical stitching order avoiding as many jumps as possible . Under-pathing will be added as necessary . The resulting running stitches will retain all of the parameters you had set on the original stitches including stitch length, number of repeats, bean stitch number of repeats, etc. Underpaths will only retain the stitch length, but will be set to only one repeat and no bean stitch number of repeats.
Usage
- Select all the running stitches (prepared with parameters)that you wish to organize
- Run
Extensions > Ink/Stitch > Tools : Stroke > Auto-Route Running stitch... - Enable desired options and click apply
Tip: By default, it will choose the left-most extreme node as the starting point and the right-most extreme node as the ending point (even if these are not terminal nodes). You can override this by attaching the “Auto-route running stitch starting/ending position” commands.
Options
- Enable Add nodes at intersections will normally yield a better routing as under-paths will preferably start/end at intersections and terminal nodes. You should only disable this option if you have manually added nodes where you want the paths to be split.
- Enable Trim jump stitches to use trims instead of jump stitches. Trim commands are added to the SVG, so you can modify/delete as you see fit.
- Enable Preserve order of running stitches if you prefer to keep your former order.
Convert Satin to Stroke
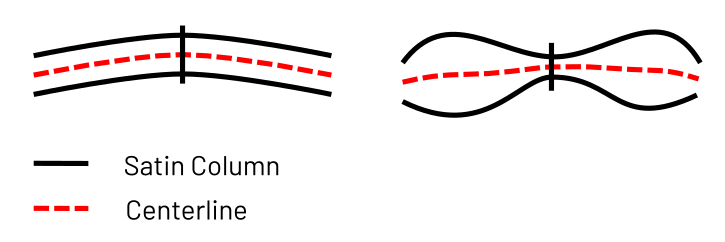
Satin to stroke will convert a satin column to it’s centerline. This can be useful, when you decide later in the designing process to turn a satin column into a running stitch. You can also use it to alter the thickness of your satin column, when pull compensation isn’t satisfying. In that case use this function to convert your satin column into a running stitch, set stroke width in the fill and stroke panel and run the “Convert line to to satin” function.
This works best on evenly spaced satin columns.
Usage
- Select the satin column(s) you want to convert into a running stitch
- Run
Extensions > Ink/Stitch > Tools: Stroke > Convert satin to stroke... - Choose whether you want to keep selected satin column(s) or if you want to replace them
- Click apply
Fill to Stroke
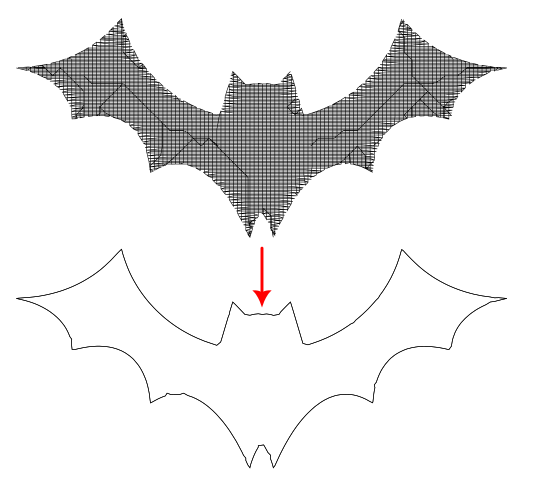
Fill outlines never look nice when embroidered - but it is a lot of work to convert a fill outline to a satin column or a running stitch. This tool helps you with this operation.
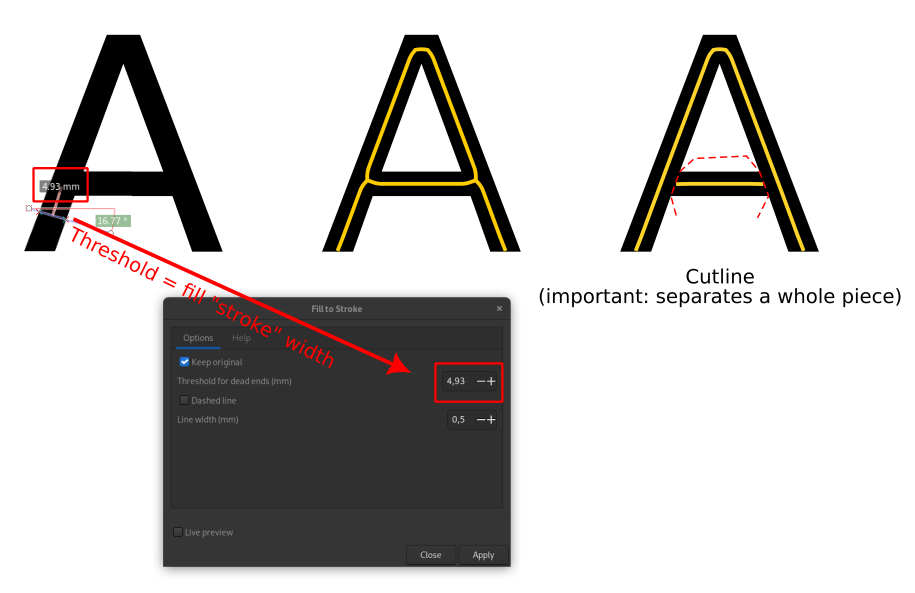
It is comparable to the Inkscape functionality of Path > Trace bitmap > Centerline tracing (- and has similar issues.) But instead of converting raster graphics, it will find the centerline of vector based objects with a fill.
You can improve the result by defining cut lines.
Usage
- (Optional) Draw cut lines at the intersections/joints. They are simple stroke objects. This is especially useful, when you aim for satin columns. Please note, that each stroke element has to cut the fill element in which that each side of the fill is entirely disconnected.
- Select one or more fill objects which you want to convert to a centerline along with the cut lines if you have defined them ealier.</label>
- Run
Extensions > Ink/Stitch > Tools: Stroke > Fill to Stroke - Set options and apply
- Use the node tool to perform corrections if necessary
Options
- Keep original: enable this option, if you want to keep the original object(s). Otherwise it will be removed.
- Threshold for dead ends (px): This will remove small lines. In most cases the best value is the approximate line width of the original shape in pixels.
- Dashed line: Set to true if you aim for a running stitch outline.
- Line width (px): If you want to convert this directly into a satin column, set this to the satin column width. In most cases you would want to keep this value low, so it will be easier to check and correct the outlines before the conversion.
- Cut lines: close gaps: Cut lines create gaps which can be closed by enabling this option. This option will only be useful, when no satin column conversion is planed.
Jump to Stroke
This will create a running stitch from the end position of the first element to the start position of the second element. Place this running stitch under following top stitches and avoid jump stitches.
Usage
- Select two or more objects
- Run
Extensions > Ink/Stitch > Tools: Stroke > Jump Stitch to Stroke
Options
- Convert jumps longer than (mm): A value of 0 defaults to the actual minimum jump stitch length.
- Convert jumps shorter than (mm): A value of 0 means no size limit.
- Connect only within groups or layers
- Do not connect after trim, stop or forced lock stitches
Output settings options
- Merge new strokes with previous/next stroke if same type
- Merge subpaths
and for unmerged connections only
- Minimum length of running stitch
- Tolerance
Redwork
Redwork is an old handembroidery method where the embroiderers made sure to stitch every line exactly twice.
This tool will replace your set of running stitches with a new set of running stitches in logical stitching order.
The main difference to Autoroute Running Stitch is that it ensures that paths are traversed exactly twice.
Usage
- Select the running stitches you wish to route
- Run
Extensions > Ink/Stitch > Tools : Stroke > Redwork... - Set desired options and click apply
Options
-
Connect lines below this distance (mm)
The redwork extension is able to render disconnected groups of running stitches in one go. On the other hand some of your lines may not be snaped onto each other which leaves small gaps. With this option you can define up to which distance those gaps shall be removed. Lines with a greater distance than this value will be considered unconnected. Unconnected groups have jump stitches in between.
-
Minimum path length (mm)
Remove shorter paths than this value from the result. Short paths can be a result of the routing operation (for example lines that are not snaped, but have a minimal overlap). Paths smaller than the defined minimum jump stitch length can usually be removed. But if there are consecutive short paths it will be better to lower the value.
-
Redwork stitch length (mm)
Sets the stitch length for all resulting paths
-
Redwork bean stitch number of repeats
Sets the bean stitch number of repeats for the top layer stitches (not on underpaths).
- Sort by color : work with each color independently
- Combine elements: Combine consecutive elements of the same type
- Keep original paths: whether to delete the original elements or not
Start- and end position
Redwork will always start and end at the same spot. However, you can define this spot with a Auto-route start position command.
Outline
This extension helps reconstruct an original object when one only has the stitch file, but not the svg design file.
Usage
- Select one or more objects
- Run
Extensions > Ink/Stitch > Tools: Stroke > Outline... - Activate Live preview to see the actual result
- Adjust settings until you are happy with the outcome
- Click on
Apply
Tutorials using Tools: Stroke
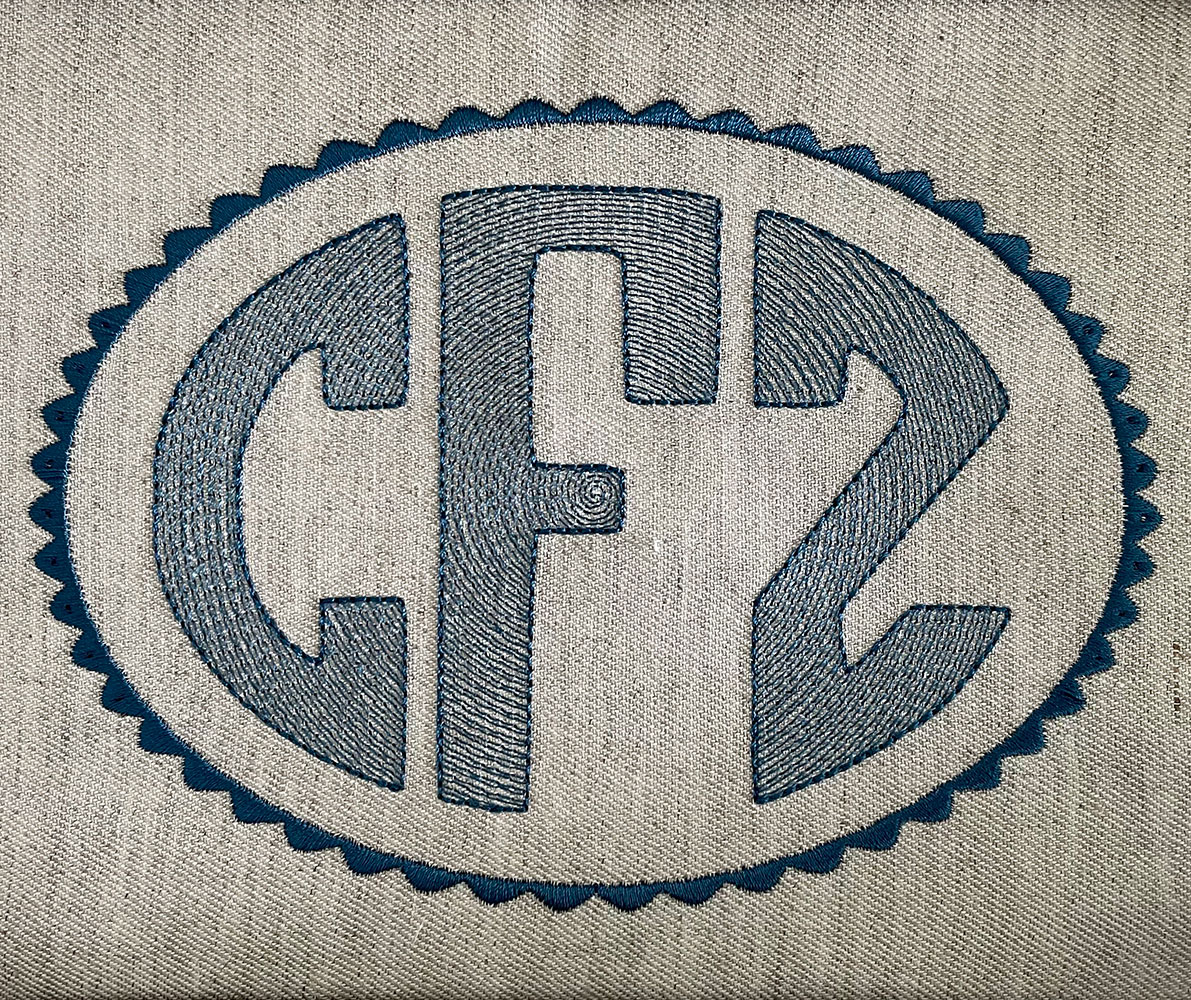
Circular Fill Monogram
Circular Fill Monogram
Cookie Cutter Tiling
Using Tiling LPE, clipping path and autorouting to achieve Pattern Fill

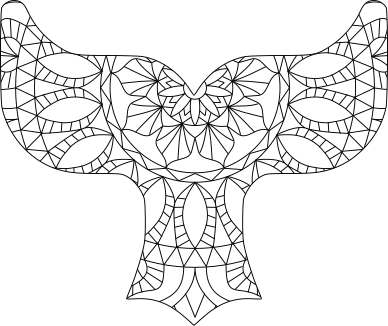
Life Flower
Auto route running stitches
Mandala
Mandala and Embroidery

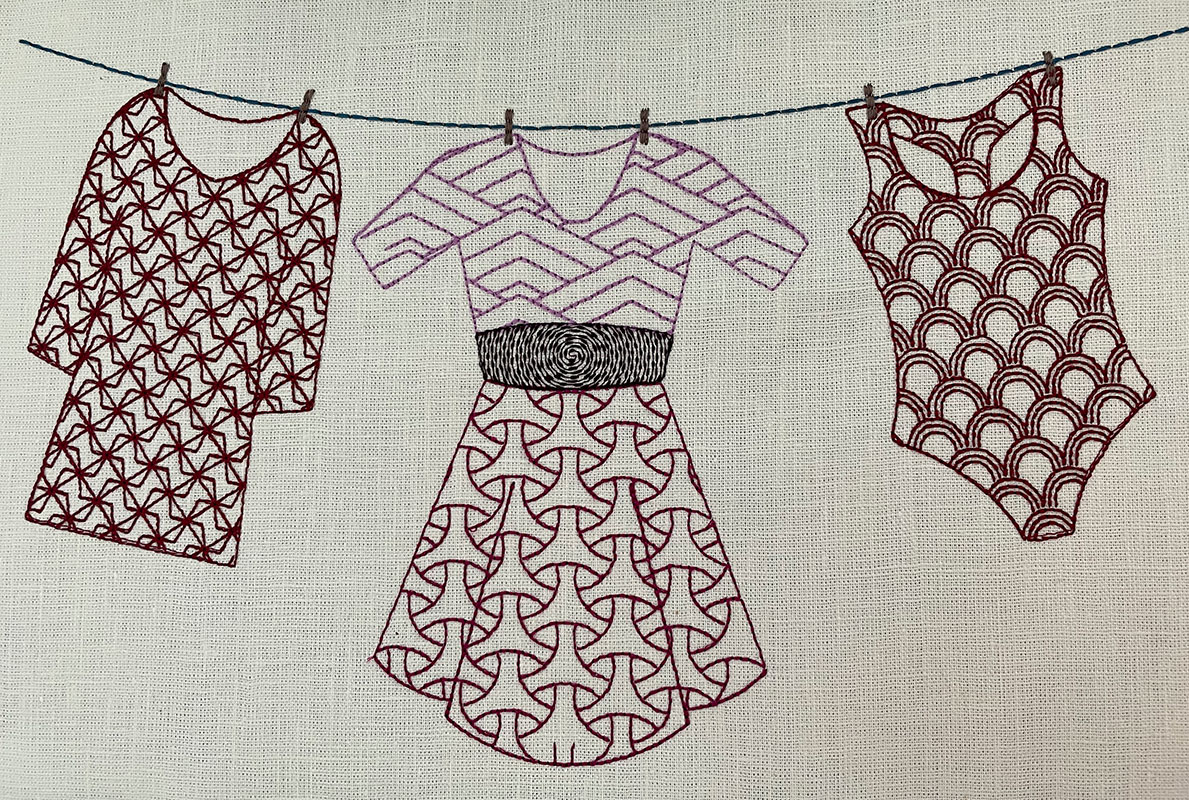
Sashiko
Using Sashiko extension with autoroute runningstitch
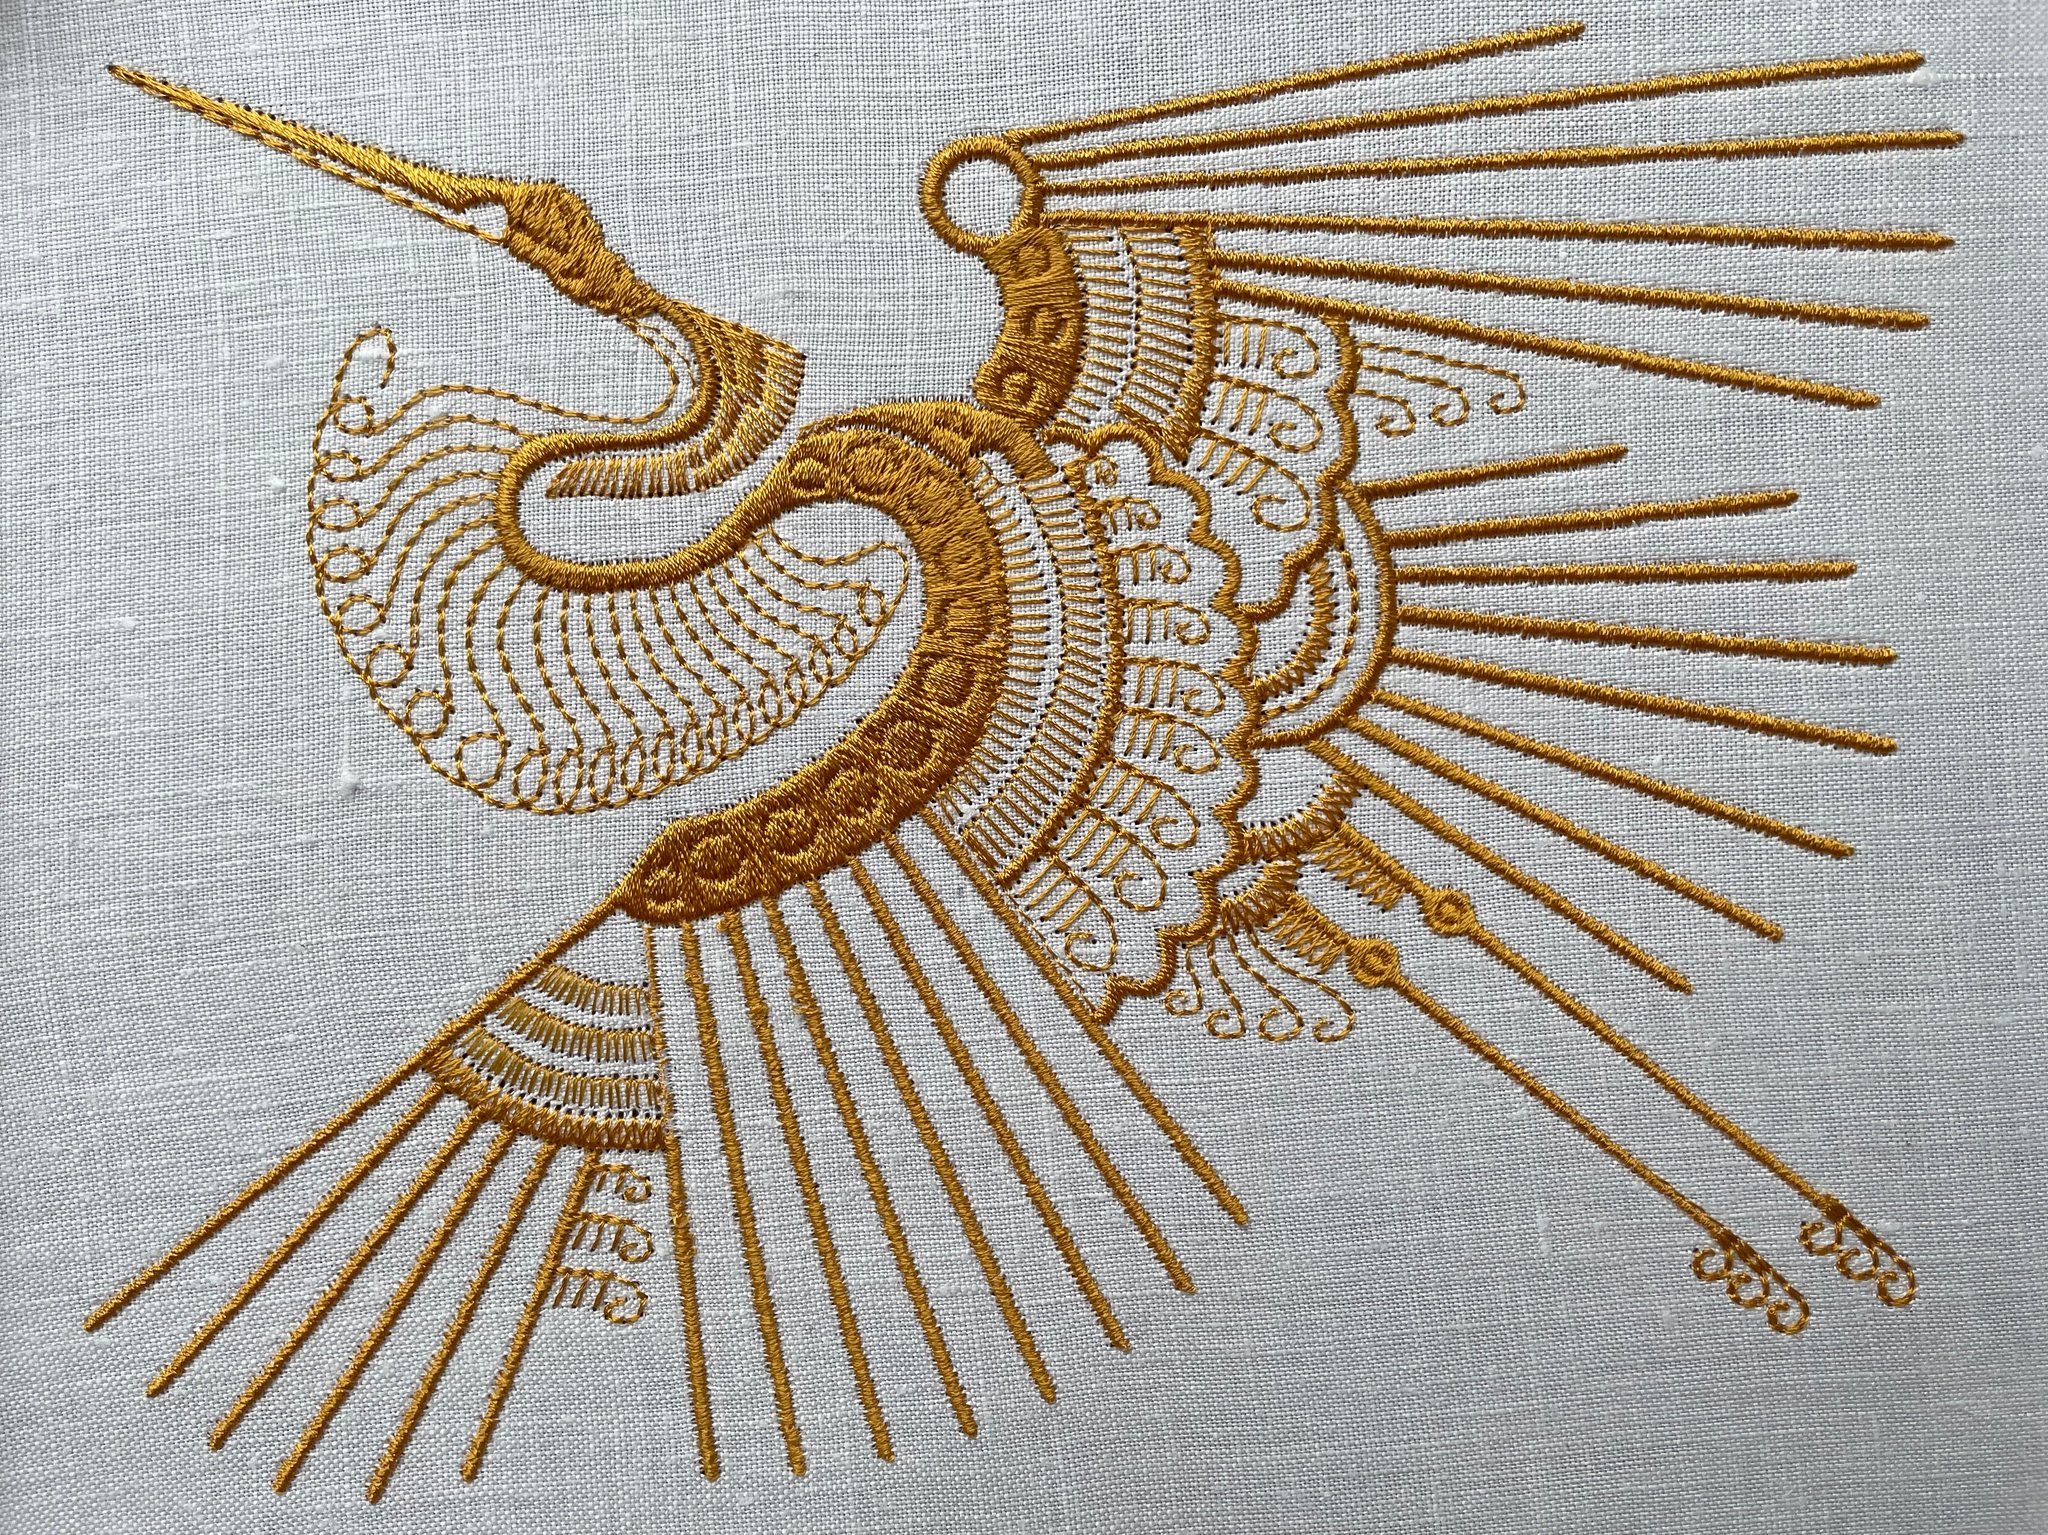
Satin columns crane
satin column crane file sample
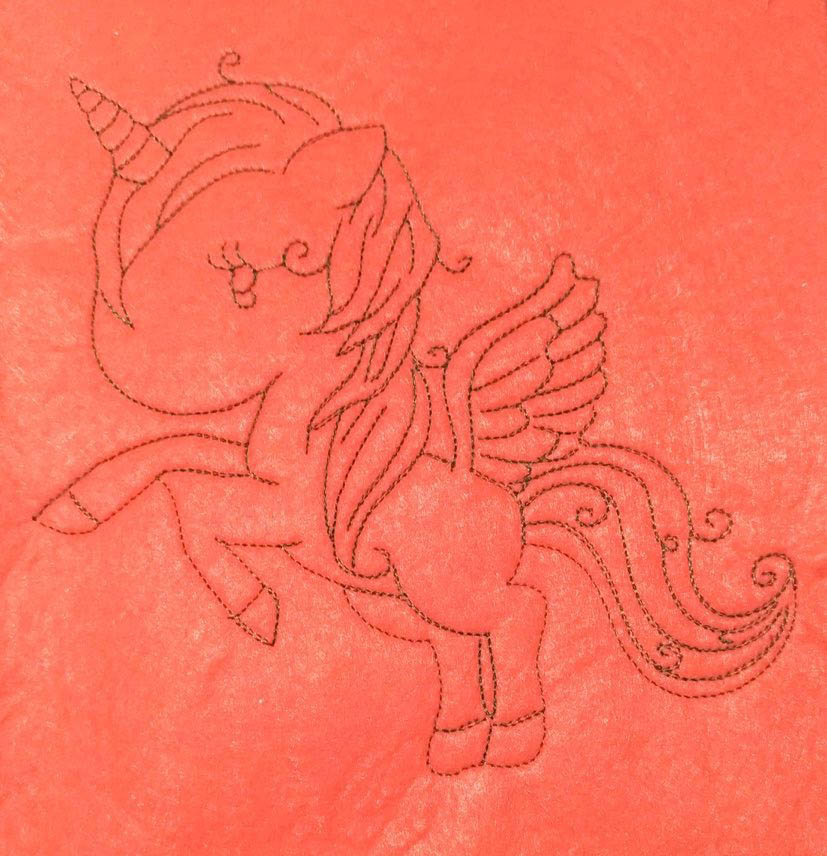
Unicorn with auto-route running stitch
Auto-route running stitch Unicorn