Guided Fill
Description
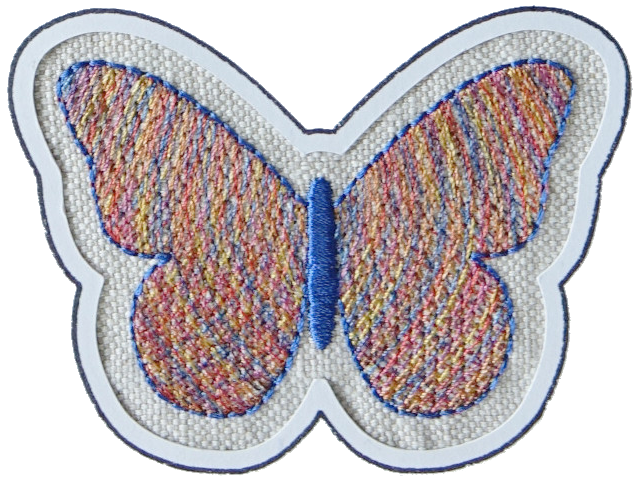
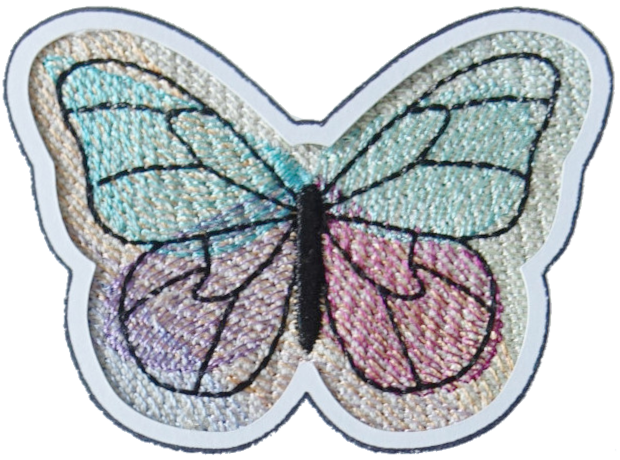
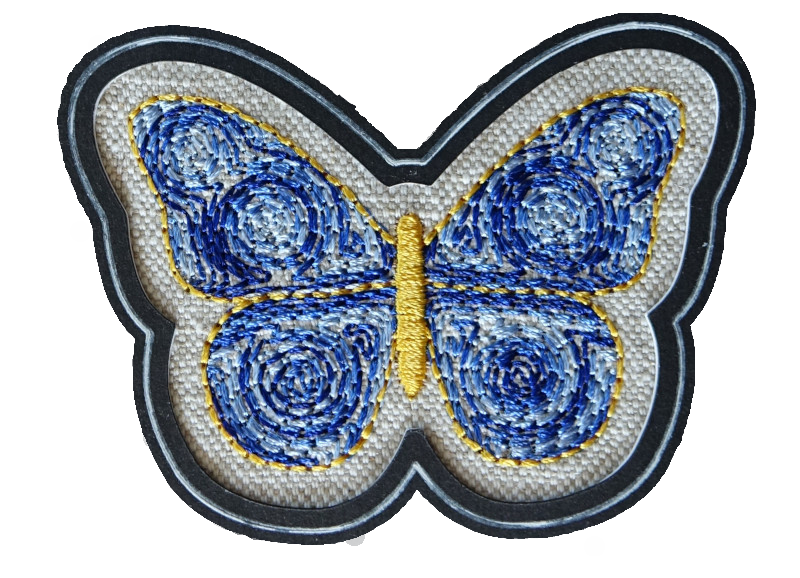
Generate curved fill using guide lines.
Creation
- Create a closed path with a fill color. This shape may have holes.
- Create a guide line to define stitch directions:
- draw a line with a stroke color and without a fill color
- select that line
- run
Extensions > Ink/Stitch > Edit > Selection to guide line
- Select both and group them together (
Ctrl + G). - Open the params dialog (
Extensions > Ink/Stitch > Params) and selectGuided fillas the fill method.
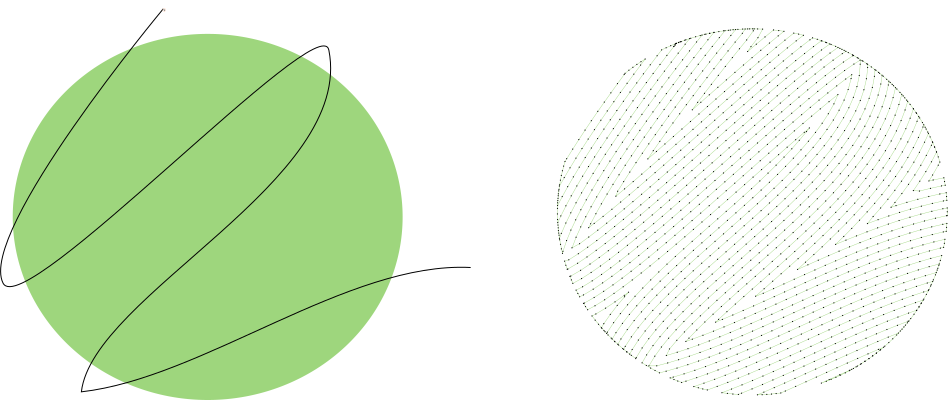
Each group is allowed to contain more than one fill object, but only one guide line is effective and will be used to guide all the shapes of the group, guiding each shape with the intersection of the shape and the guide line. In that case, a shape that does not intersect the guide line will be filled with a regular auto fill. The group is also allowed to contain regular stroke objects. On the canvas, a marker allows to distinguish a guide line from a regular stroke.
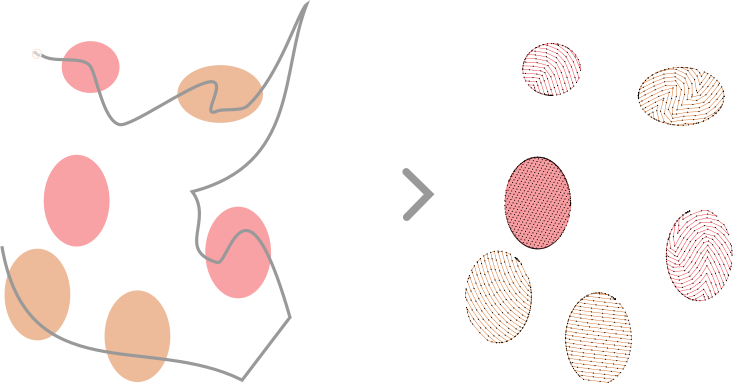
If the group contains mutliple guide lines, only one is effective. If the guide line is a composite path, only one subpath is used as a guide line. However it is possible to use sinuous guide line , that may even cross the shape border many times.
Filling Strategies
Three filling strategies are allowed for guided fill:
Copy
Copy (the default) will fill the shape with shifted copies of the line. Depending on the guide line, this will produce ovelaps or irregular coverage.
Parallel offset
Parallel offset will ensure that each line is always a consistent distance from its neighbor. Sharp corners may be introduced.
Buffer
The buffer mehods uses offsets around the guideline and even allows a guideline to consist out of multiple subpaths.
Set Start and End Point
Set start and end points for autofill objects with Visual commands.
Parameters
Run Extensions > Ink/Stitch > Params to tweak the settings to your needs.
Fill stitching
Enables or disables fill stitches for the selected object(s)
Fill method
Select Guided Fill
Bean stitch number of repeats
Determines the number of times to repeat each stitch.
- A value of
0does not repeat the stitch (normal stitch) - A value of
1repeats each stitch three times (forward, back, forward). - A value of
2repeats the stitch six times. - By entering multiple numbers, it is possible to define a custom repeat pattern. For instance
0 1will create alternating single and triple stitches (≡-≡-≡).
Running stitch tolerance
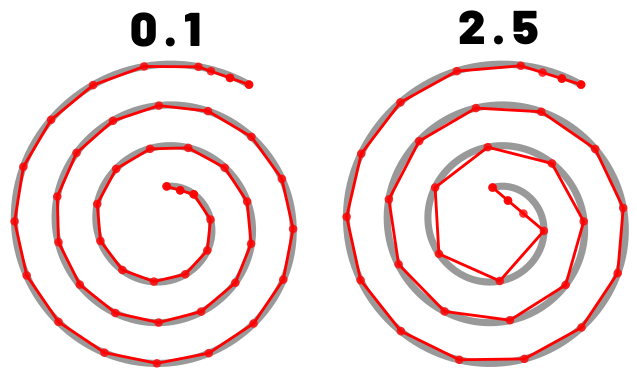
Determines the acceptable distance from the path. A lower tolerance will bring the stitches closer together. A higher tolerance allows for stitches to be farther away from the path. A higher tolerance may mean sharp corners may be rounded.
Maximum fill stitch length
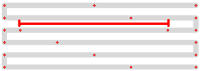
The length of each stitch in a row. “Max” is because a shorter stitch may be used at the start or end of a row.
Randomize stitch length
Allows for randomize stitch length.
Random stitch length jitter
Only available if Randomize stitch length is selected. Determines the variation in the length of each stitch.
Minimum stitch length
Stitches smaller than this value will be removed.
Overwrites the global minimum stitch length setting.
Guided Fill Strategy
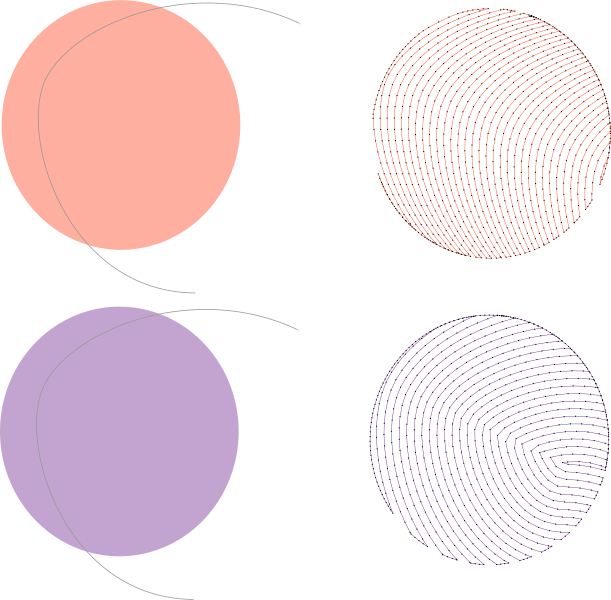
- Copy( default), top, fill the shape with copies of the guide lines.
- Parallel offset, bottom, will ensure that each line is always a consistent distance from its neighbor. Sharp corners may be introduced.
- Buffer
Stagger rows this many times before repeating
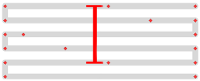
Stitches are staggered so that neighboring rows of stitches don’t all fall in the same column (which would create a distracting valley effect).
Setting this dictates the length of the cycle by which successive stitch rows are staggered.
Fractional values are allowed and can have less visible diagonals than integer values.
Expand
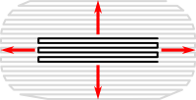
Expand the shape before fill stitching, to compensate for gaps between shapes.
Spacing between rows

Distance between rows of stitches
Skip last stitch in each row
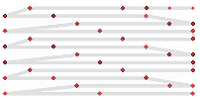
The last stitch in each row is quite close to the first stitch in the next row. Skipping it decreases stitch count and density.
Stitch length
Stitch length (in mm) of the underpaths from section to section
Underpath
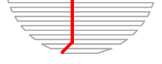
Must be enabled to let running stitches travel inside shape instead of around the border when moving from section to section
Random seed
Change the result of random stitches.
If empty, the seed is the element ID.
Re-roll if you are not happy with the result.
Minimum jump stitch length
Shorter distances to the next object will have no lock stitches.
Overwrites the global minimum jump stitch length setting.
Allow lock stitches
Enables lock stitches in only desired positions
Force lock stitches
If checked, lock stitches are sewn after this element,regardless of the minimum jump stitch length value.
Tack stitch
Determines the type of tack stitch.
Tack stitches are small stitches at the beginning of a stitch. They help to secure the beginning of the thread.
Read more
Lock stitch
Determines the type of lock stitch.
Lock stitches are small stitches at the end of stitch. They help to secure the end of the thread.
Read more
Scale tack stitch / Scale lock stitch
Some lock stitches have a scaling option in either mm or percent.
Custom path
This setting is only available for custom lock stitches.
Enter a custom mm or svg path.
The first node of an svg path will not be emboirdered, but represents the first (tack) or last (lock) stitch of the element.
Read more
Trim After
Determines if the thread is trimmed after sewing this object.
Stop After
Determines if the machine is stopped after sewing this object. Before stopping it will jump to the stop position (frame out) if defined.
Underlay
Underlay in Guided Fill doesn’t follow the guide line, but uses the fill angle which can be defined in the underlay params.