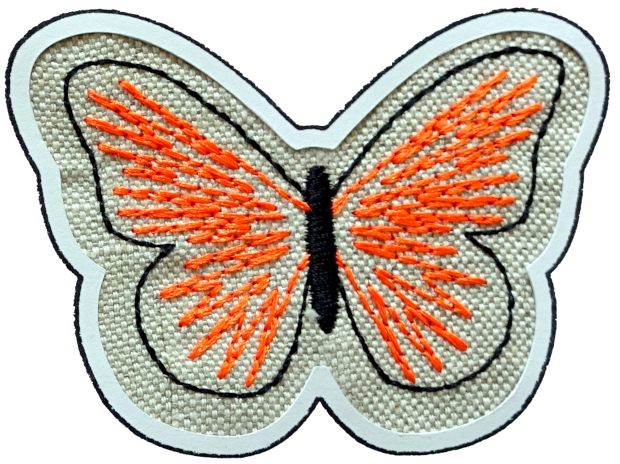
Manual Stitch
Description
Manual stitches are create by using each node of a path as a needle penetration point.
Creation
- Create a path. The line style or width are not used in the creation of a manual stitch.
- Open
Extensions > Ink/Stitch > Params. - Chose
Manual stitch placement
Each node of a path represents a needle penetration point. It doesn’t care about bezier curves.
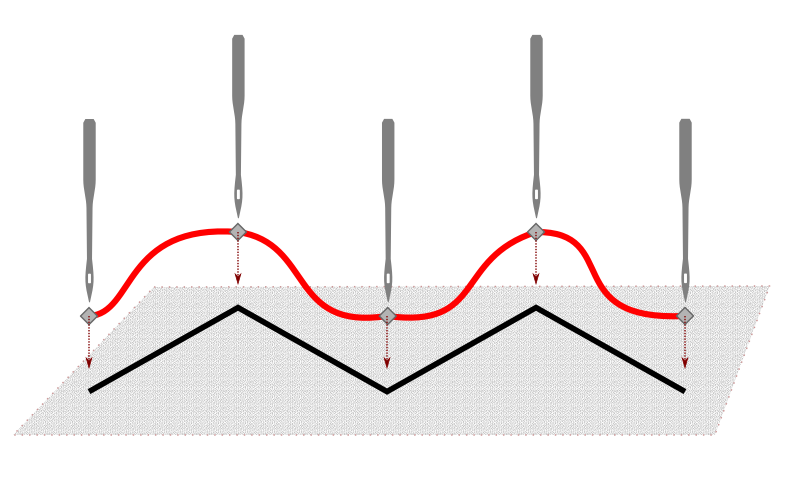
A clean representation of your manual stitch path can be achieved as follows:
- Select all nodes (
F2thenCtrl+A) - Click on
 in the
 Tool Controls Bar.
Parameters
Open Extensions > Ink/Stitch > Params to change parameters to your needs.
Running stitch along paths
Must be selected to use these settings.
Method
Determines which stitch type to use.
Select Manual stitch
Bean stitch number of repeats
Determines the number of times to repeat each stitch.
- A value of
0does not repeat the stitch (normal stitch) - A value of
1repeats each stitch three times (forward, back, forward). - A value of
2repeats the stitch six times. - By entering multiple numbers, it is possible to define a custom repeat pattern. For instance
0 1will create alternating single and triple stitches (≡-≡-≡).
Max stitch length
Stitches longer than this will be subdivided. Leave empty for no subdivision.
Minimum stitch length
Stitches smaller than this value will be removed.
Overwrites the global minimum stitch length setting.
Minimum jump stitch length
Shorter distances to the next object will have no lock stitches.
Overwrites the global minimum jump stitch length setting.
Allow lock stitches
Enables lock stitches in only desired positions
Force lock stitches
If checked, lock stitches are sewn after this element,regardless of the minimum jump stitch length value.
Tack stitch
Determines the type of tack stitch.
Tack stitches are small stitches at the beginning of a stitch. They help to secure the beginning of the thread.
Read more
Lock stitch
Determines the type of lock stitch.
Lock stitches are small stitches at the end of stitch. They help to secure the end of the thread.
Read more
Scale tack stitch / Scale lock stitch
Some lock stitches have a scaling option in either mm or percent.
Custom path
This setting is only available for custom lock stitches.
Enter a custom mm or svg path.
The first node of an svg path will not be emboirdered, but represents the first (tack) or last (lock) stitch of the element.
Read more
Trim After
Determines if the thread is trimmed after sewing this object.
Stop After
Determines if the machine is stopped after sewing this object. Before stopping it will jump to the stop position (frame out) if defined.
