Import and Export Files
Import Embroidery Files
Open an embroidery file as you would open any SVG file in Inkscape: File > Open... > choose your file and click Open.
It will open your file in Manual Stitch Mode. You can edit individual points and finetune your design. Once your are satisfied, save the file as described below.
Export Embroidery Files
Export files directly through Inkscapes File > Save a copy... (Ctrl + Shift + Alt + S) dialog.
Select a file format that your embroidery machine can read and Save the file in your desired output directory.

For later changes make sure that you keep an SVG version of your design as well.
Batch Export
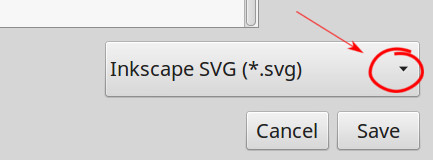
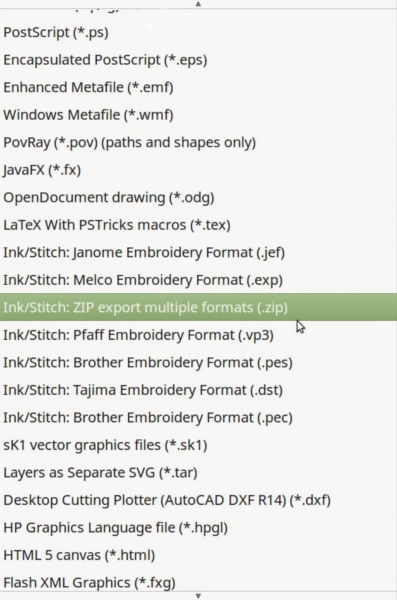
Go to File > Save a copy... and click on the little arrow on the file format selection field to open a list of available file formats.
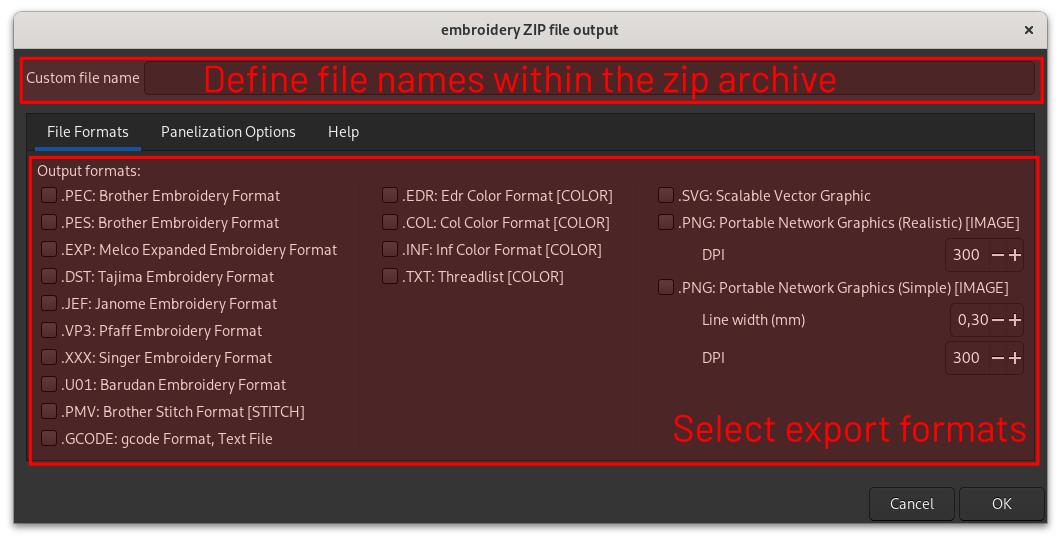
Navigate to your desired output folder and choose the Ink/Stitch ZIP file format. Click Save. You then will be asked which file formats you wish to be included.

If you wish for the files within the zip-archive to have an other name than the previously saved original svg(!) file, insert the file name into the custom file name field.

The zip-export also offers panelization options. If repeat values are higher than one Ink/Stitch will create copies of the stitchplan and place them in defined distances. The distances are measured from the top left position of the original design. Colorblocks will be ordered to reduce color changes.
Batch Lettering
Easily create multiple text files.