Lettering
Lettering Tool
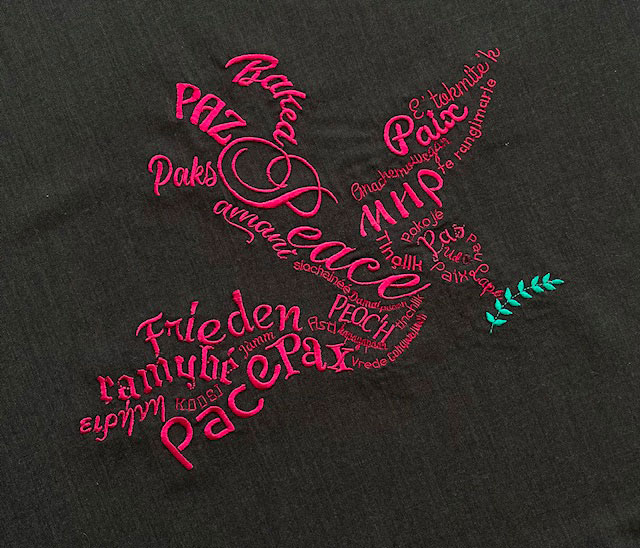
The text module creates multi-line text. Choose the right font for your project from a wide variety of pre-digitized fonts.

Usage
- Run
Extensions > Ink/Stitch > Lettering > Lettering - Enter your text (multi-line is possible)
- Adjust font family and scaling.
⚠ Warning: For best results please note the limits for scaling in the font description. - Click on
Apply and Quit. - Position your text within the svg document.
Font filters
-
Font size filter
Fonts are designed for a special range of sizes. The font size filter helps you to reduce the font list to only the fonts fitting to your target size. A active font filter (not 0) will set the correct scale value when you select a font.
-
Glyphs
If checked only the fonts that contain all the glyphs of your text are listed
-
Font categories
Filter the fonts by categories, for example get only the applique fonts or only the script fonts
Options
Some parameters will be part of an upcoming Ink/Stitch release. It is not yet integrated in Ink/Stitch.
-
Scale
Defines the output size of the font compared to the original font size (%). It is recommended to use the scale option, rather than resizing the font on canvas. This way you can make sure, that you stay within the parameters the font has been designed for.
-
Align Text
Align multiline text: left, center, right, block (default), block (letterspacing)
-
Letter spacing
Add that width (mm) between letters
-
Word spacing
Add that width (mm) between words
-
Line height
Add that height (mm) between lines
-
Color sort
Sort colors of multicolor fonts to avoid a huge amount of color changes.
-
Stitch lines of text back and forth
With this option enabled the first line will be stitched from left to right and the second from right to left, etc. This will give your machine shorter ways to travel.
-
Add trims
Adds TRIM commands according to the chosen option (Never, after each line, after each word, after each letter).
-
Use command symbols
When adding trims, use command symbols. Uses the trim param setting otherwise.
Presets
You can save and load your favourite font settings.
Lettering along path
Ink/Stitch letters are carefully designed. If you try to transform them with common tools, they may not work as expected. This means placing letters along a path will be a lot of work. Therefore we’ve created a tool to assist you with that.
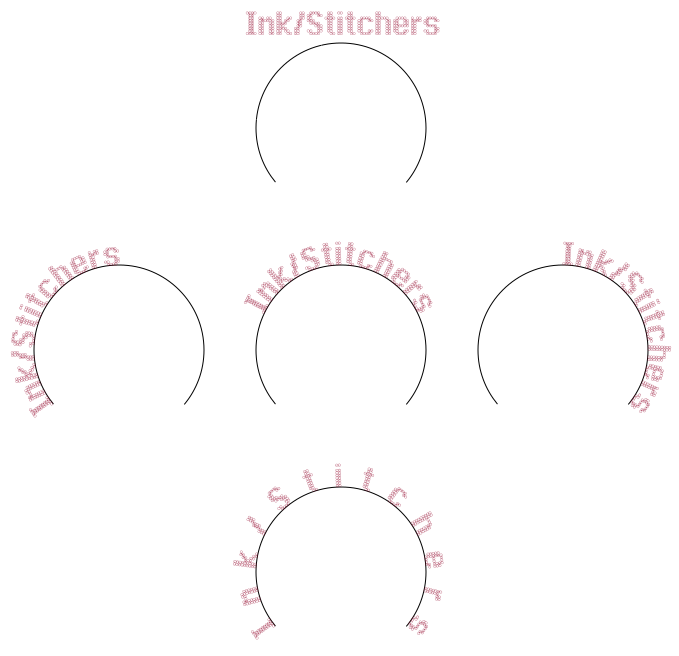
Usage
- Select a path and a lettering group
- Run
Extensions > Ink/Stitch > Lettering > Lettering along path ... - If
stretchis enabled, Ink/Stitch will stretch the spaces in between the letters, so that the text will use the entire path. Otherwise it will keep the distances from the original text. - Click on apply
Lettering will follow the path direction. Reverse the path if needed (Path > Reverse).
Font library
An overview of available fonts can be found it the font library.
Color Sorting
When embroidering several letters, you may wish to color sort to avoid many changes of thread. When the colors appear in the same order in every letter and when each color is only used on consecutive paths within a letter (this is true for all multicolor Ink/Stitch fonts, with the exception of Infinipicto) this is how to quickly color sort a lettering:
- Pick a letter in the objects panel
- Select the first-to-be-embroidered path of this letter (last one for this letter in the objects panel)
- Edit/Select same/ Same color stroke
- Group, this group will end up in the last to embroider letter
- Move this group to the top of in its letter
repeat until all the colors are grouped, always starting with selecting the last path of a letter.
Batch Lettering
Batch lettering allows to easily create multiple text files.
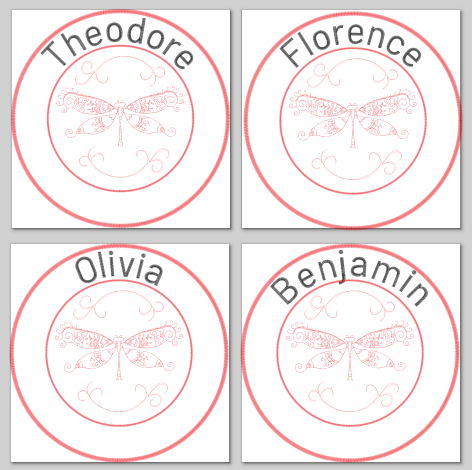
- Prepare a design file.
If the file contains a path with the label
batch letteringit will be used for the text position. It will work the same say as Lettering Along Path. - Go to
File > Save a copy...and click on the little arrow on the file format selection field to open a list of available file formats. - Choose
Ink/Stitch: batch lettering (.zip) - Navigate to your desired output folder and click on Save
Options
- Text: Enter the text, by default each new line will be placed in it’s own file
-
Custom Separator: Defaults to new lines. Specify an other separator if you wish that your text file has multiline text. The text will be split and placed into a new file with every occurence of the custom separator.
- Font name: The name of the font you wish to use. Have a look at the font library to find a list of available fonts
- Scale (%): Scale value to resize a font. The value will be clamped to the available scale range of the specific font.
- Color sort: Whether multicolor fonts should be color sorted or not
- Add trims: Whether trims should be added or not (never, after each line, word or letter)
- Use command symbols: Whether the trims should be added as command symbols or as a param option (only relevant for svg output)
- Align Multiline Text: Define how multiline text should be aligned
- Lettering along path: text position: The text position on the
batch letteringpath - File formats: Enter a comma separated list of file formats
Command line usage
Here is a minimal example for command line usage of the batch lettering extension
./inkstitch --extension=batch_lettering --text="Hello\nworld" --font="Abecedaire" --file-formats="svg,dst" input_file.svg > output_file.zip
Options
| Option | Input Type | Values |
|---|---|---|
--text |
string | cannot be empty |
--separator |
string | default: ‘\n’ |
--font |
string | must be a valid font name |
--scale |
integer | default: 100 |
--color-sort |
string | off, all, line, word default: off |
--trim |
string | off, line, word, glyph default: off |
--command_symbols |
bool | default: False |
--text-align |
string | left, center, right, block, letterspacing default: left |
--file-formats |
string | must be at least one valid output format |
Create new fonts for Ink/Stitch
Read the font creation tutorial.
Contact us if you are willing to publish your font in the Ink/Stitch lettering tool on GitHub.