Meander Fill
What it is
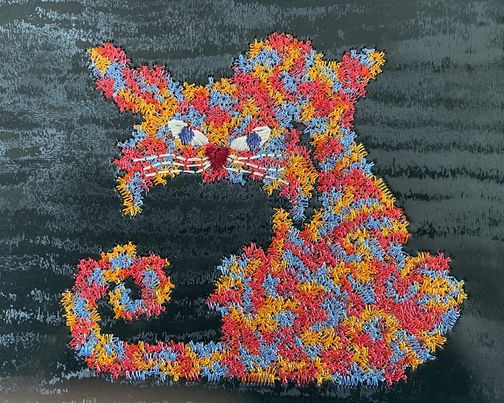
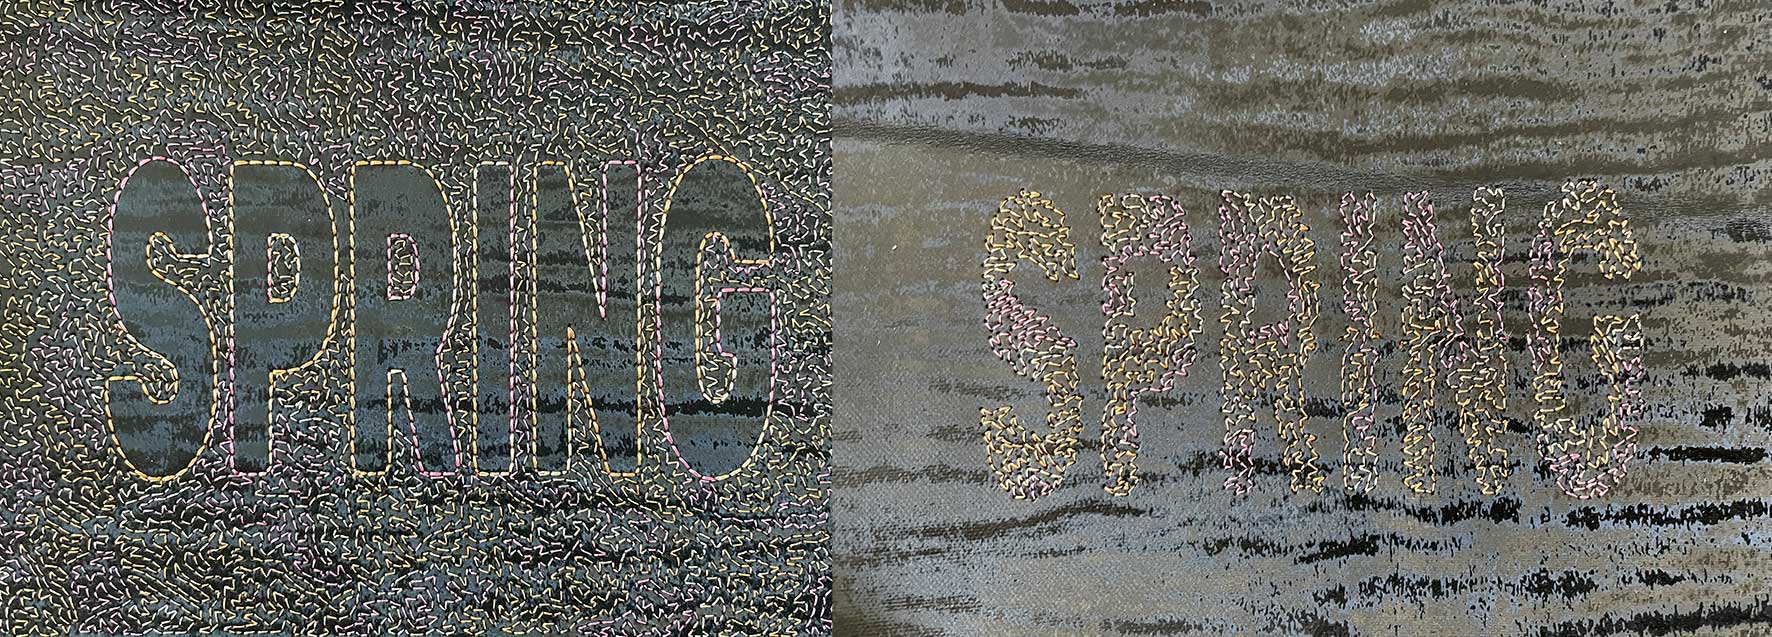
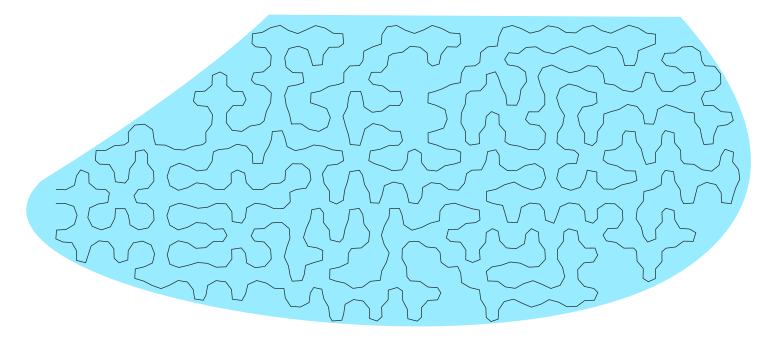
Meander fill has its origins in quilting techniques. A beautiful patterned effect results for machine embroidery. Large areas can be filled with relatively few stitches.
How to Create
- Create a closed path with a fill color. This shape may have holes.
- Open the params dialog (
Extensions > Ink/Stitch > Params) and selectMeander Fillas the fill method. There are many meander fill patterns you can choose from. Influence the look by adapting scale, smoothness, stitch length and tolerance values.
Set Start and End Point
Set start and end points for autofill objects with Visual commands.
Params
Run Extensions > Ink/Stitch > Params to tweak the settings to your needs.
| Settings | Description | |
|---|---|---|
| Automatically routed fill stitching | ☑ | Must be enabled for these settings to take effect. |
| Fill method | Meander Fill | Meander Fill must be selected. |
| Meander Pattern | Various patterns to choose from | |
| Meander Pattern angle | Rotates Pattern | |
| Meander pattern scale | Scale the pattern (%) | |
| Clip path | Constrain stitching to the shape. Useful when smoothing and expand are used. | |
| Smoothness | Smooth the stitch path. Smoothness linits how far the smoothed stitch path is allowed to deviate from the original path. Try low numbers like 0.2. Hint: a lower running stitch tolerance may be needed too. | |
| Expand | 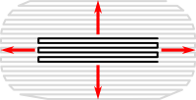 |
Expand the shape before stitching, to compensate for gaps between shapes. |
| Running stitch length | For meander fill this is the overall stitch length. | |
| Running stitch tolerance | All stitches must be within this distance from a path. A lower tolerance means stitches will be closer together. A higher tolerance means sharp corner may be rounded. | |
| Minimum stitch length | Overwrite global minimum stitch length setting. Shorter stitches than that will be removed. | |
| Minimum jump stitch length | Overwrite global minimum jump stitch length setting. Shorter distances to the next object will have no lock stitches | |
| Repeats | ◦ Defines how many times to run down and back along the path ◦ Default: 1 (traveling once from the start to the end of the path) ◦ Odd number: stitches will end at the end of the path ◦ Even number: stitching will return to the start of the path |
|
| Bean stitch number of repeats | ◦ Enable Bean Stitch Mode ◦ Backtrack each stitch this many times. ◦ A value of 1 would triple each stitch (forward, back, forward). ◦ A value of 2 would quintuple each stitch, etc. ◦ It is possible to define a repeat pattern by entering multiple values separated by a space. |
|
| Zig-Zag spacing (peak-to-peak) |  |
A non null value turns the running stitch innto zigzag with the corresponding zigzag spacing. |
| Zigzag width | define the zigzag width | |
| Minimum stitch length | Overwrite global minimum stitch length setting. Shorter stitches than that will be removed. | |
| Minimum jump stitch length | Overwrite global minimum jump stitch length setting. Shorter distances to the next object will have no lock stitches. | |
| Allow lock stitches | Enables lock stitches in only desired positions | |
| Force lock stitches | Sew lock stitches after sewing this element, even if the distance to the next object is smaller than defined in the collapse length value value in the Ink/Stitch preferences. | |
| Tack stitch | Chose your favorite style | |
| Scale Tack stitch | ||
| Lock stitch | Chose your favorite style | |
| Scale Lock stitch | ||
| Trim After | Trim the thread after sewing this object. | |
| Stop After | Stop the machine after sewing this object. Before stopping it will jump to the stop position (frame out) if defined. | |
| Zigzag spacing (peak to peak) | Setting a non zero value will trigger zigzag instead of running stitch | |
| Zigzag width | Width of zigzag if spacing is non null | |
| Random Seed | rerolling or setting a value will modify the fill |
Underlay
Underlay in Guided Fill doesn’t follow the guide line, but uses the fill angle which can be defined in the underlay params.
